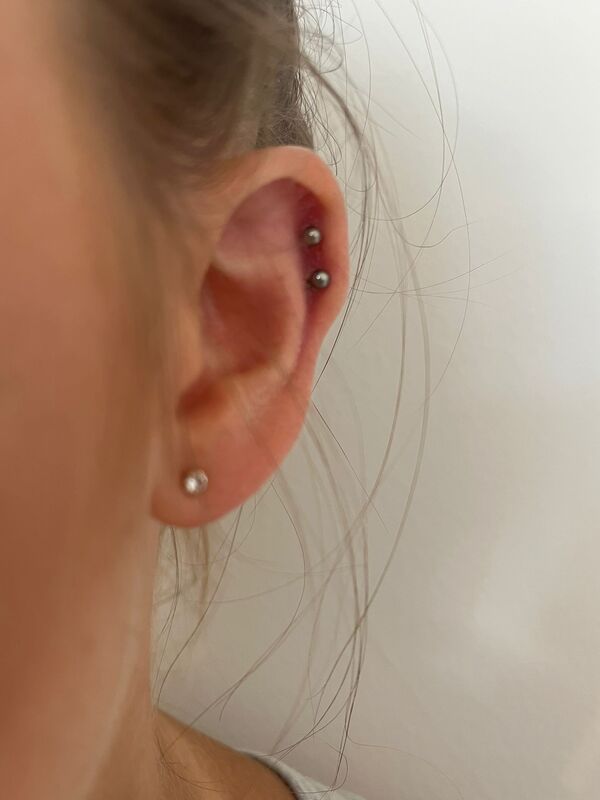
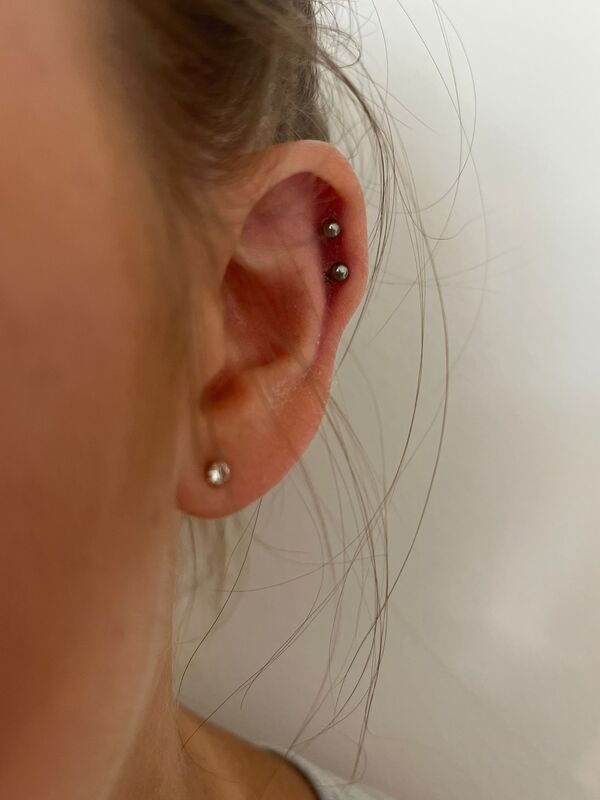
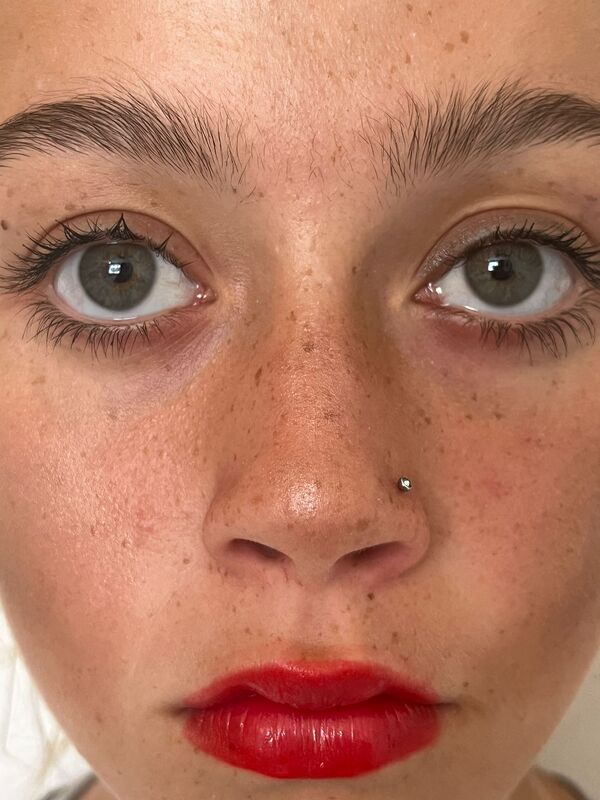
Mood board
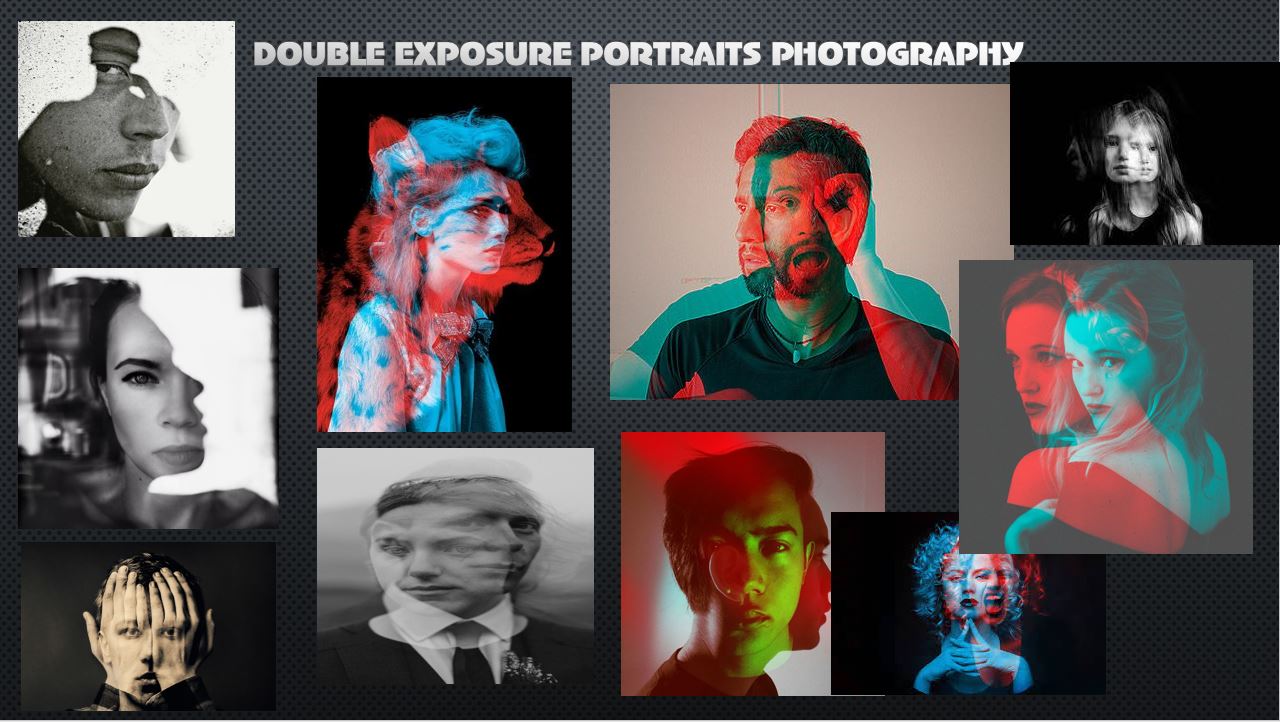
Double exposure portraits (colour)
artist investigation
Jason Gaskins
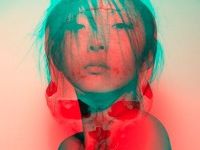
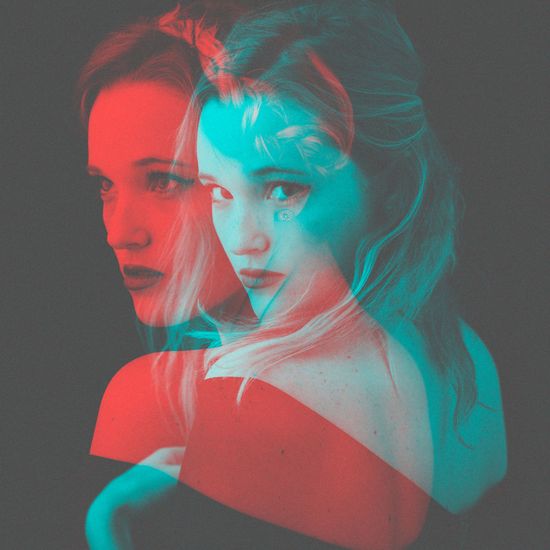
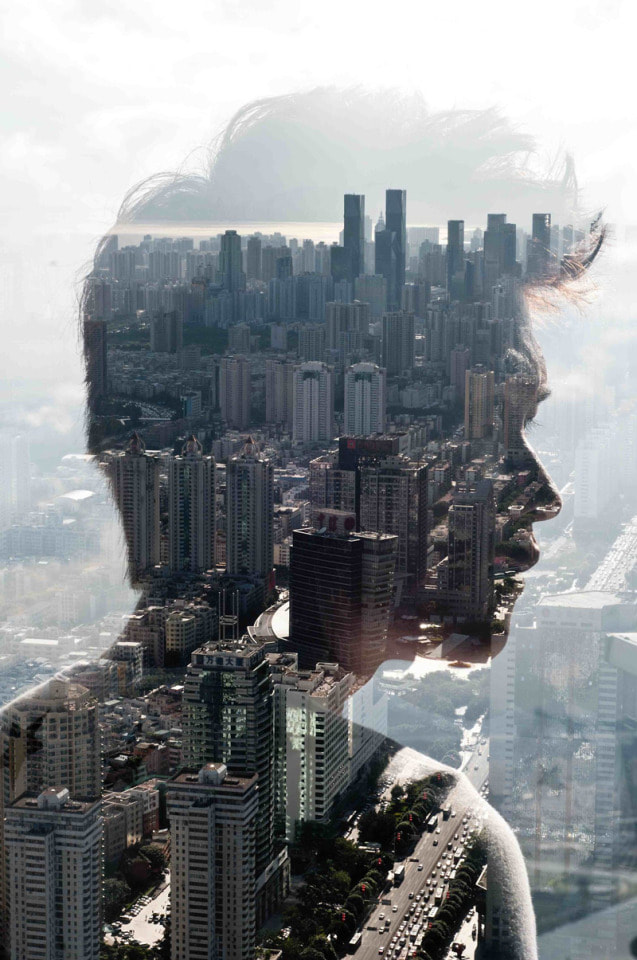
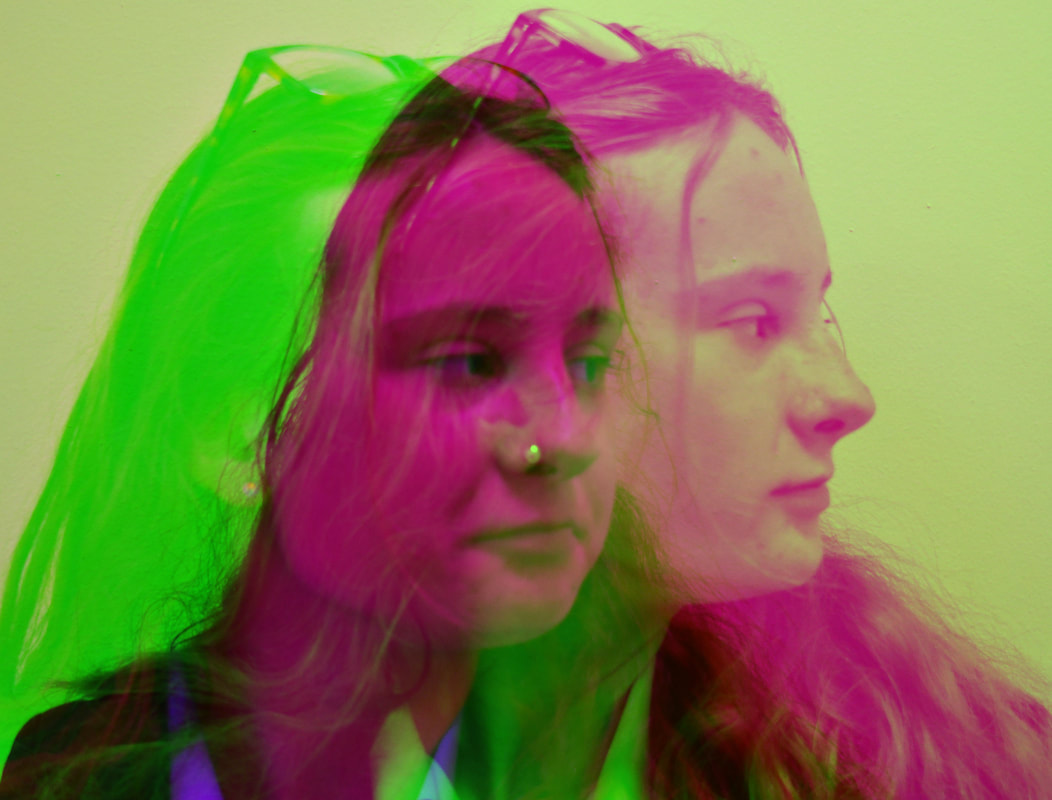
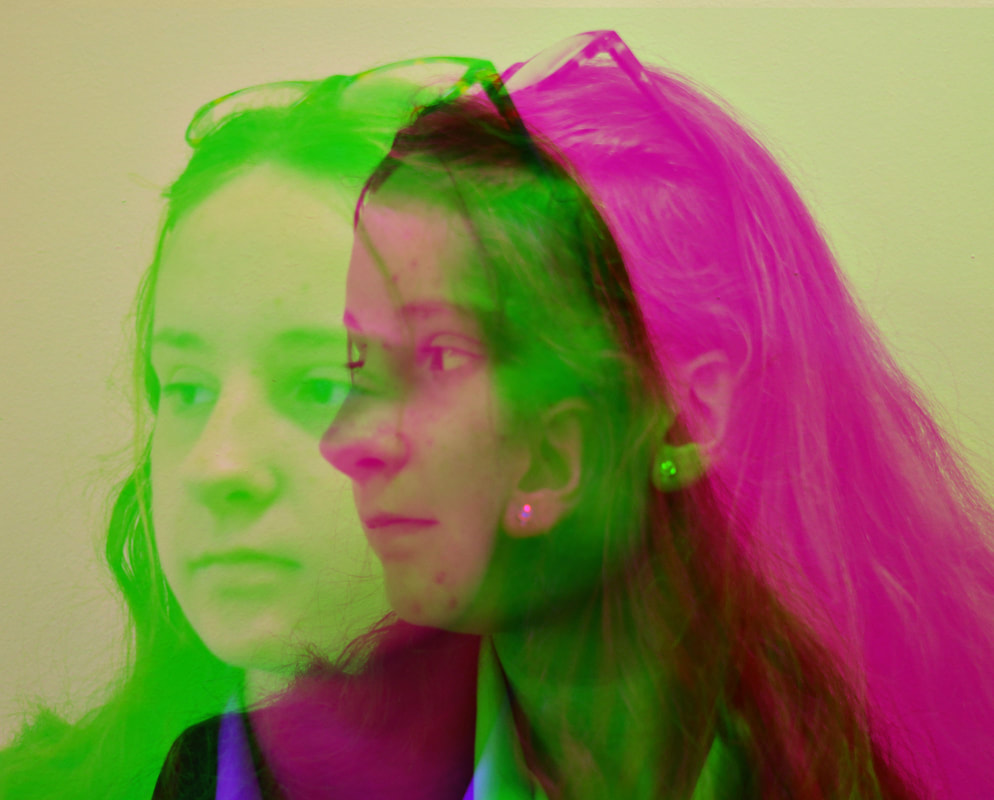
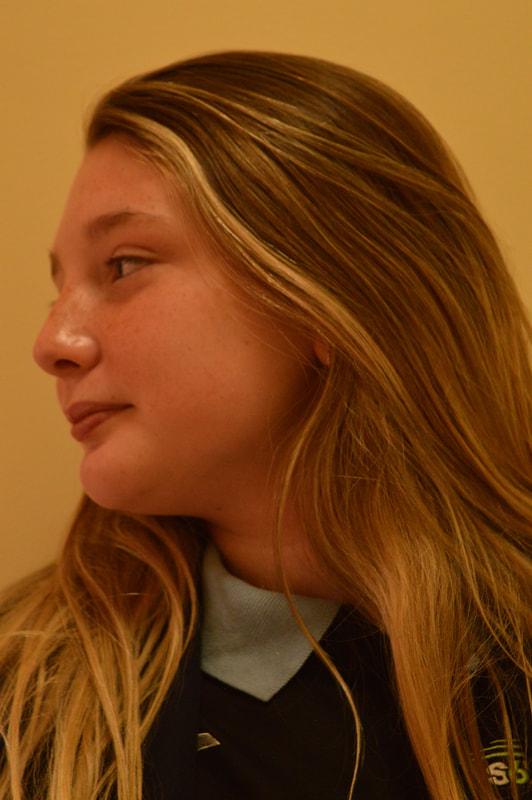
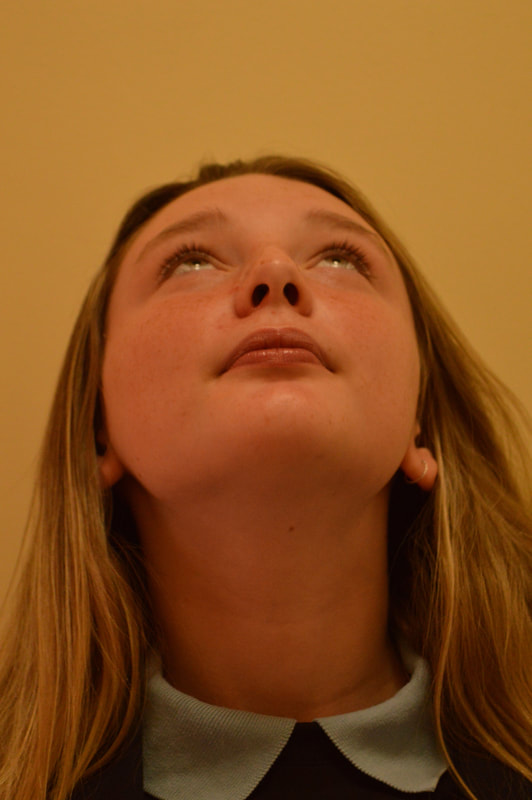
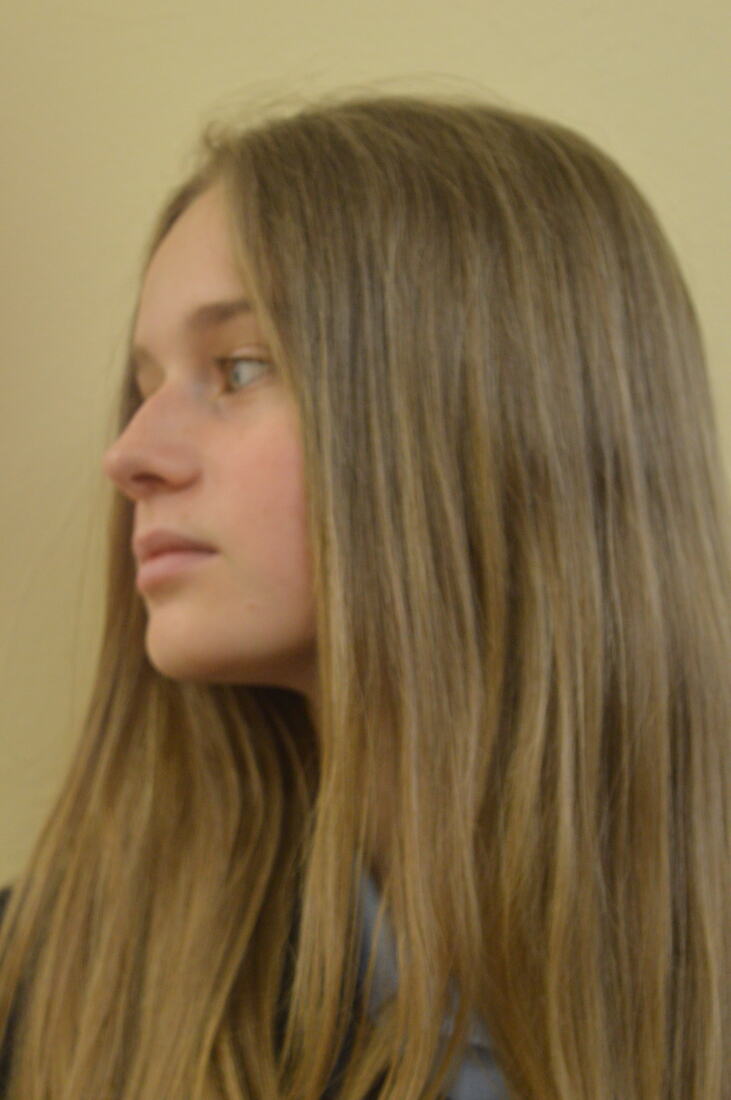
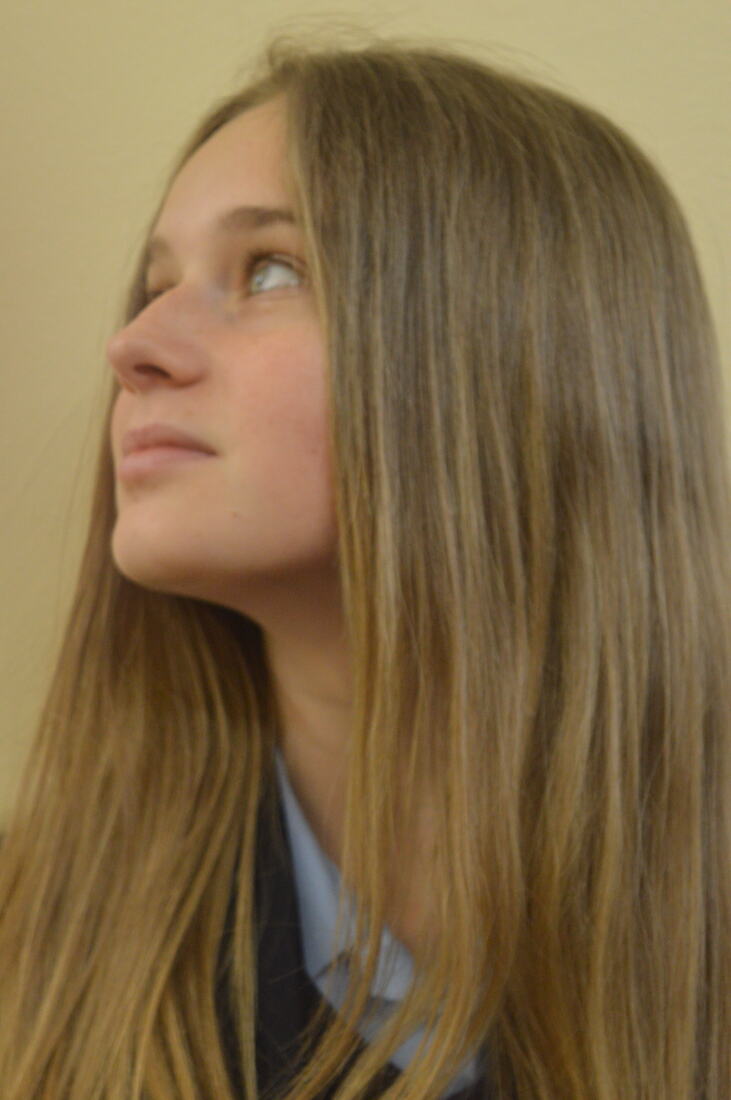
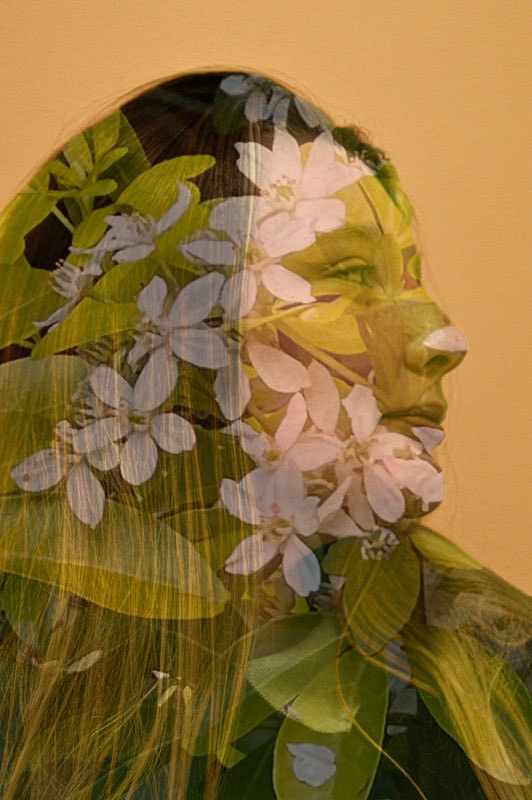
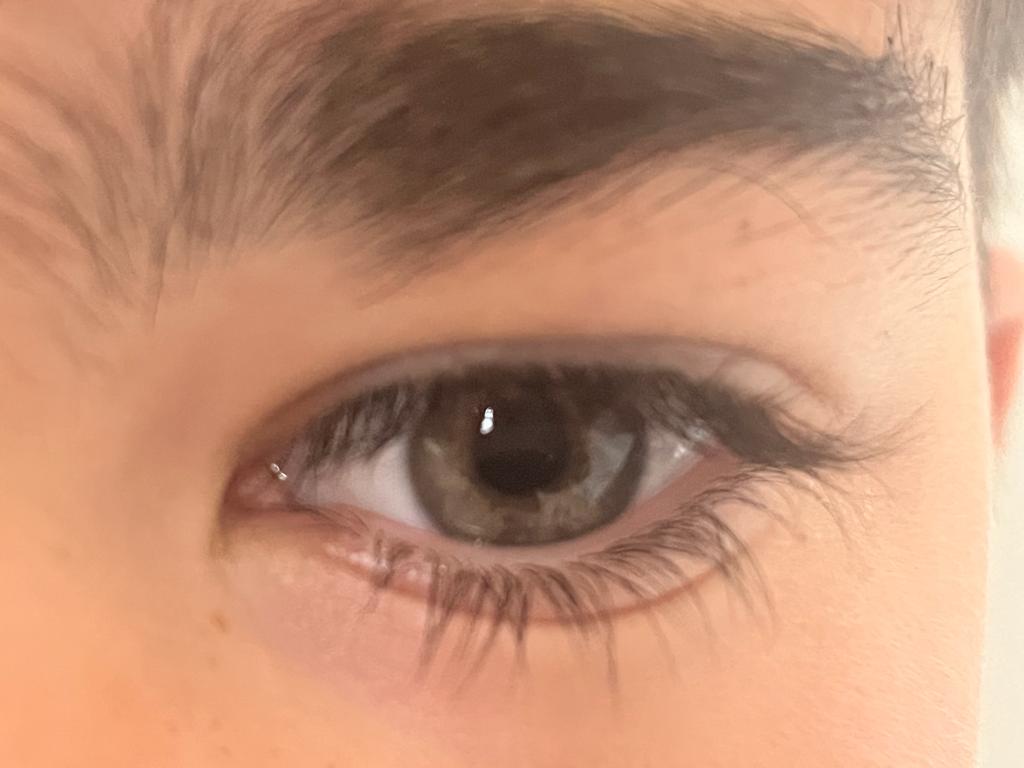
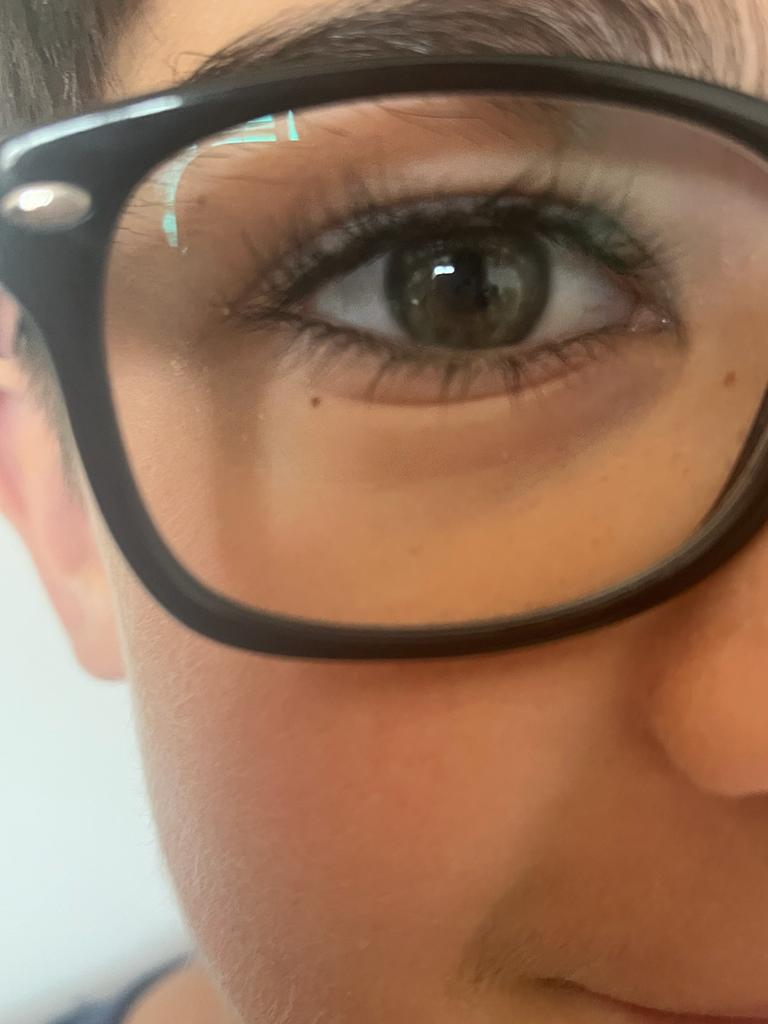
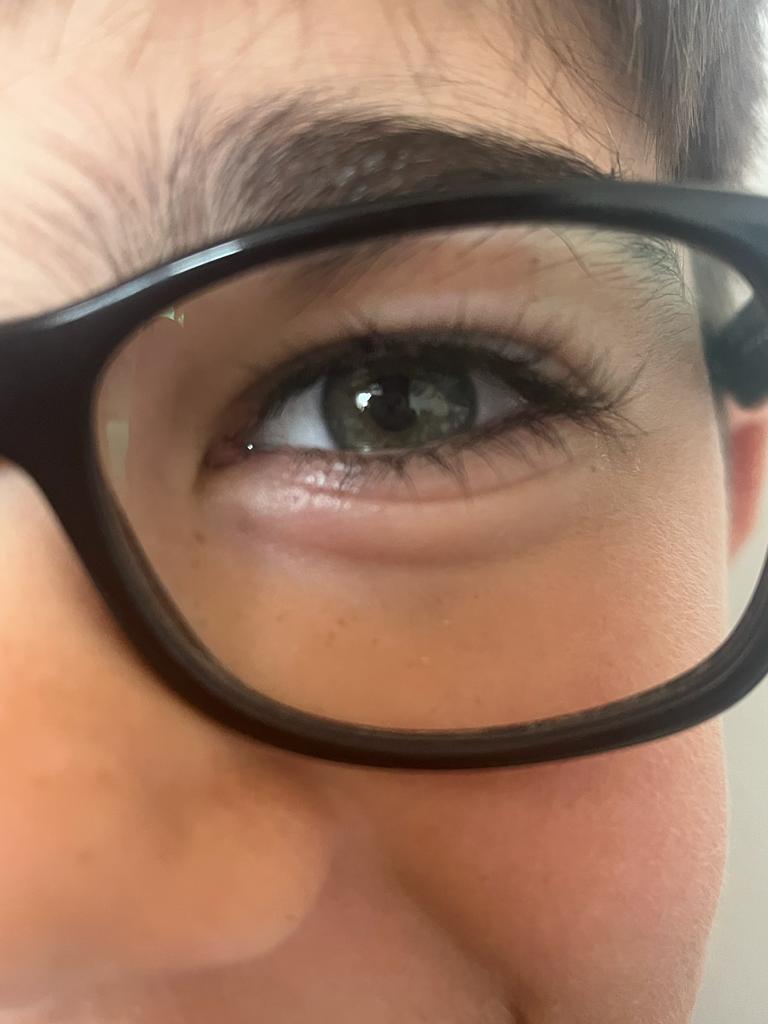
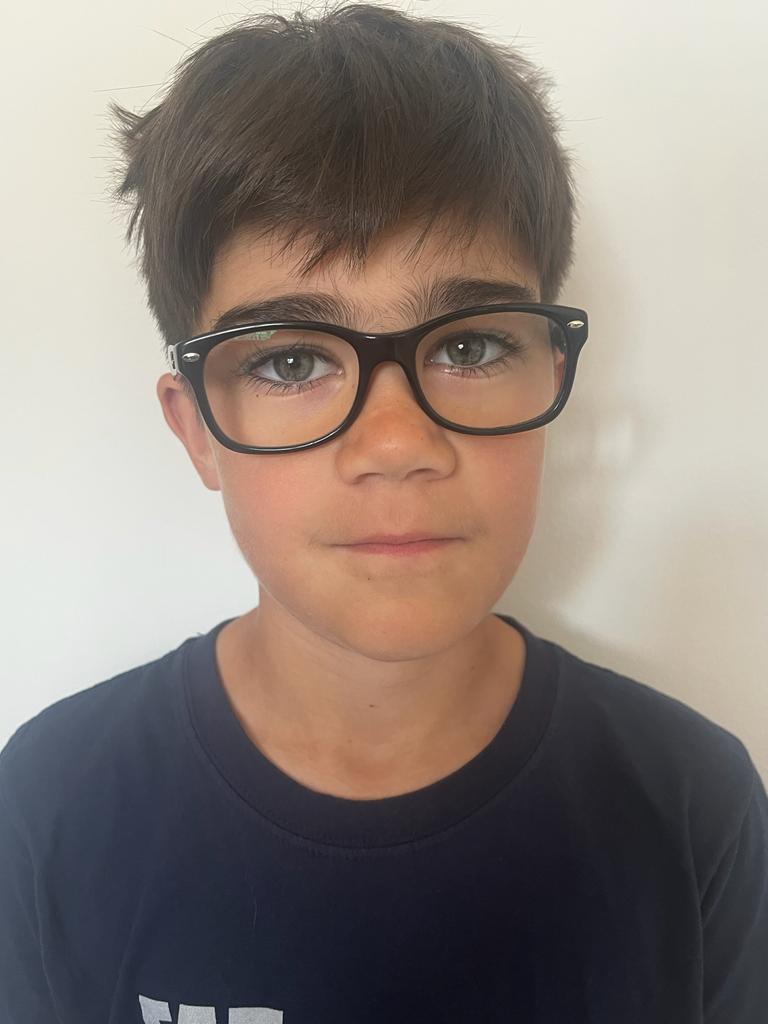
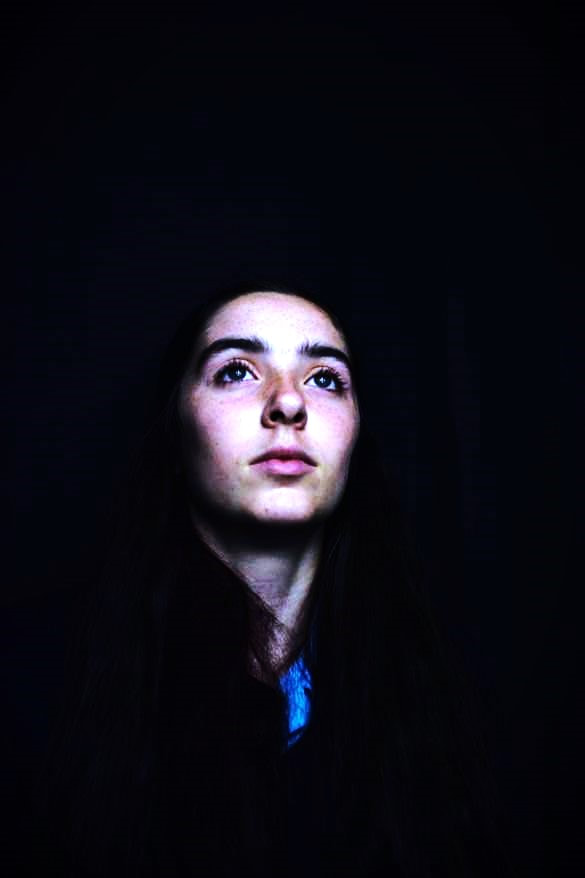
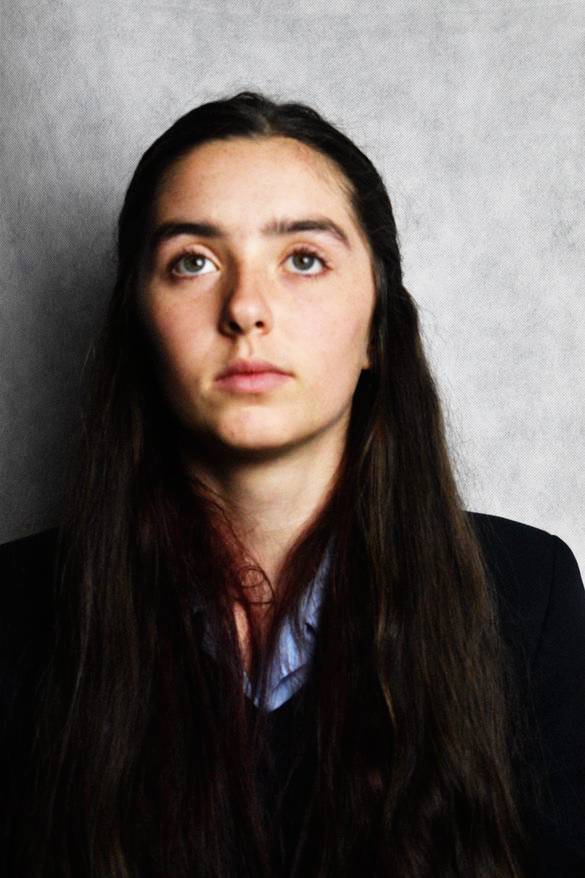
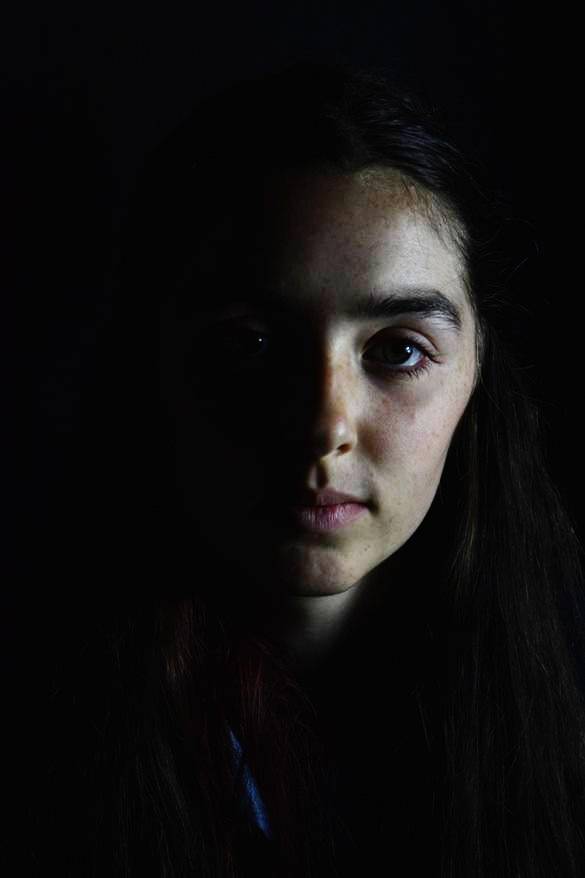
This photographer artist investigation is about a photographer called Jason Gaskins. He is known for his double exposure portrait colour photography. He is a commercial photographer. The three images above are three of my favorite images from his double exposure photography project. However the image I am going to be doing the image analysis on is the image below.

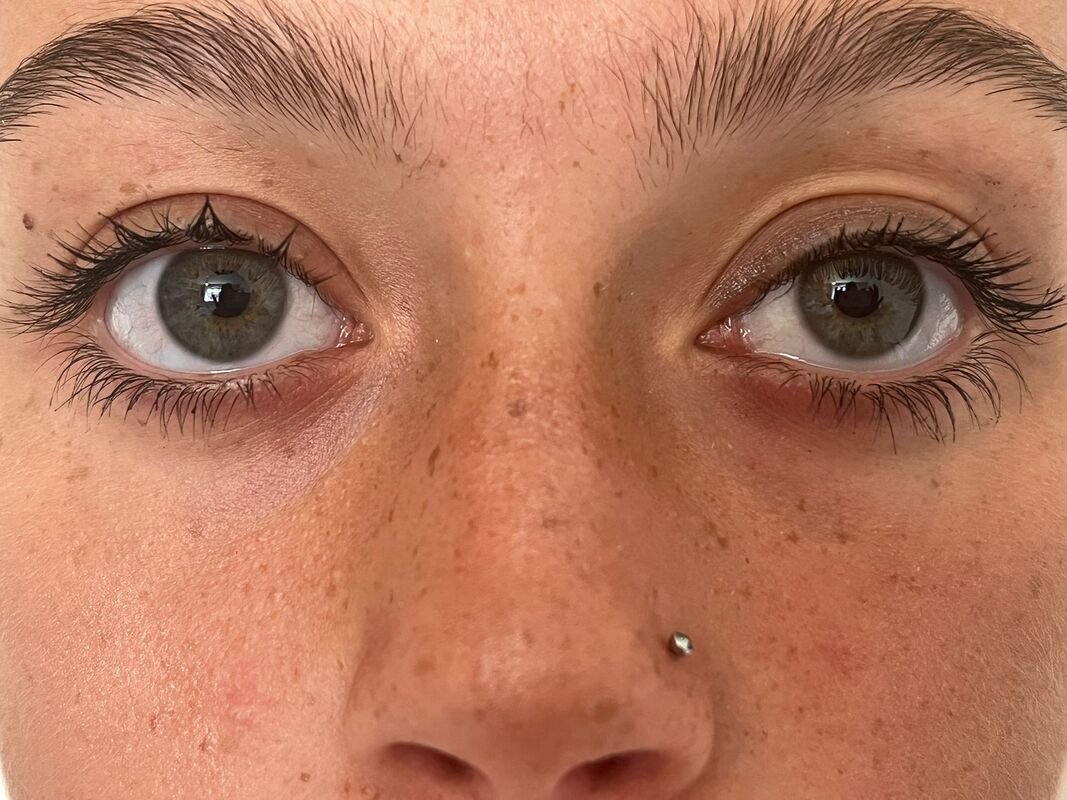
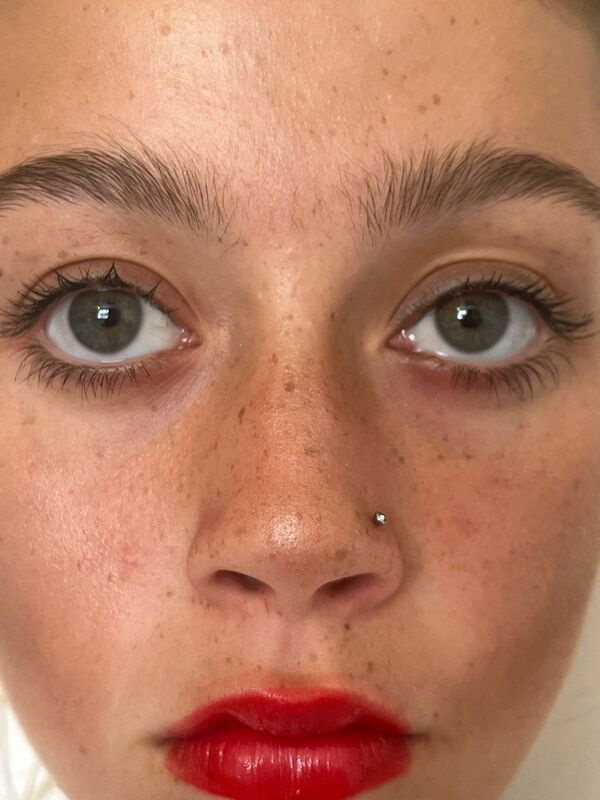
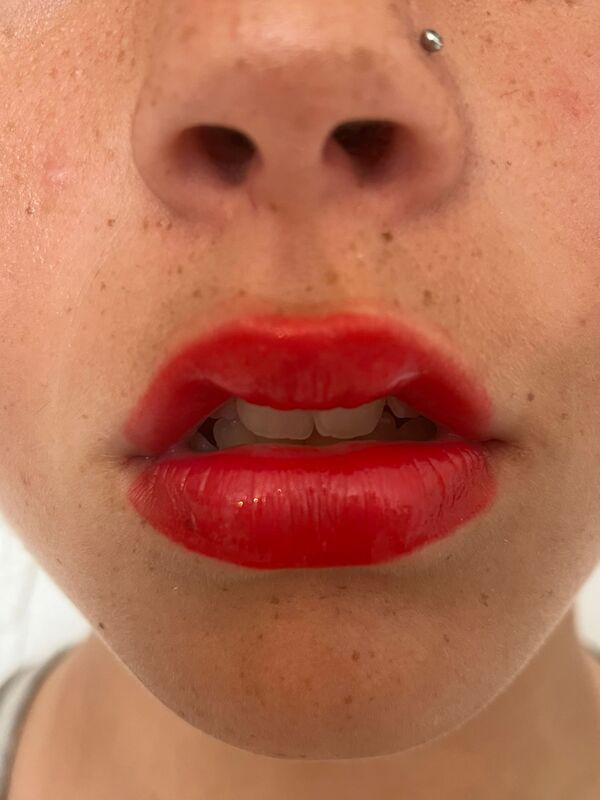
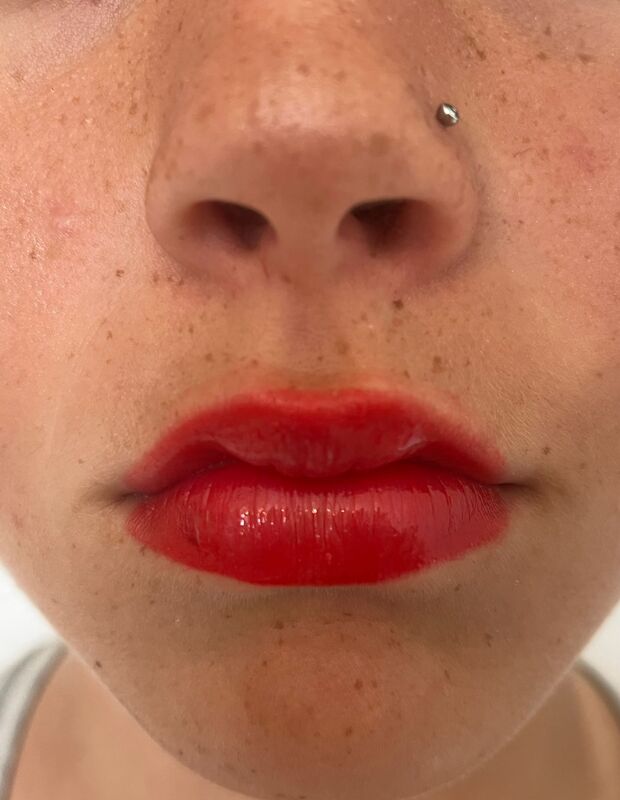
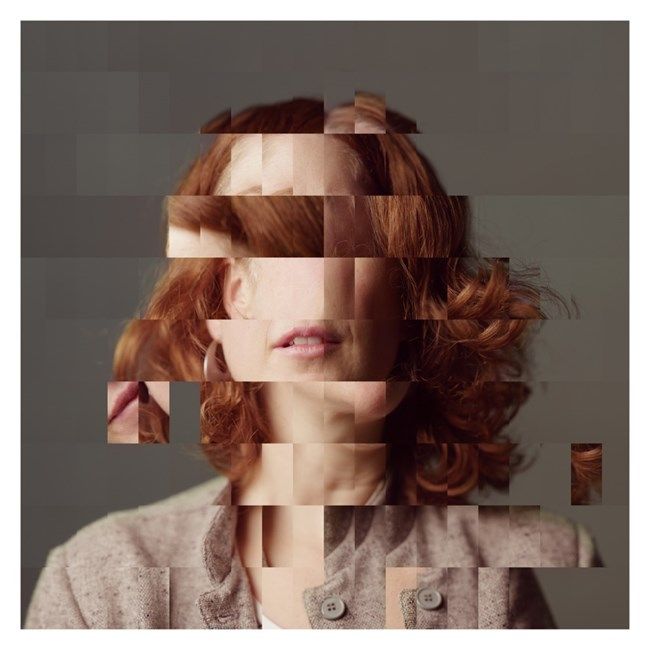
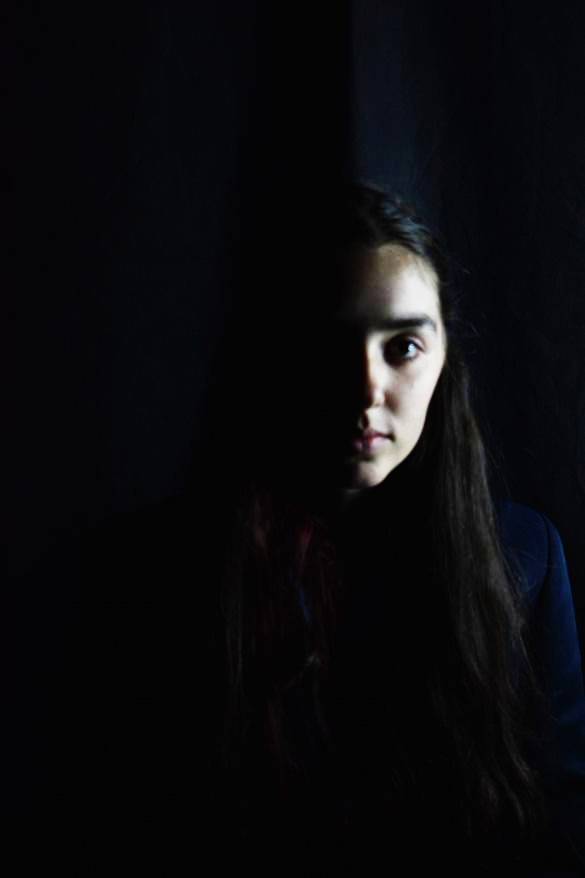
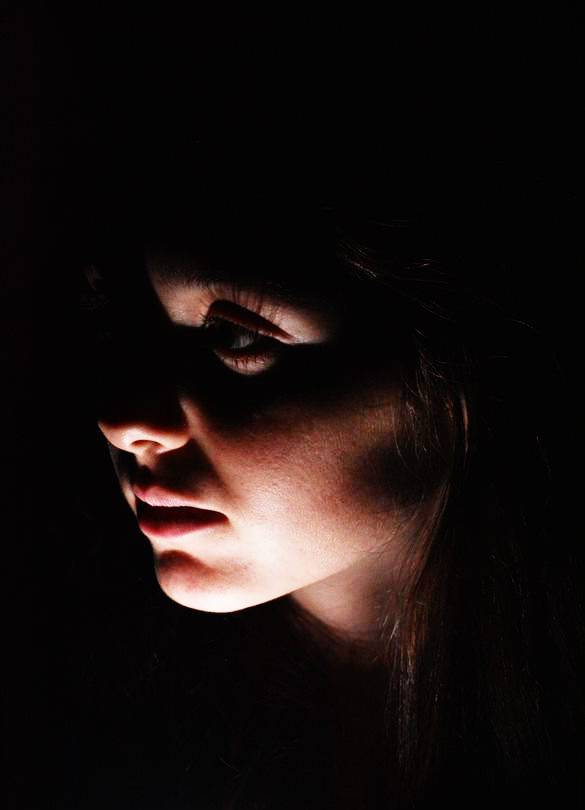
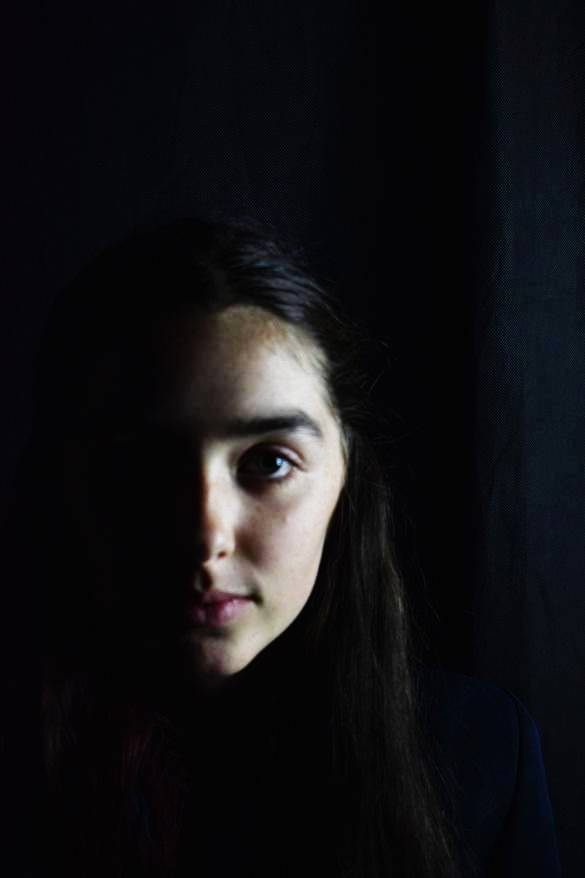
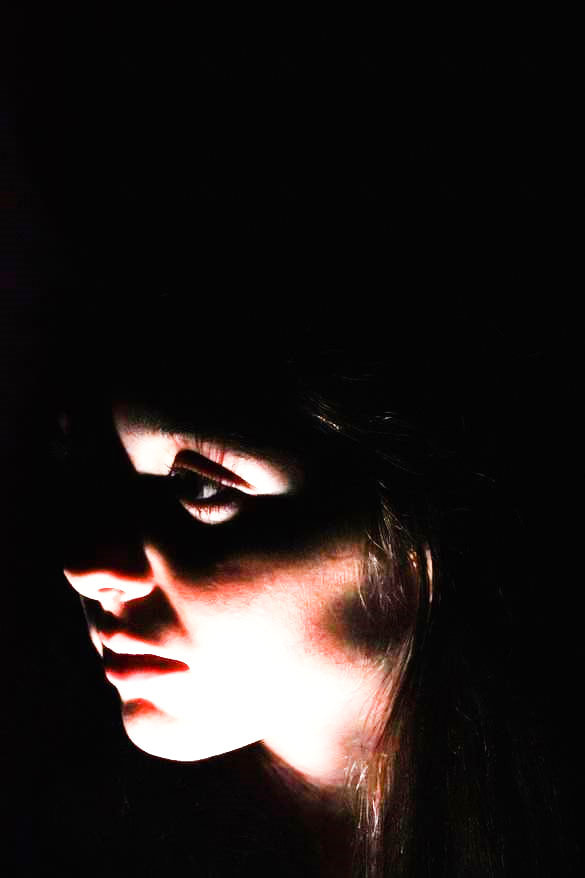
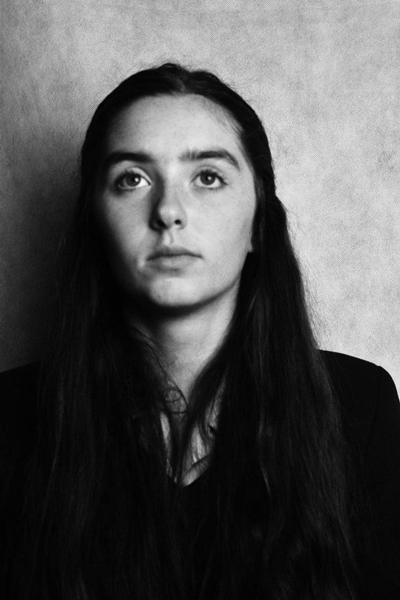
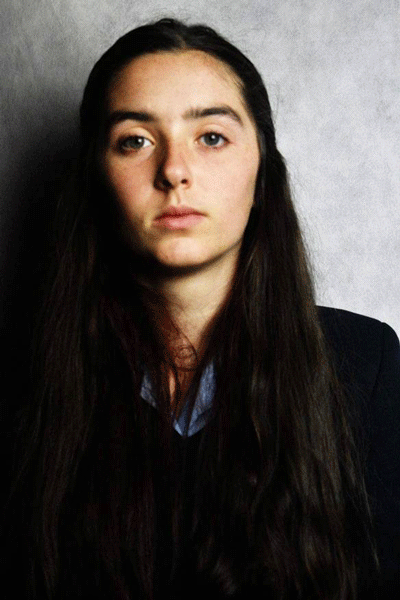
Jason Gaskins captures in the image different angles, views and expressions to merge the two photographs together. The colours he used to put both of the images together compliment each other well. - Red, Blue -. In the portrait shot which is minimalistic angled slightly to the left can be seen as a photo of innocence and pure thoughts. The red framing the right shows a more serious blank expression. Which people can infer from the image could show a darker side that the women wants to hide. Perhaps battling good from bad?
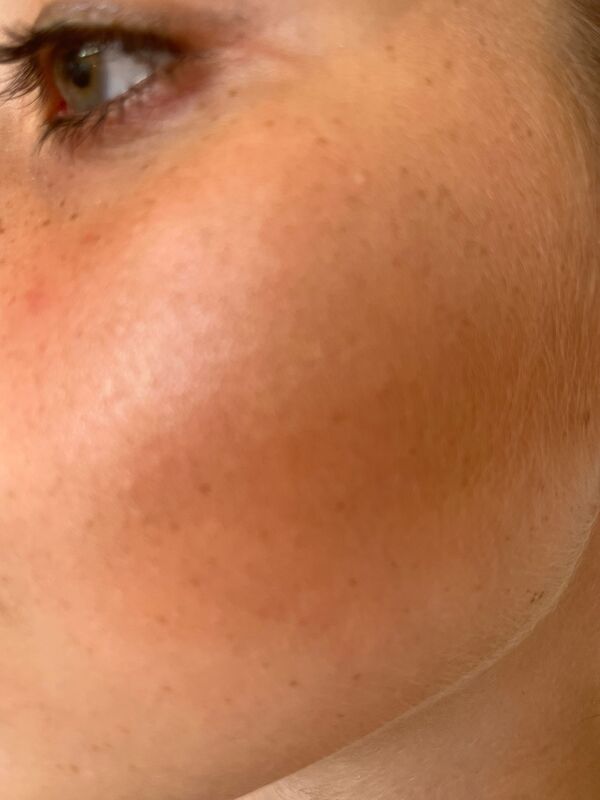
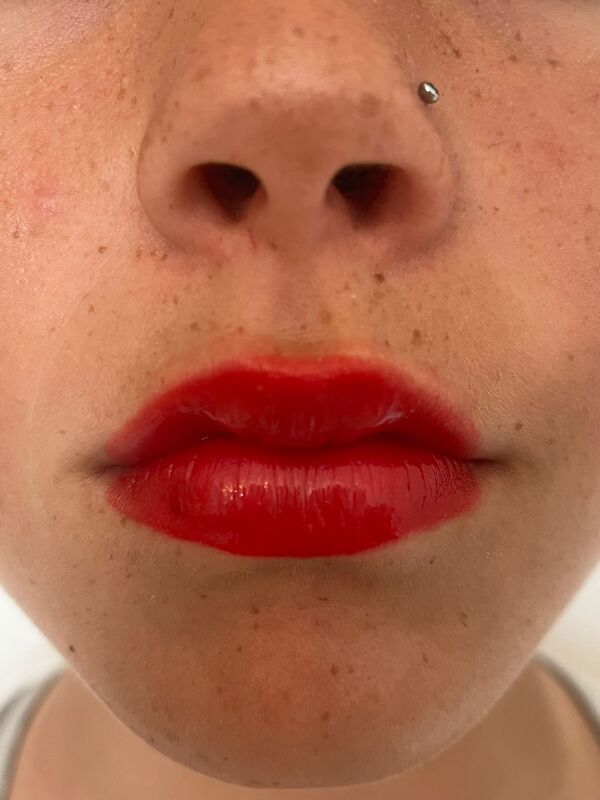
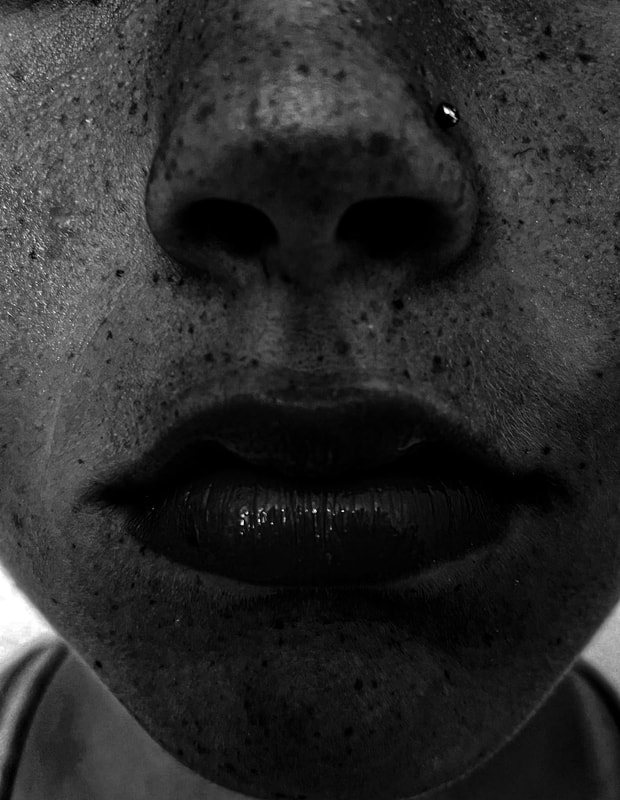
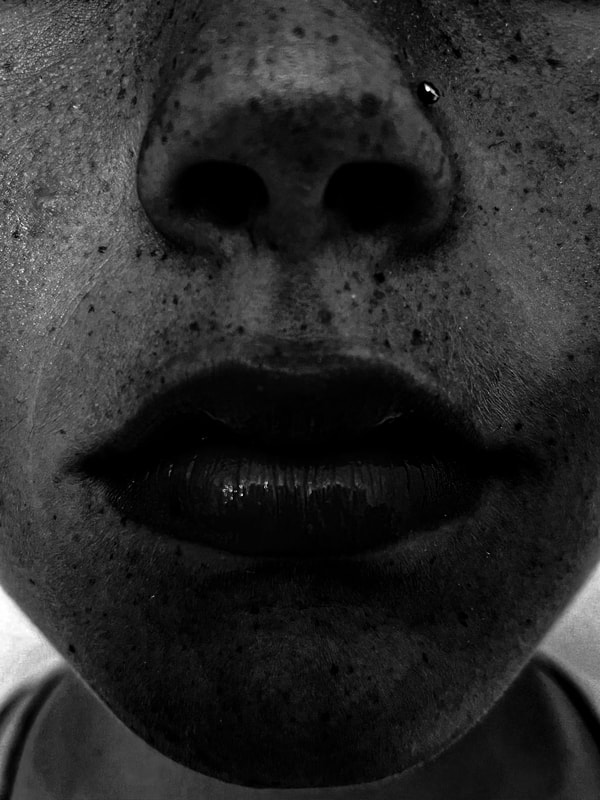
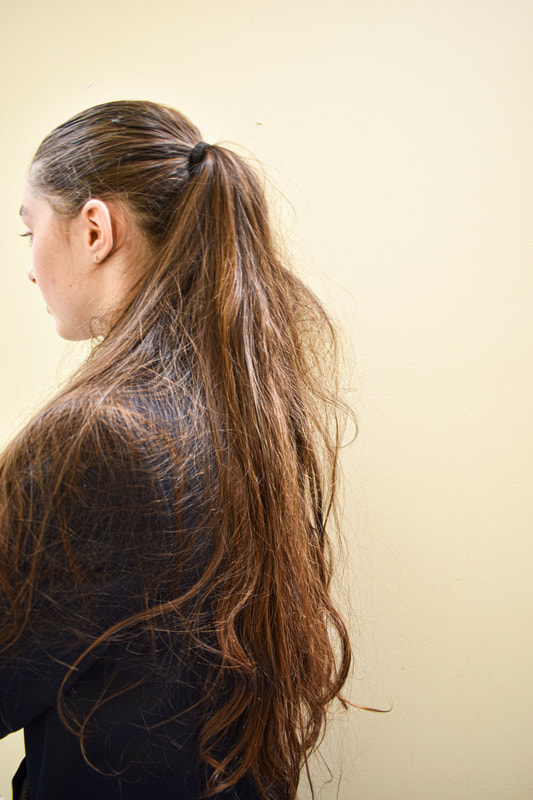
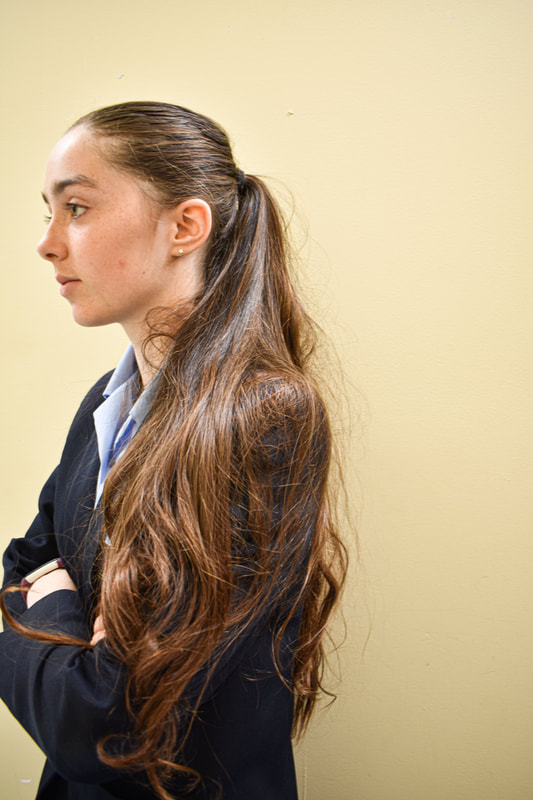
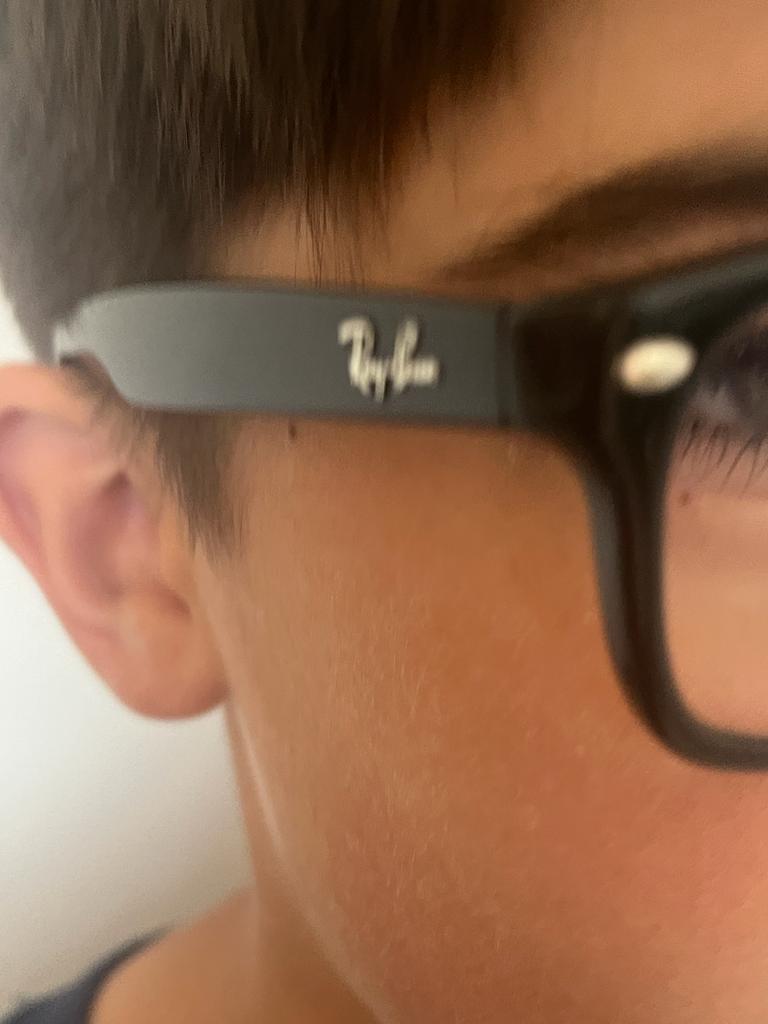
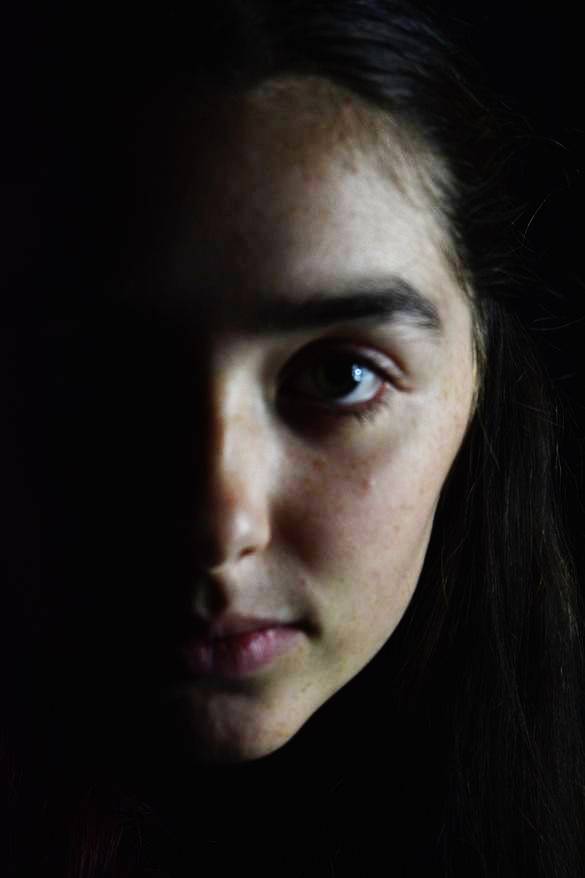
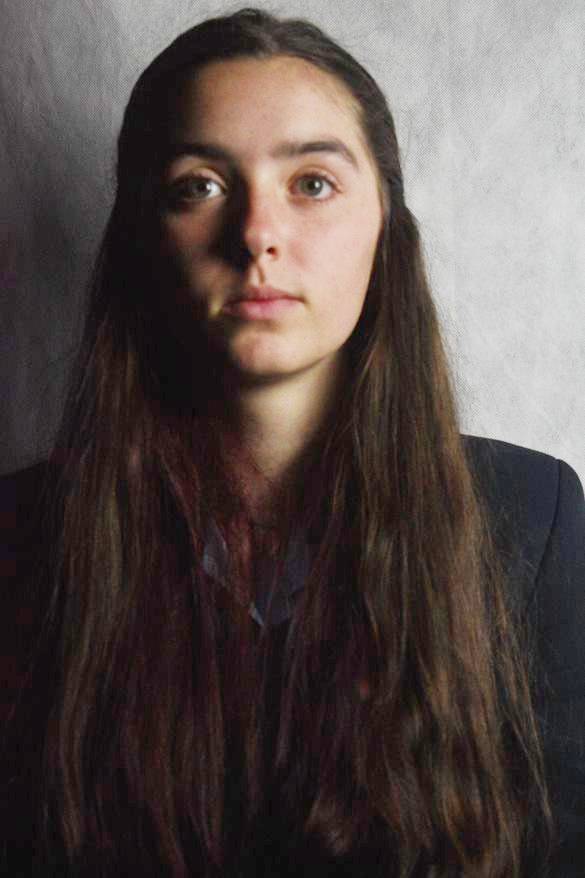
This image is a colour double exposure portrait showing two portraits (head and shoulders), my eyes are drawn to both separate images, and together I think it give a maximalist feel. Though the background is blank and spacious, there is still a lot to observe from the image. Such as the bold colours, the angles, and expressions; which to me gives of a feeling of a person having two sides. Though they are two images together, the finished project is sharp, with a bright contrast.
For my project down below of double exposure colour portrait photography I will take many techniques from Jason Gaskins that I will try an show in my double exposure project. For example, how bright the colour and contrast works as. I will be going to use portraits (head and shoulder) images. Different expressions, angles and perspectives to show a mini story through multiple photogs (three plus). Finally I will be attempting to use camera mode 'manual' and after using photoshop to layer the images together.
Double exposure portraits (landscapes)
artist investigation
Jasper James
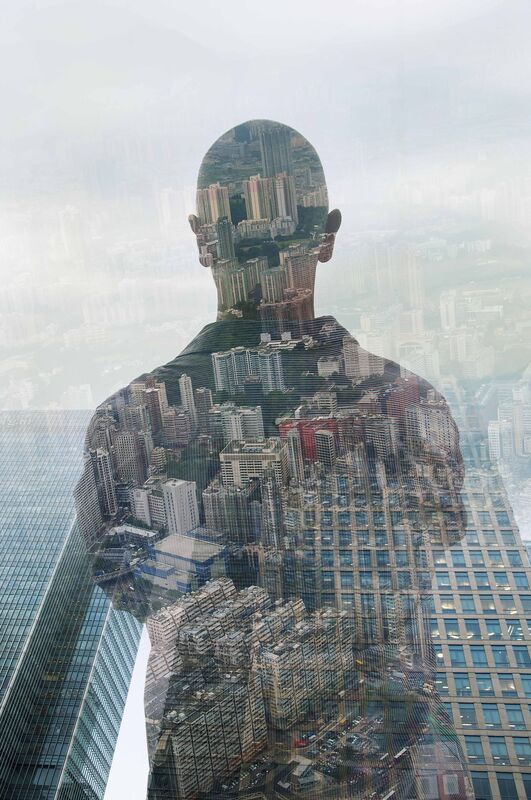
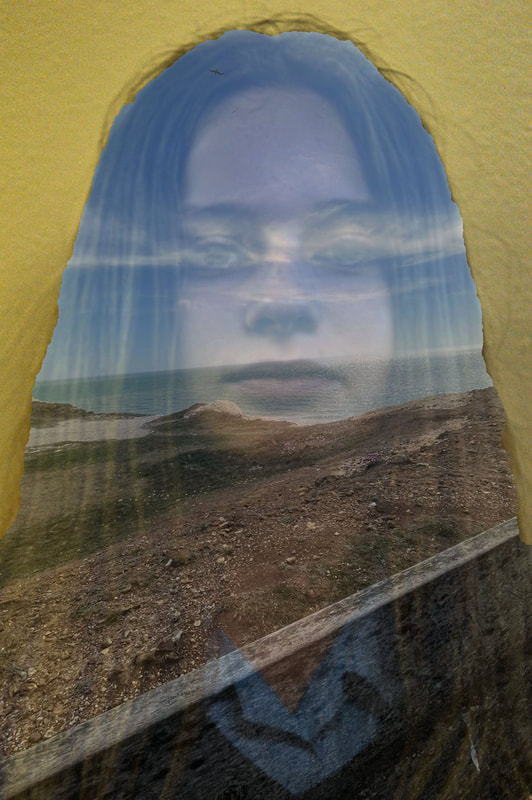
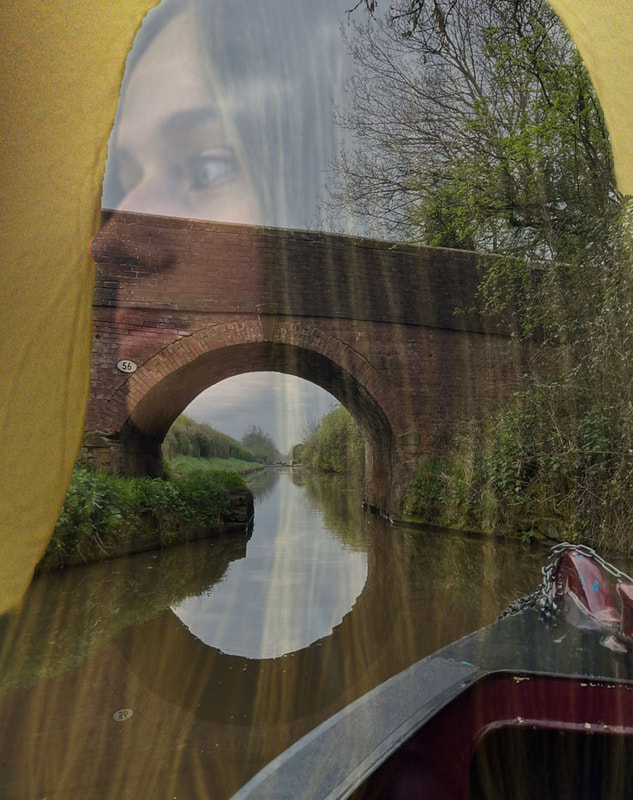
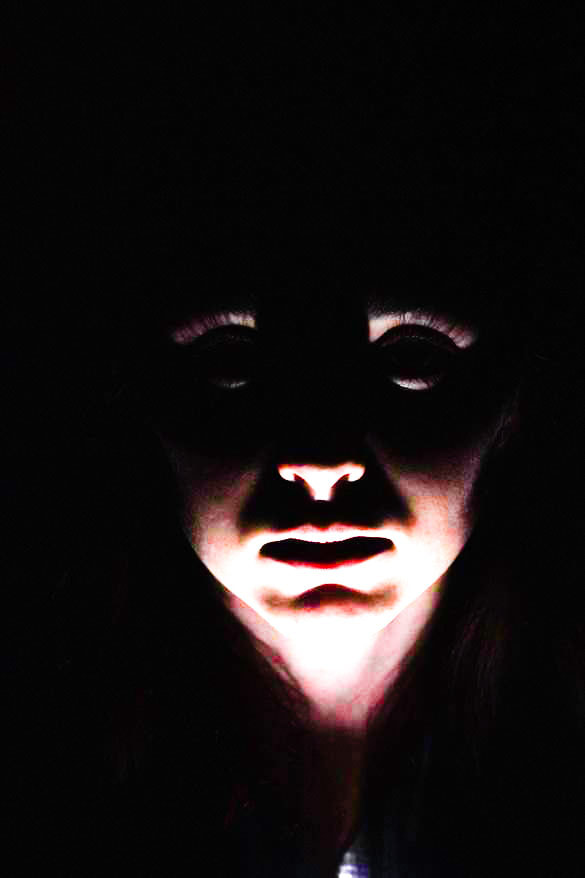
This photographer artist investigation is about a photographer called Jasper James. He is a British professional photographer currently based in Beijing and Shanghai. Over the past ten years, he's lived and worked in several megacities including New York and London. The series I am interested in is 'City silhouettes.' The image I will be investigating is within this series and is below.
This photograph shows a human looking down in the horizon that we can infer is in a city. It is a double exposure portrait and the persons outline shows the buildings and city within the silhouettes. My eye is instantly drawn to the contrast of the image. I love how the background is light and blurred but you can still make out the city, and dark depth of the silhouettes that shows the deeper colours of the city. I enjoy that within this Image Jasper James has taken has followed the composition rule - rule of thirds. - I believe the use of the lighting is complementary to the image and gives off a soft look in the background as the main focus is the dark silhouette. I love that the texture of the city buildings is visible within the persons shadow / silhouette. I think Jasper James has attempted to capture on how lonely one can feel as the city can be so big and intimidating at the best of times. I also enjoy the minimalistic background but has an enticing maximalist take within the silhouette.
For my project on 'Double exposure portraits' The techniques I will attempt to use in my own project will be similar Jasper James. I will be experimenting with colour, black and white, landscapes, portraits, headshots, different profiles and take the image on the manual setting on the camera.
For my project on 'Double exposure portraits' The techniques I will attempt to use in my own project will be similar Jasper James. I will be experimenting with colour, black and white, landscapes, portraits, headshots, different profiles and take the image on the manual setting on the camera.
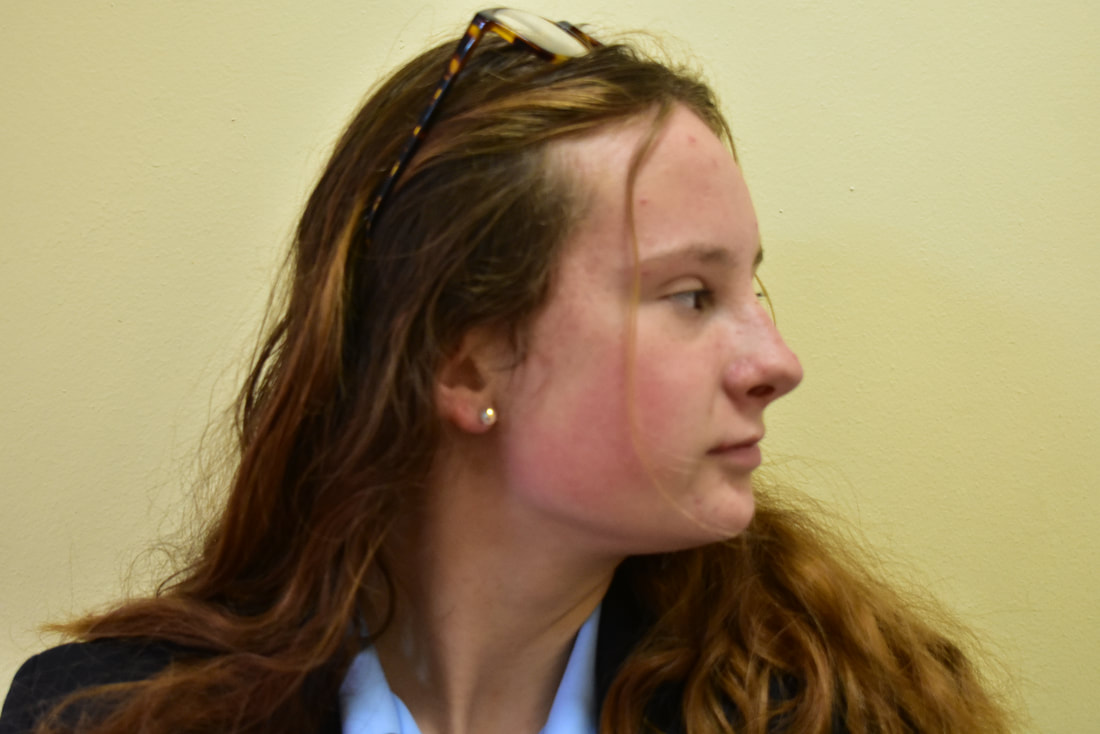
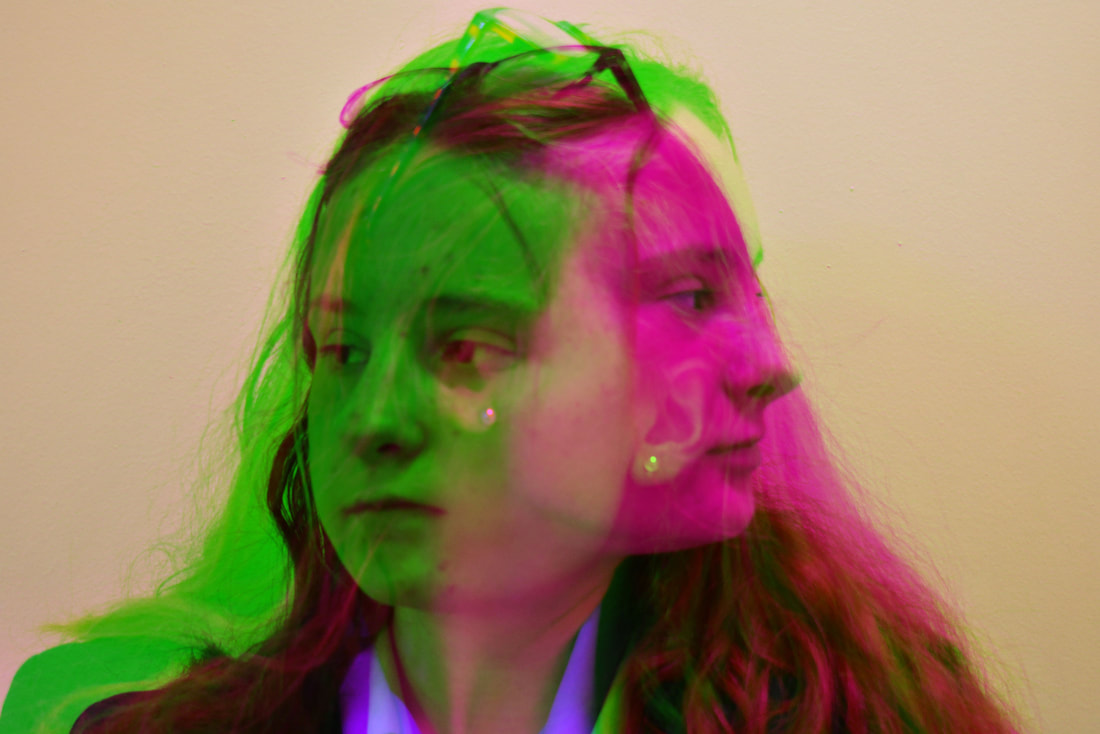
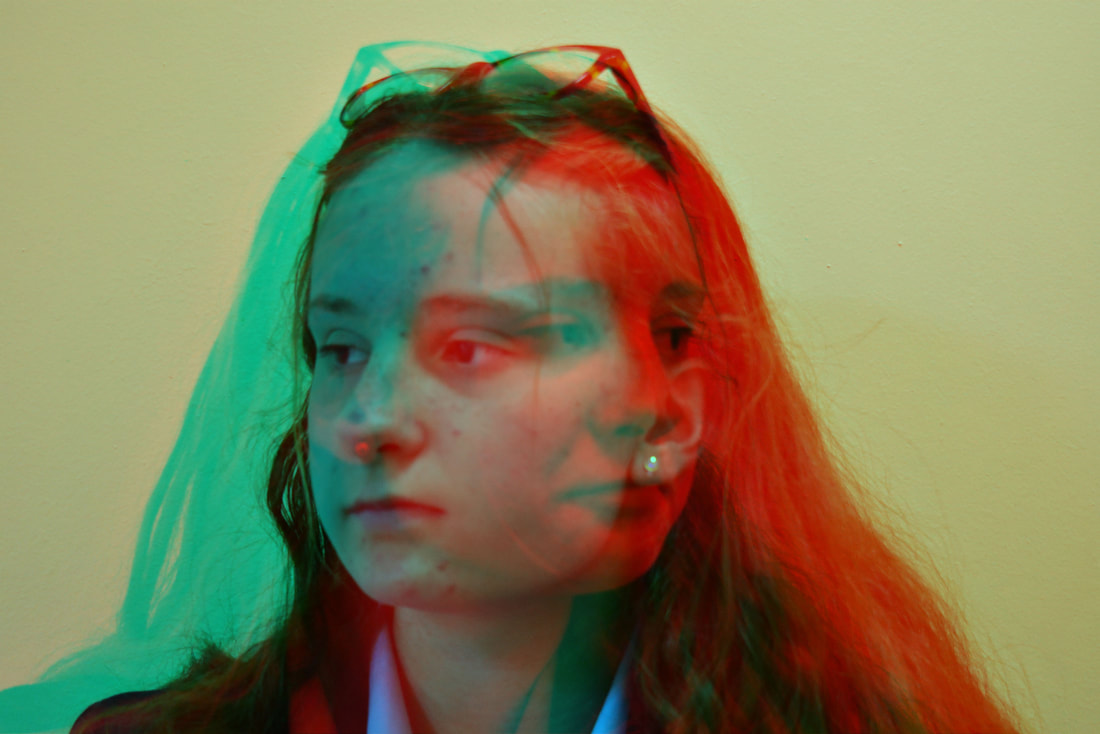
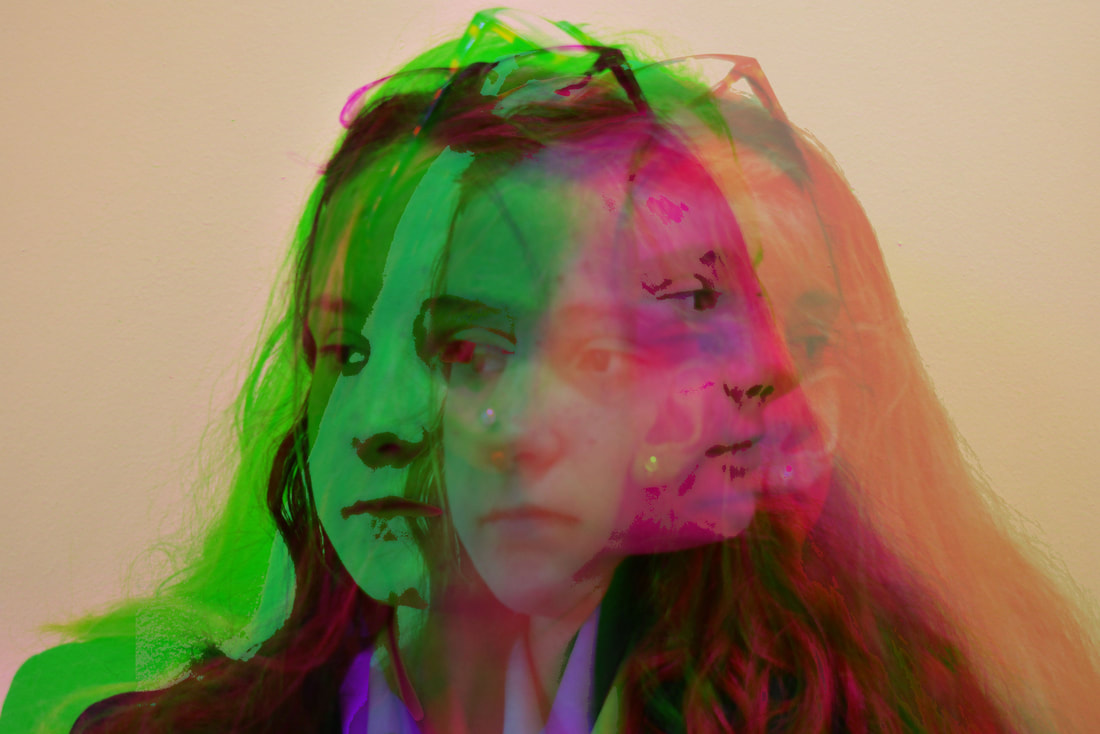
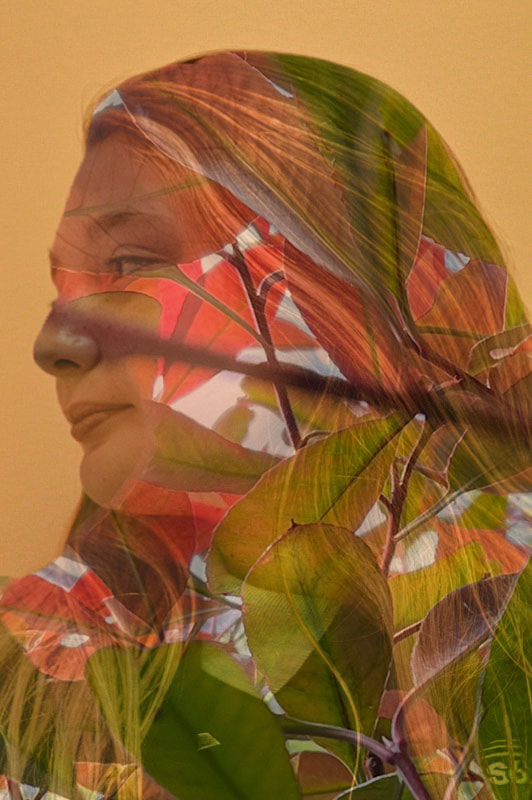
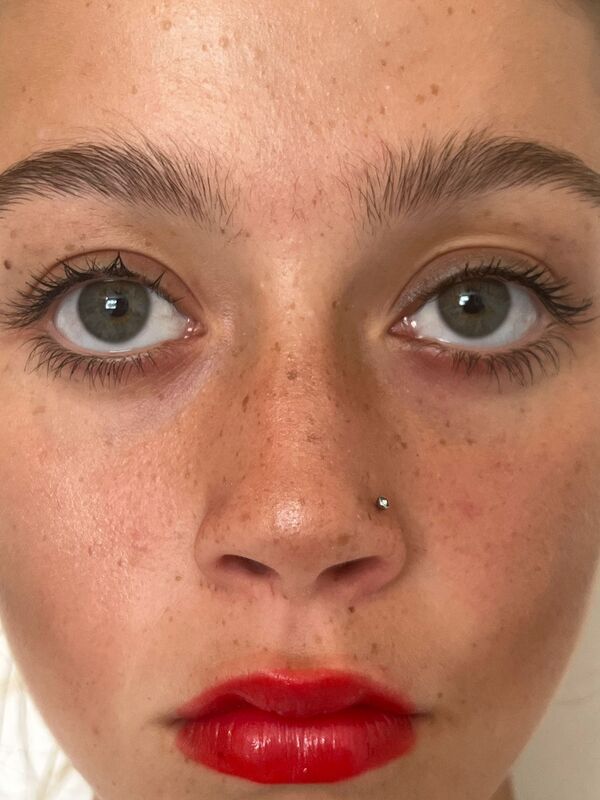
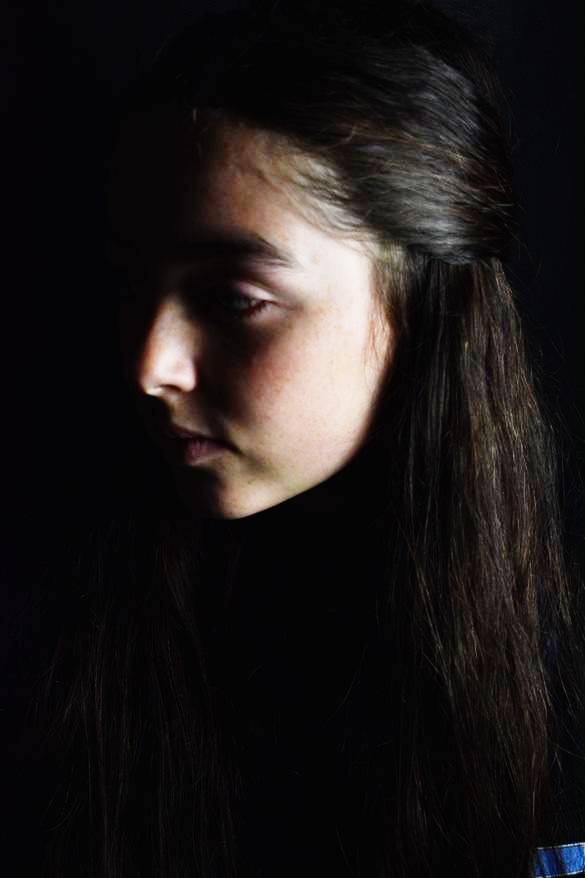
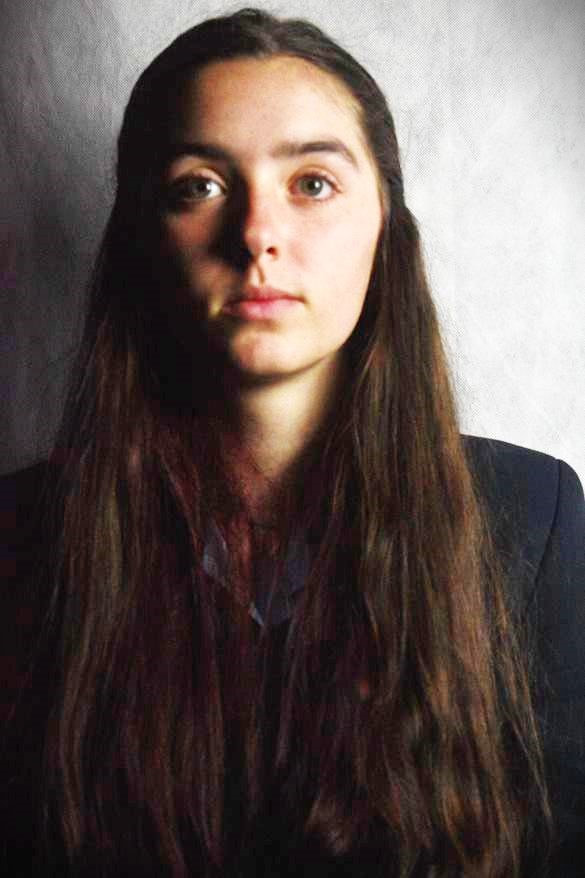
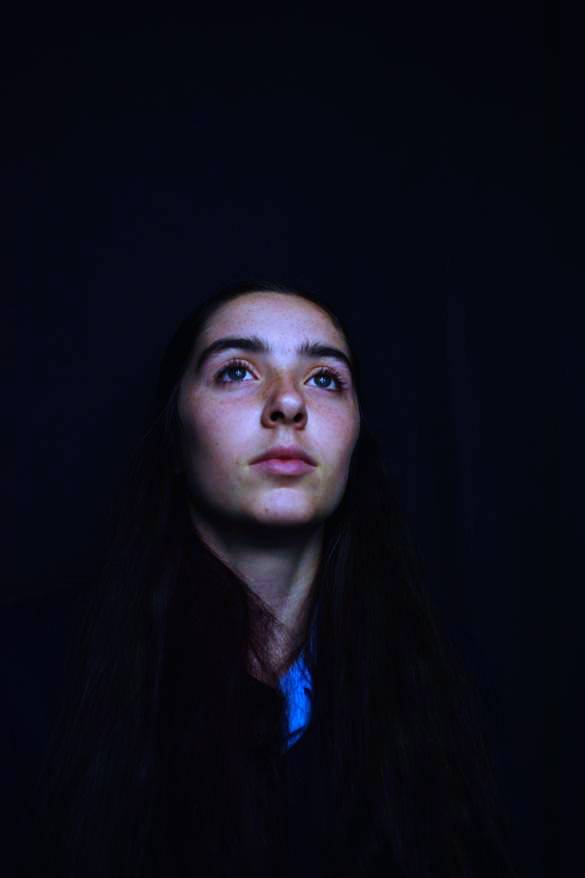
edited double exposure portrait of Isla (edited in photoshop) EXPERIMENT
Final images (below this i did double exposure with landscapes and the step by steps are very similar)

Evaluation of double exposure portrait photography portraits.
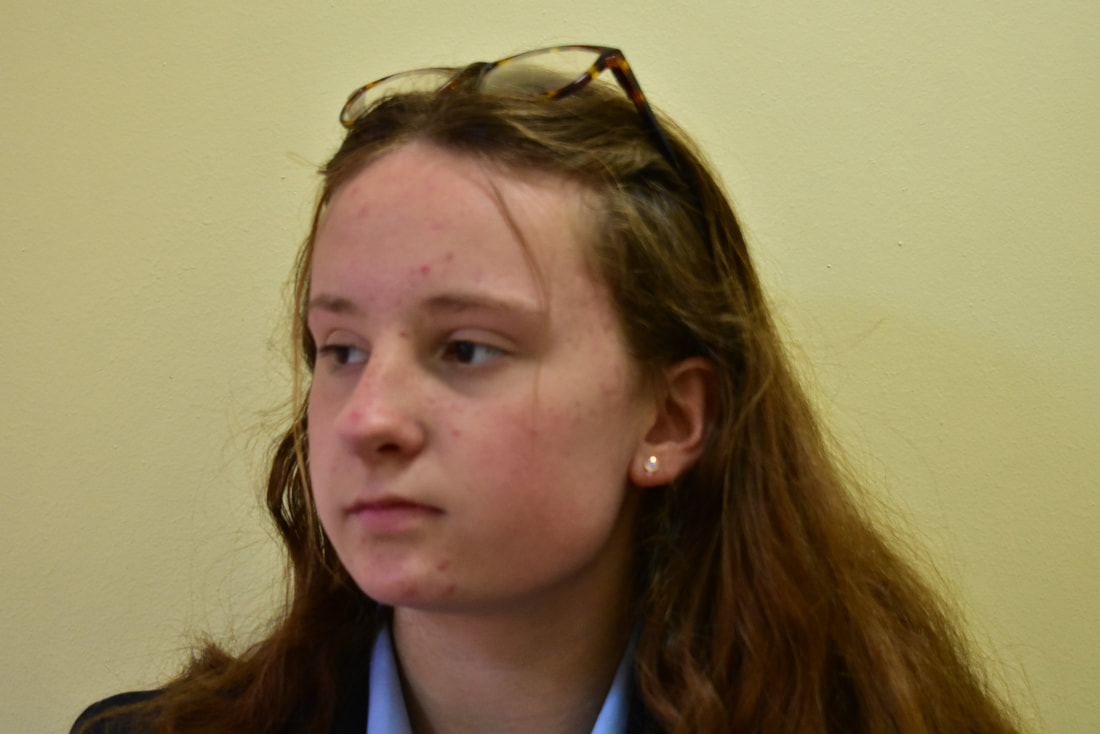
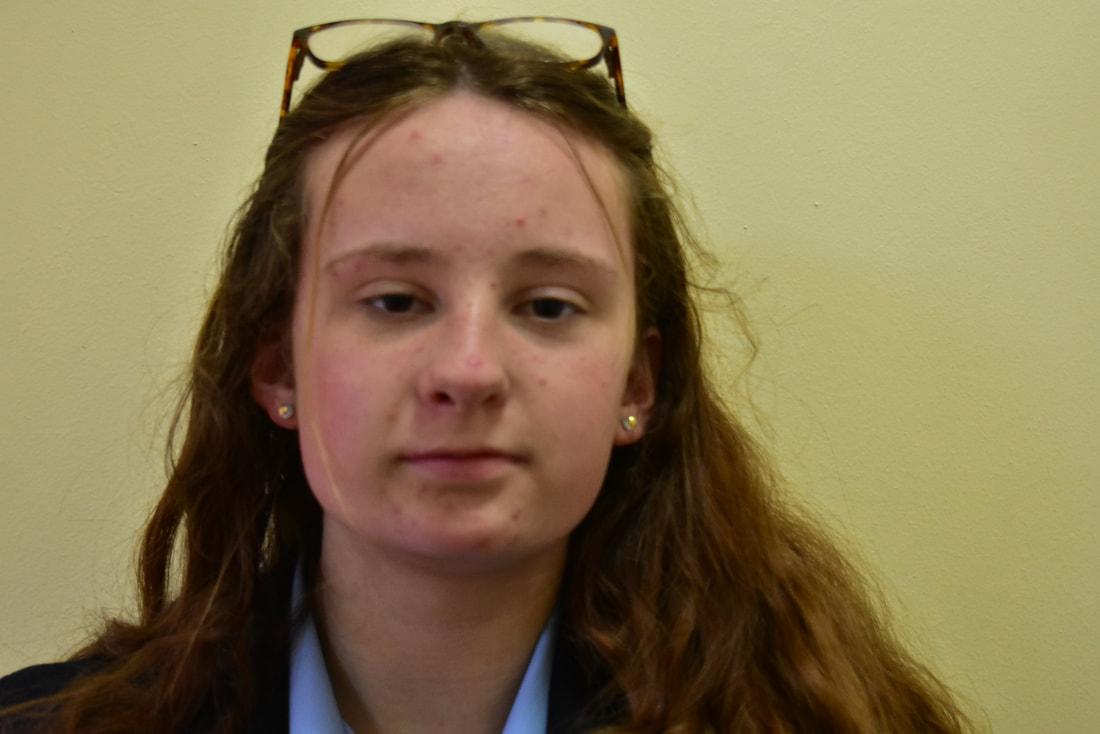
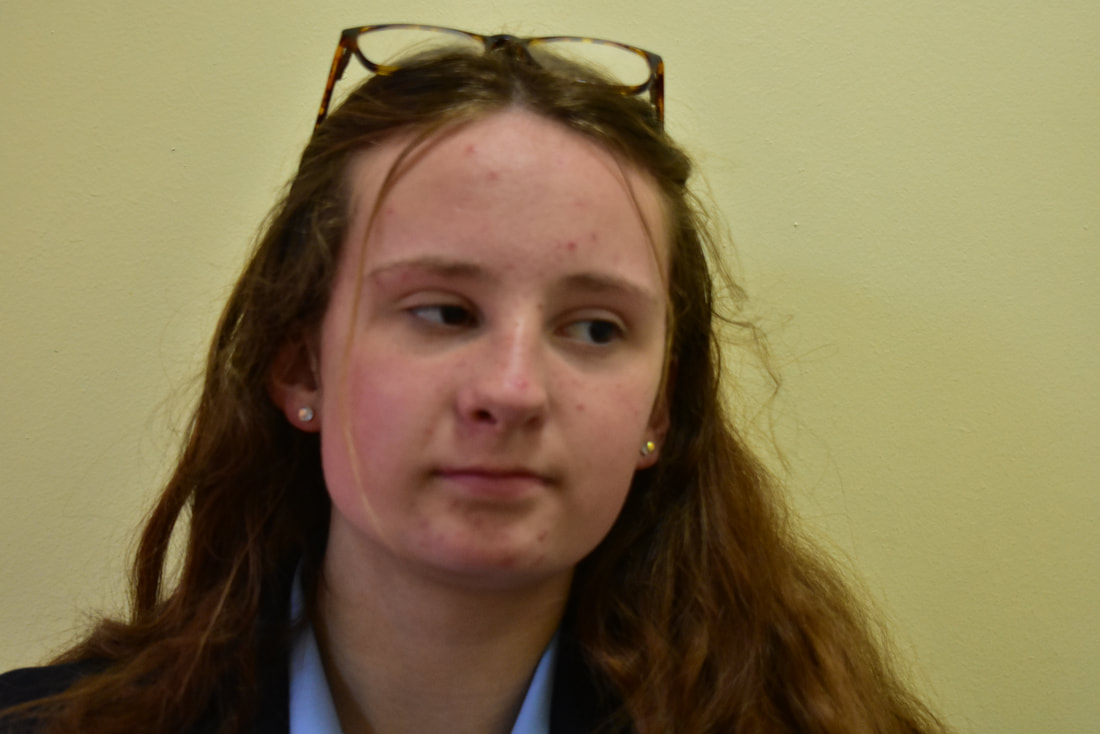
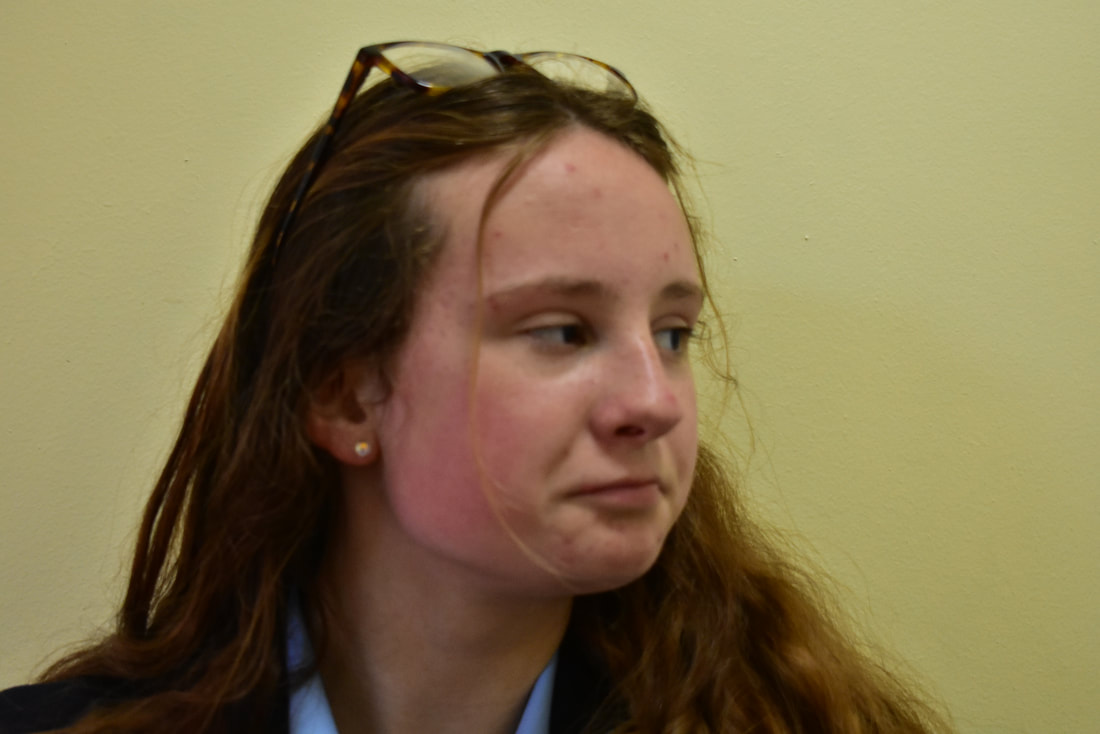
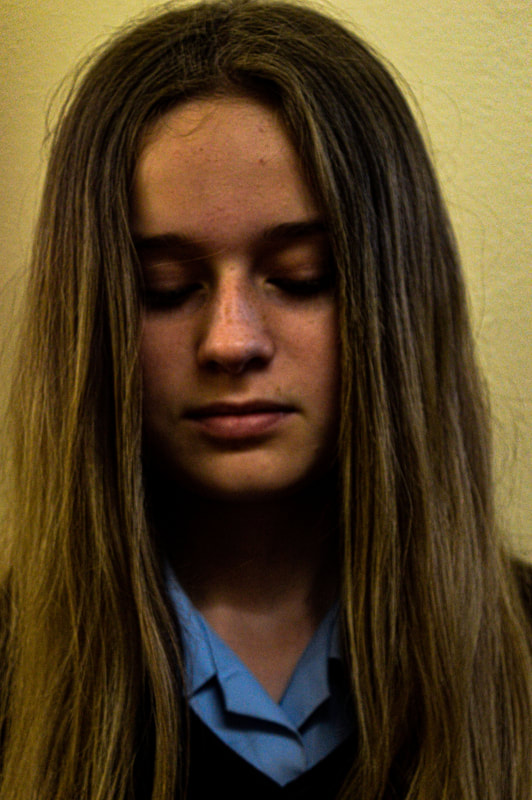
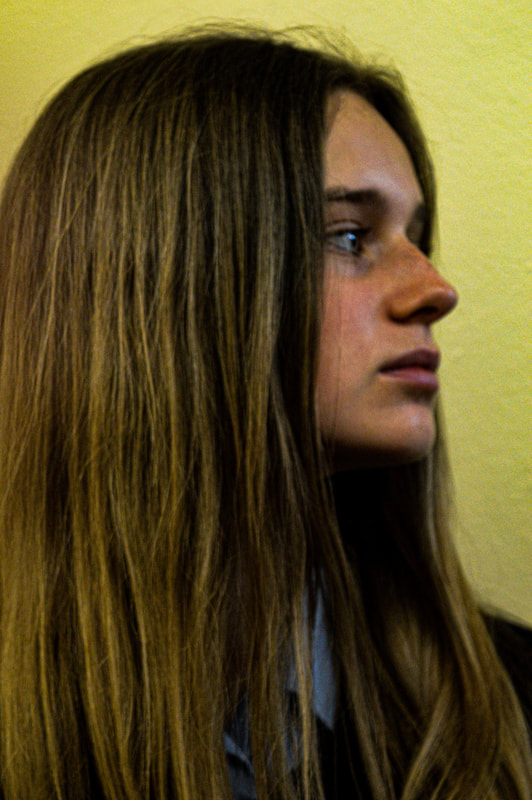
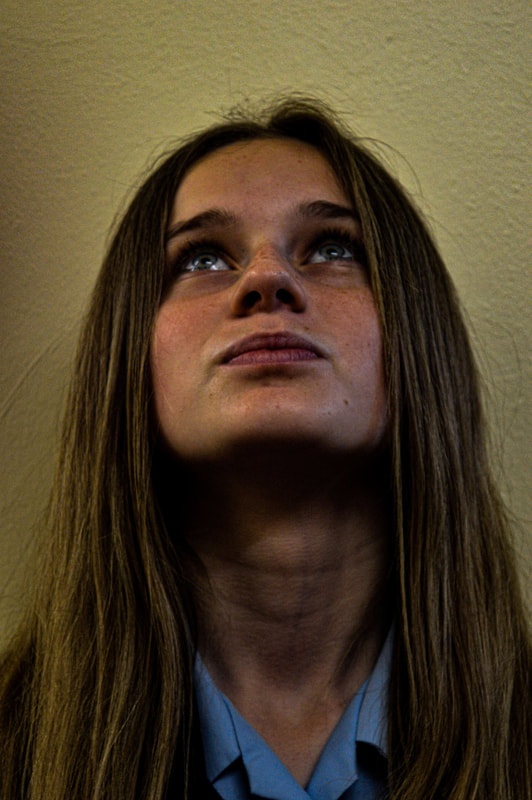
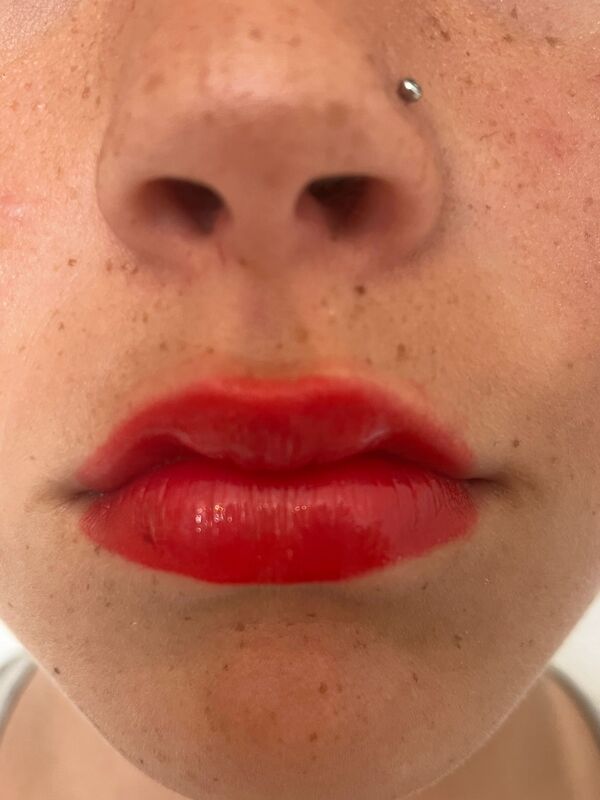
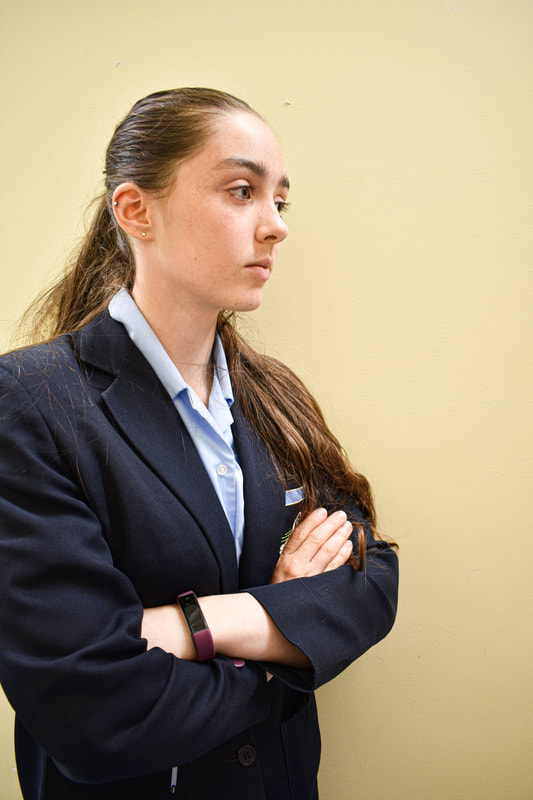
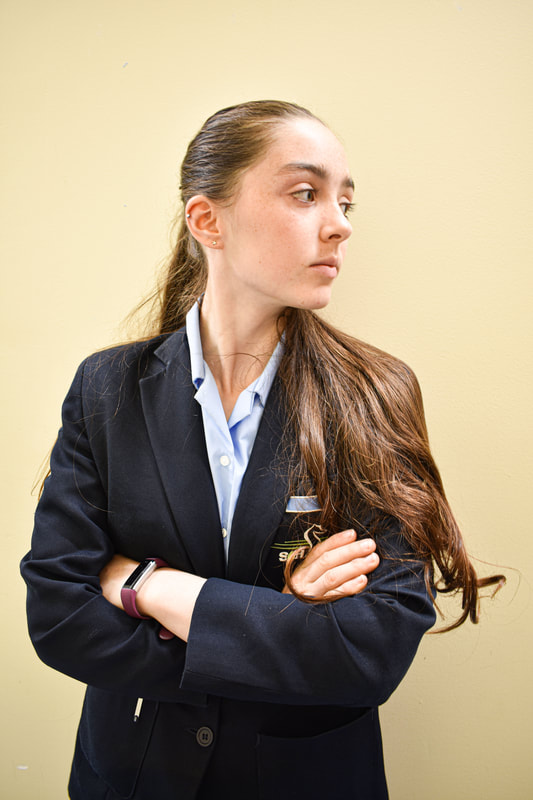
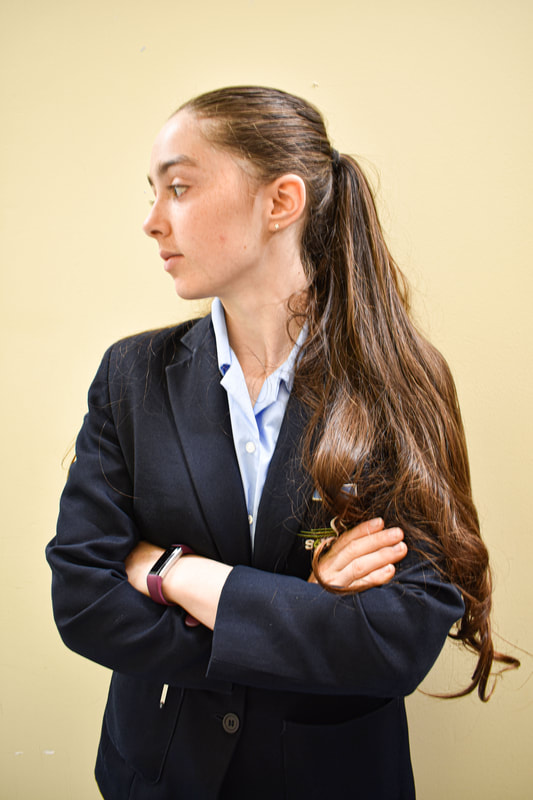
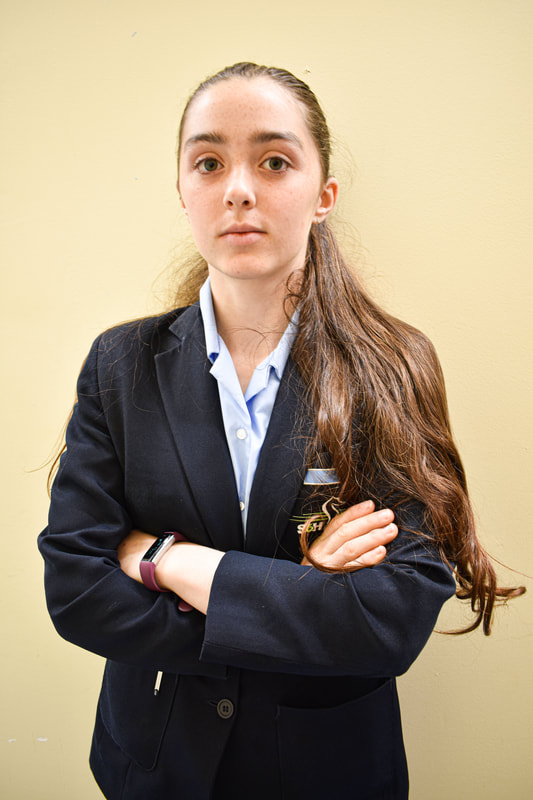
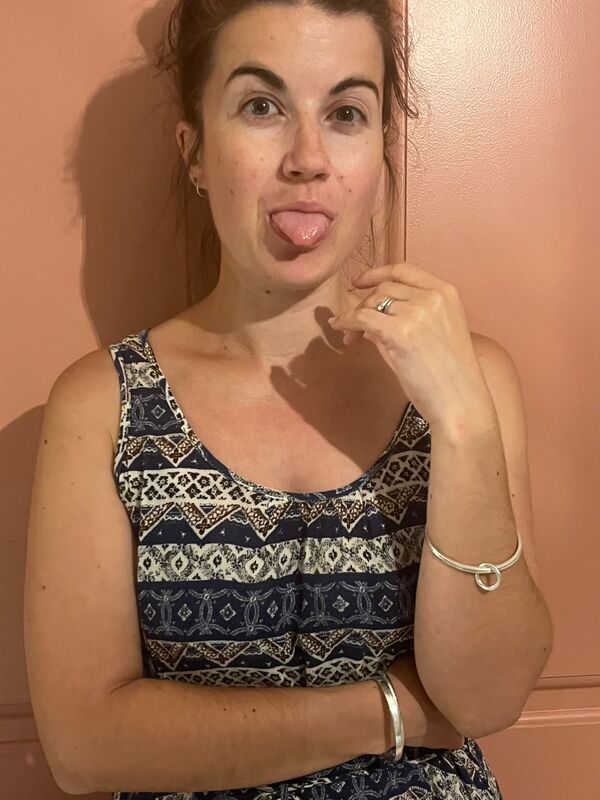
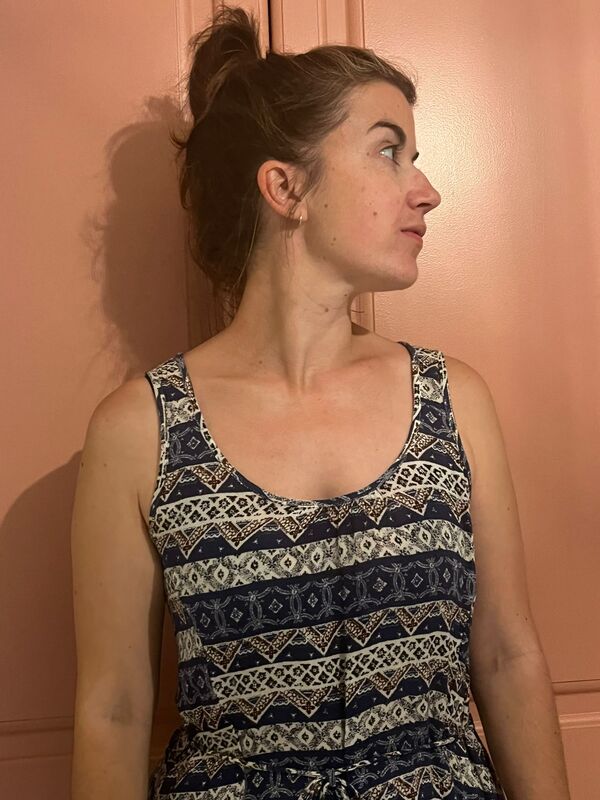
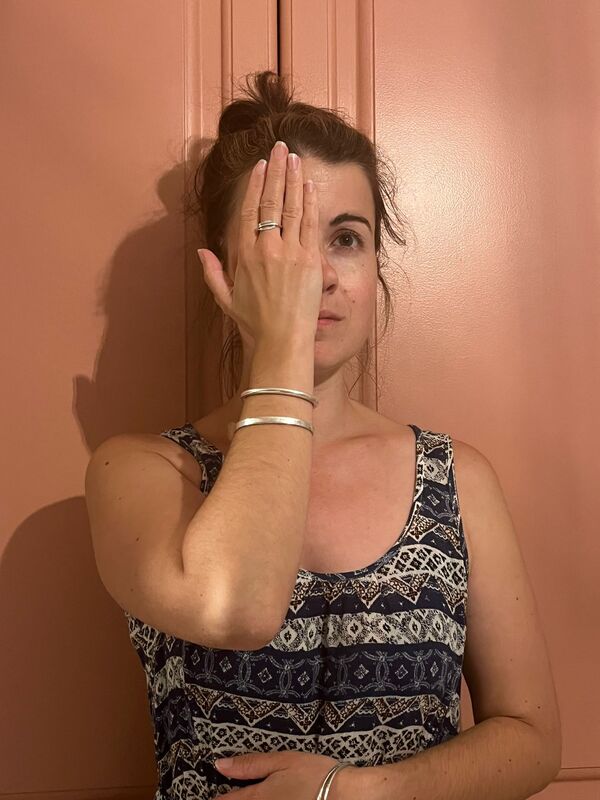
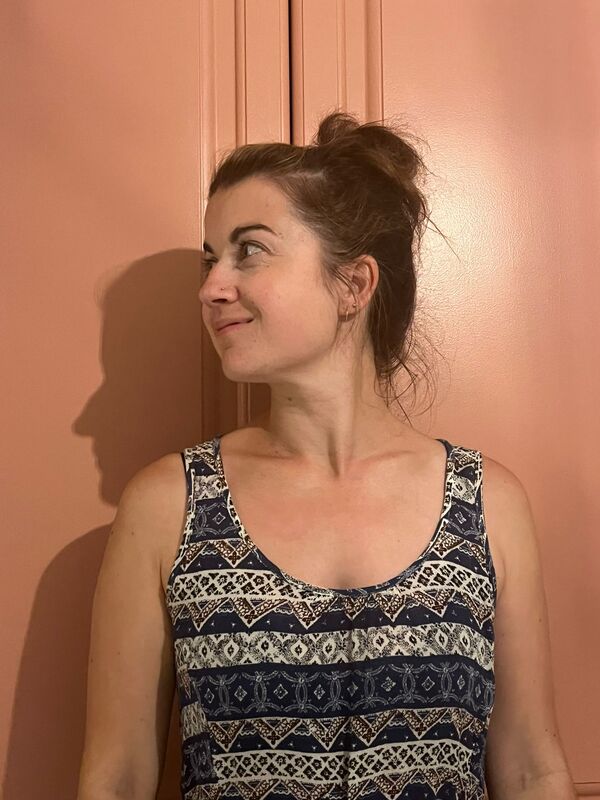
Within this experiment, I used Isla for portrait images (head and shoulders) at different angles and took images at different perspectives and profiles. I believe for the first time attempting layering photos and making them into double exposure was an okay attempt. The starting images came out a little fuzzy as I used camera setting 'manual' to take the photographs. However, I do think that I did choose colours that contrasted each other in the mini story that I created with a minimum of three images in each attempt. To improve I believe I could give a go at layering more images to make the overall photograph have a better finish.

|
With these two extension images we used the internet to find portrait images and landscape images to create double exposure landscape portraits. We used photoshop and followed a step by step within these experiments. |

|
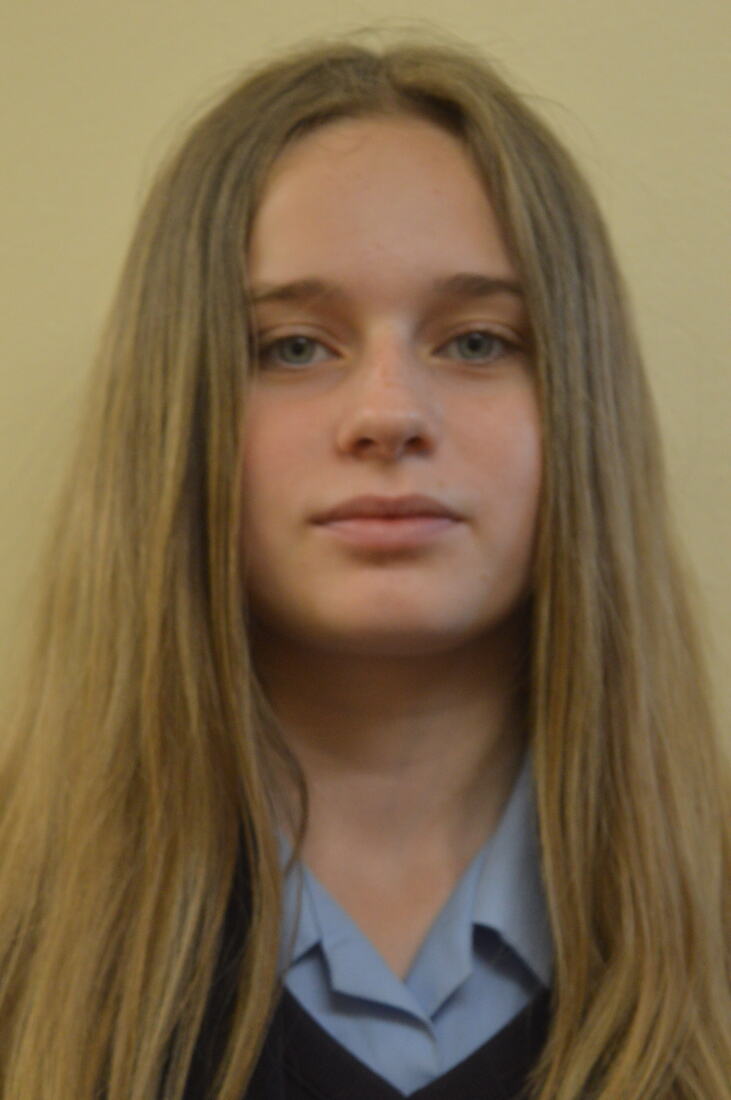
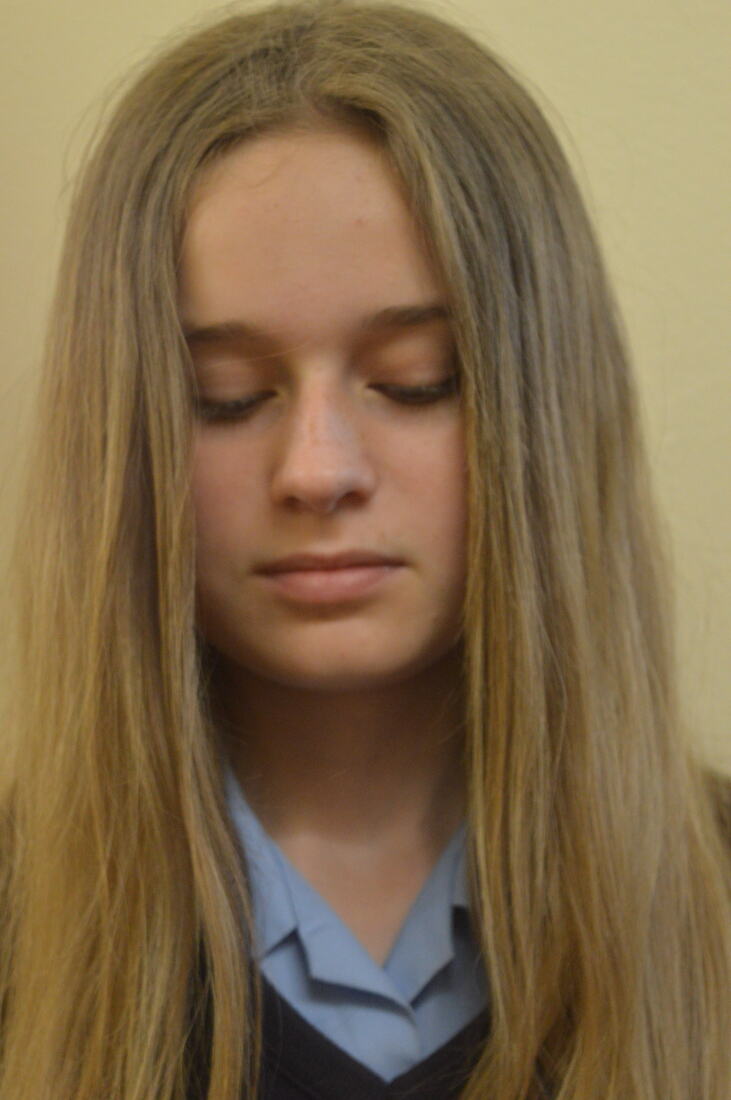
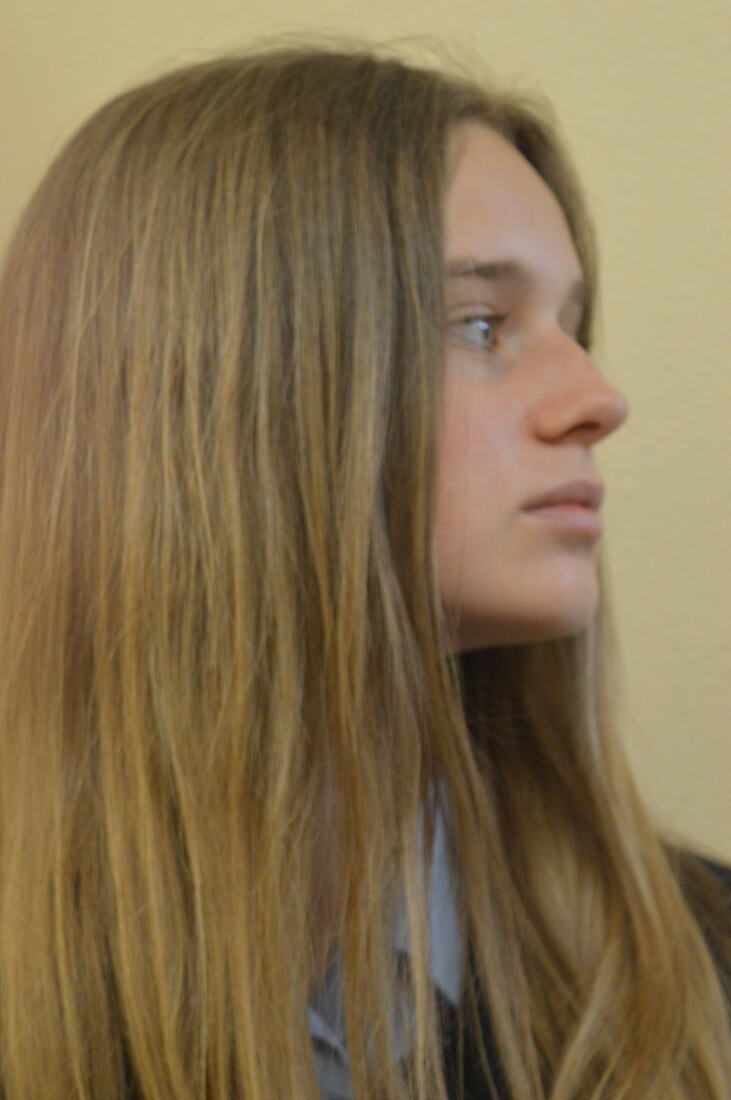
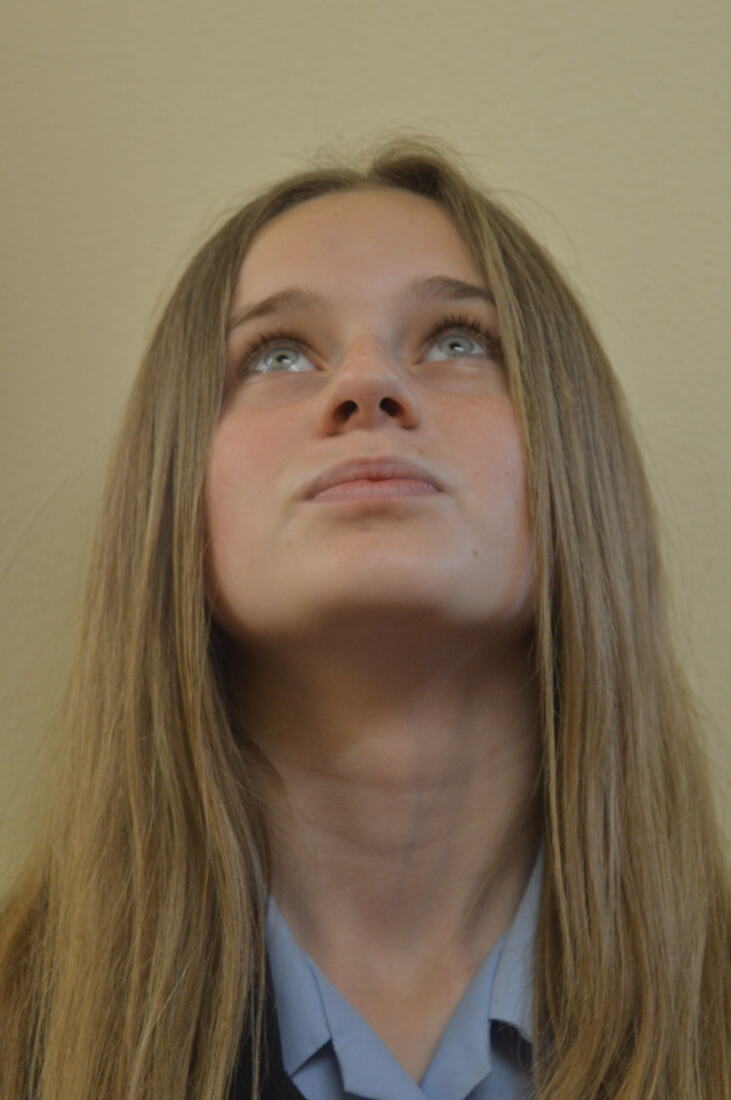
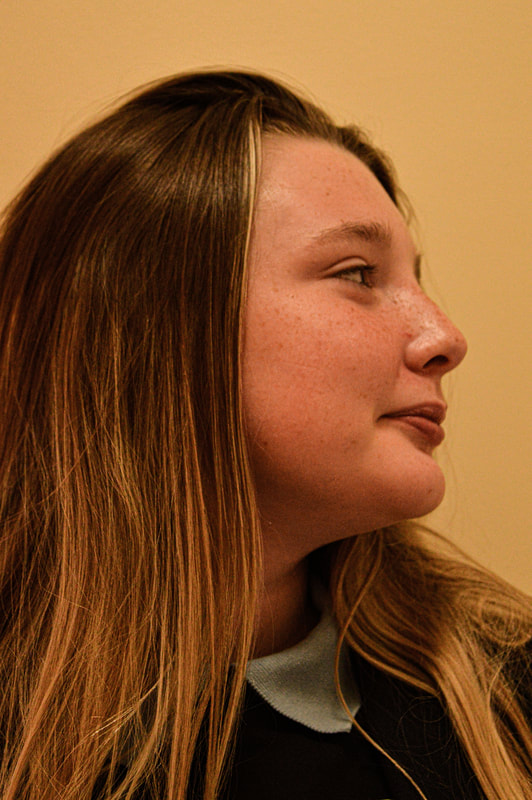
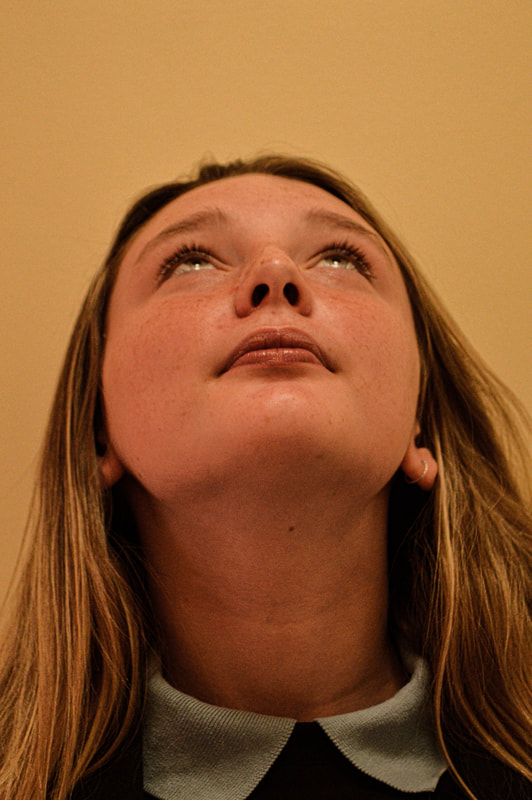
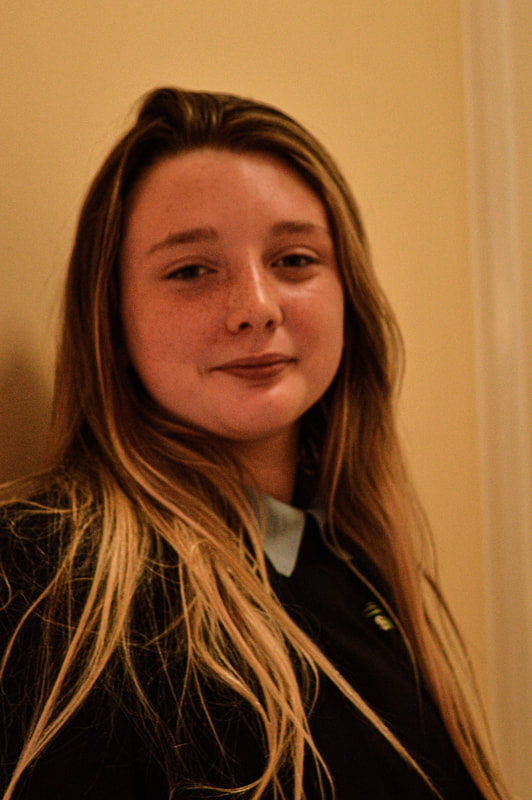
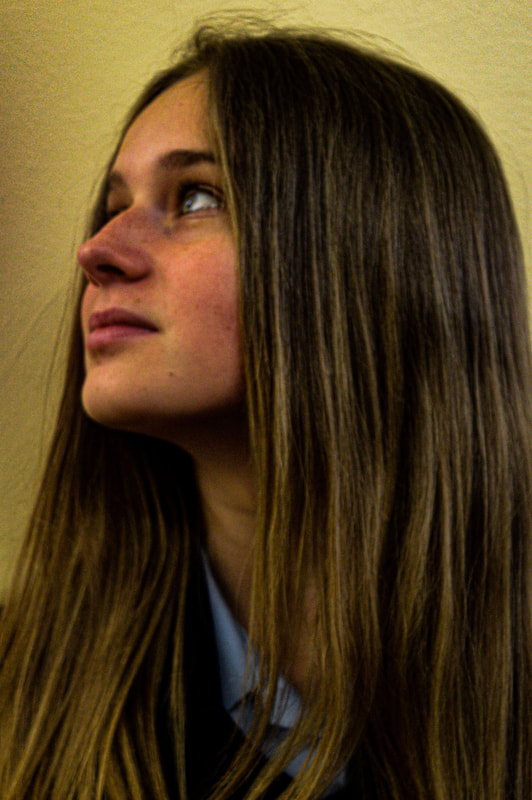
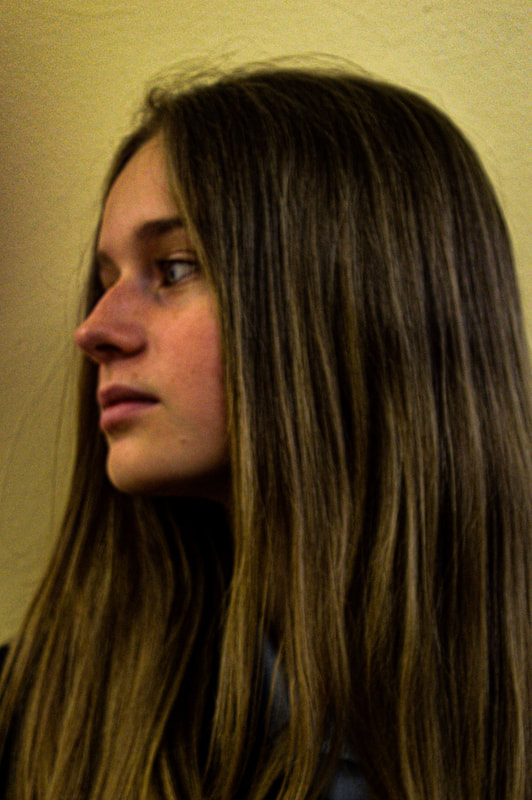
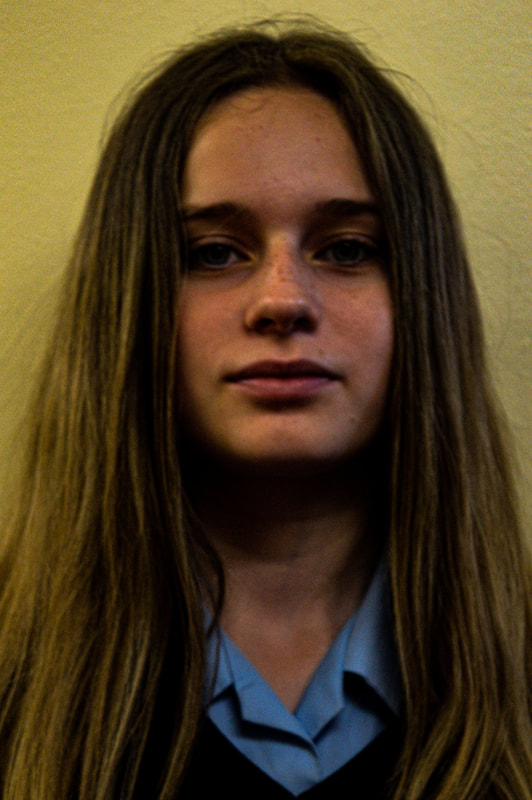
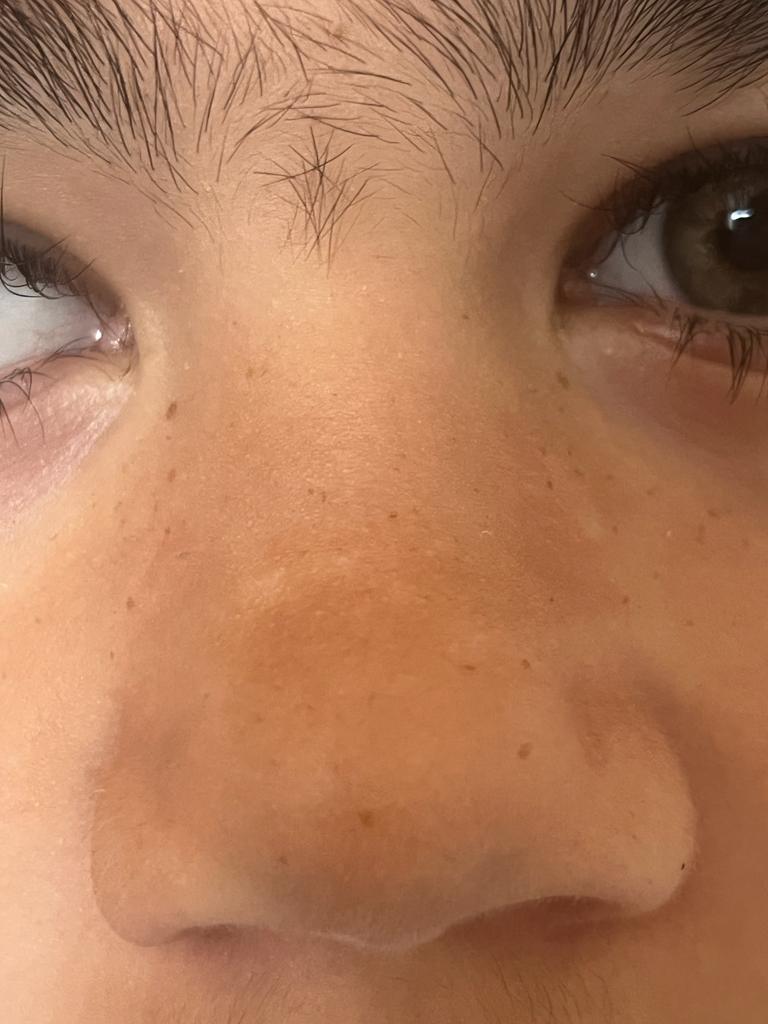
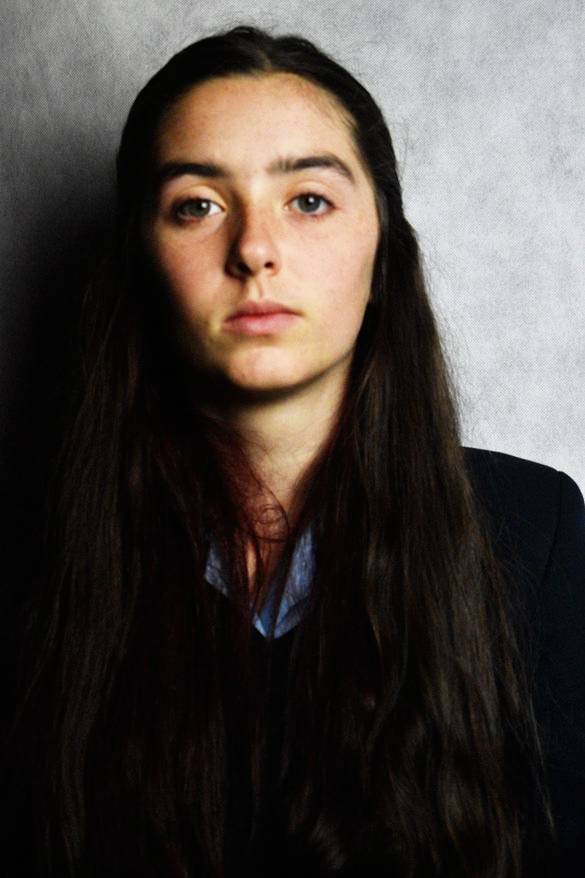
Unedited images of Kyra.


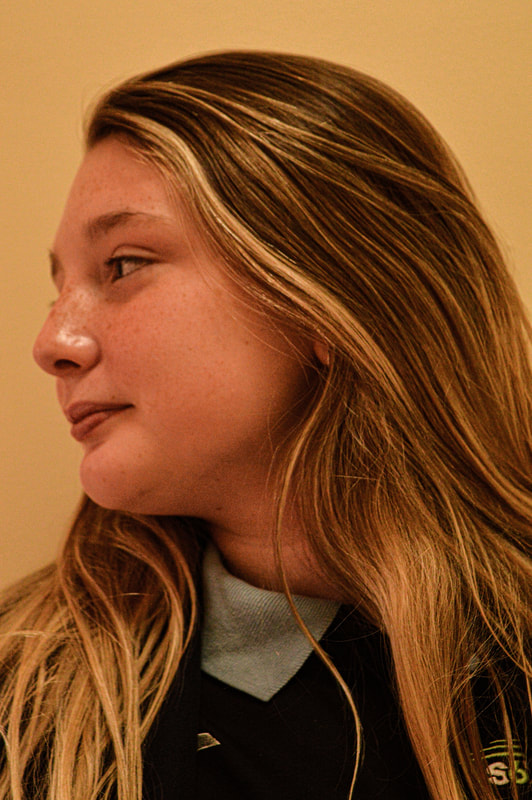
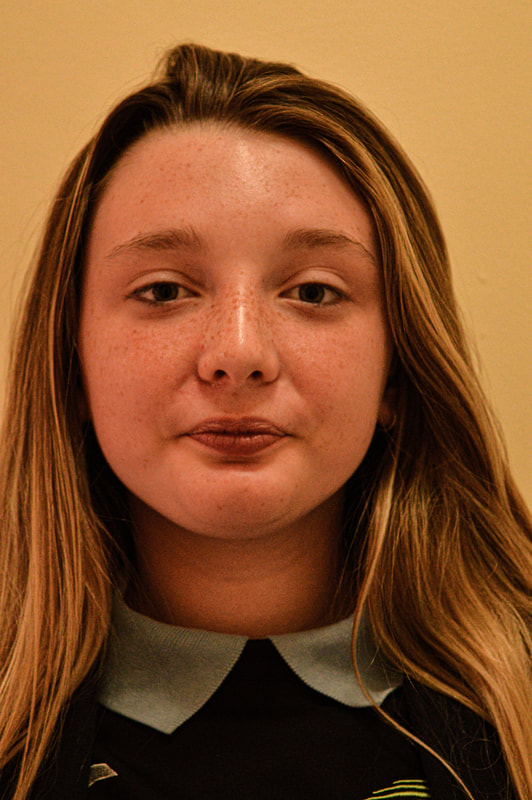
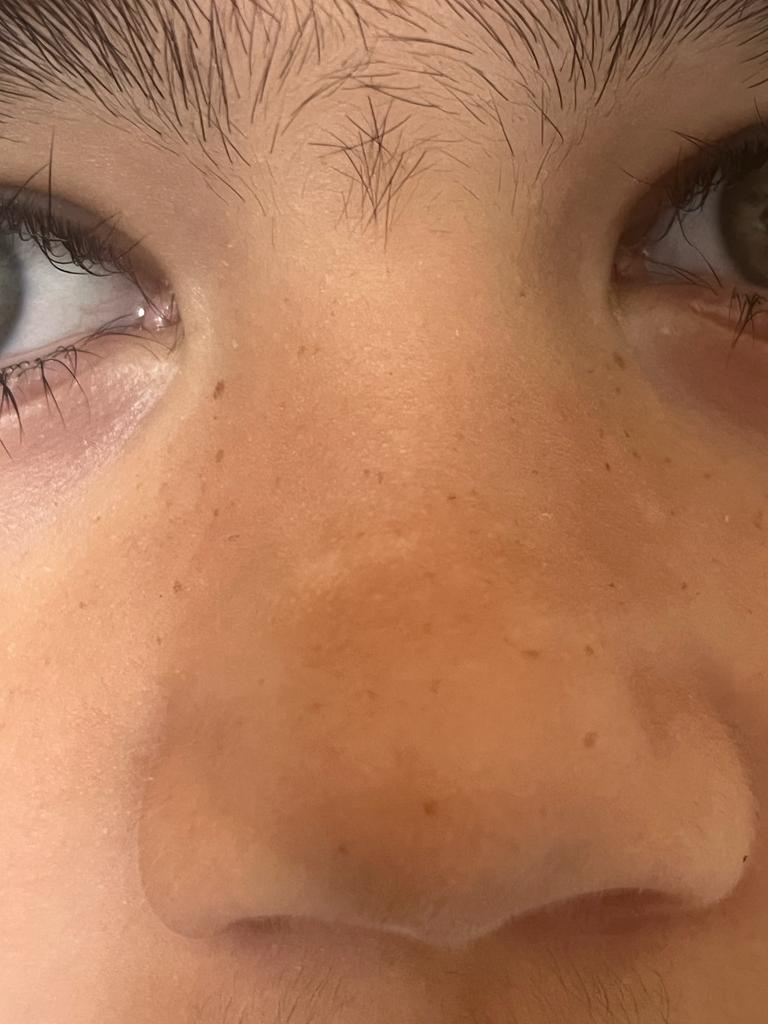
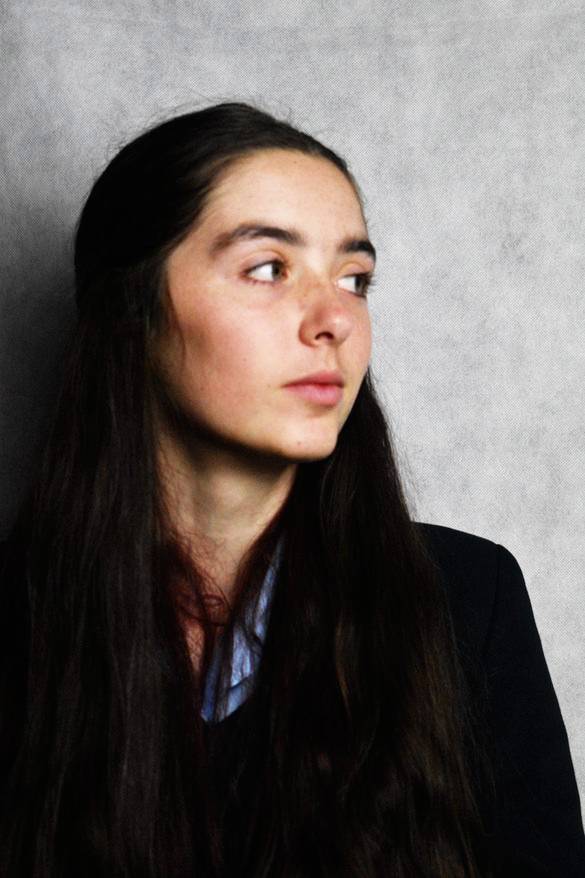
once edited on camera raw filter the images look like this:

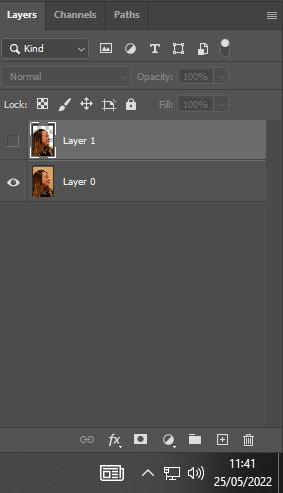
STEPS OF MAKING A DOUBLE EXPOSURE PHOTOGRAPHY PORTAITS

|
Step number one: Double click on the background to create a second layer of the same image. Then use the quick selection tool on the left to highlight the portrait. |
|
|
|
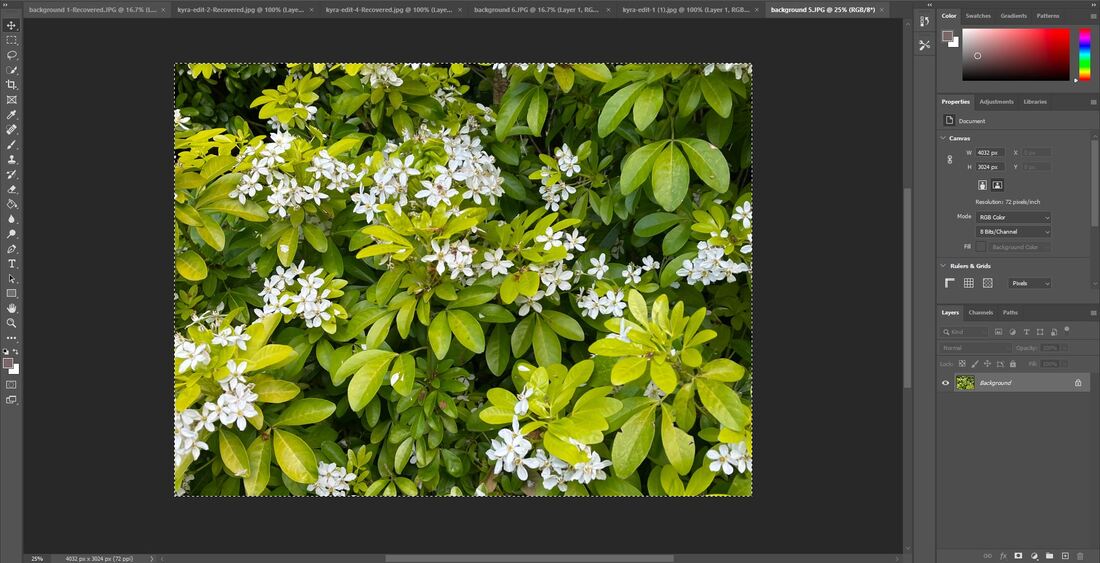
Then find your landscape image (as i had a problem in uploading the landscapes I used a flower image I already took) With the copy and paste buttons go back to the portrait and paste it. |
|
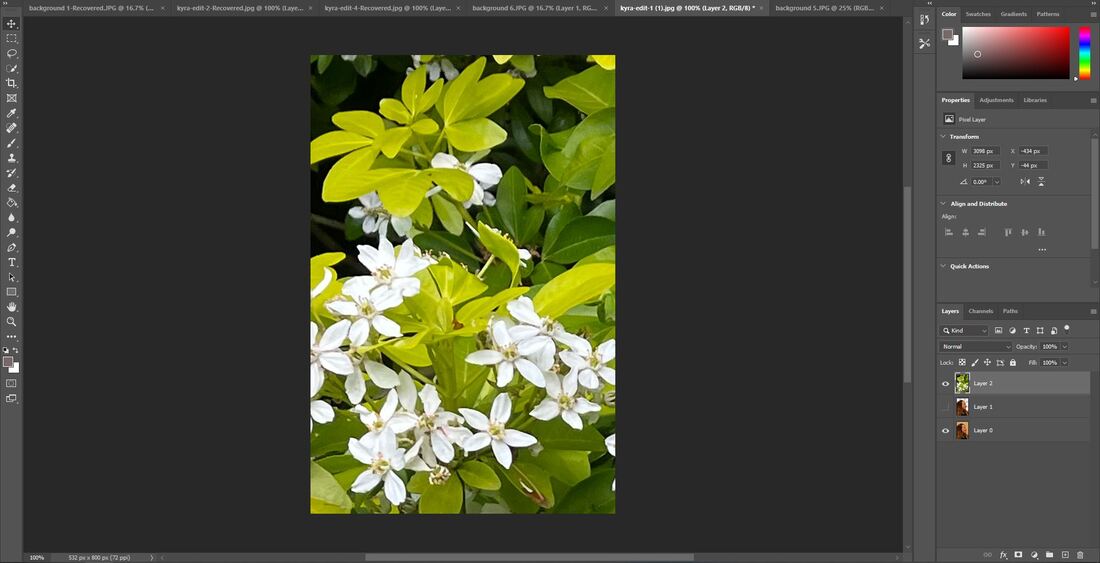
Once done your screen should look like this. Once pasted the image you should have three layers. Two of the same portrait lined up and the one photo of the landscape on the top of them both. |

|
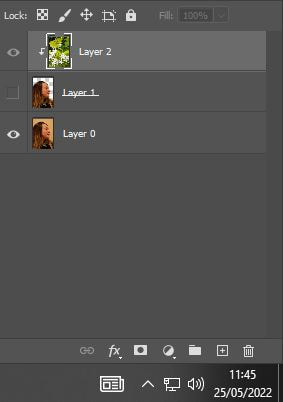
Click on the third layer (layer two) the one with the landscape image and right click once you have done that you need to click the button that says 'create clipping mask' |
|
Here shows the previous step (the little arrow pointing down, shows you that you have created the clipping mask) |
|
Next double click on the layer with the landscape and play around with the opacity (do this as much as you are happy with to make the image to your want with the background merging with the portrait image. |
Final evaluation:
Part one: (double exposure colour) - Within this half of the project I believe that I had successfully followed the steps in creating double exposure images colour. I particularly like the fact that my final outcomes came out better than expected, and I was more than happy with the portrait photos we had to take within school. I used photoshop to edit (shown in the steps by steps how)
Part two: (double exposure landscape) This part of the project I felt went well, though I had some struggles highlighting with the quick selection tool.
Joiners
Myra Green
Artist investigation
Joiners
Myra Greene
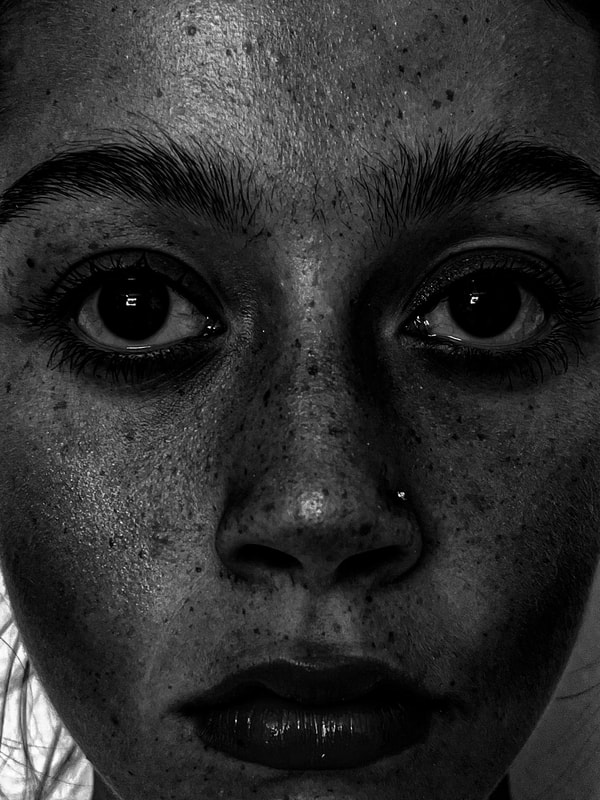
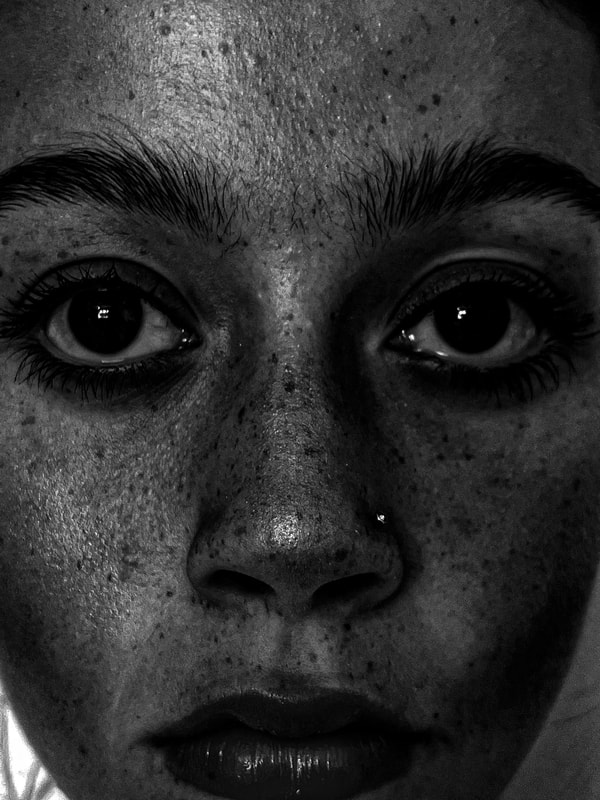
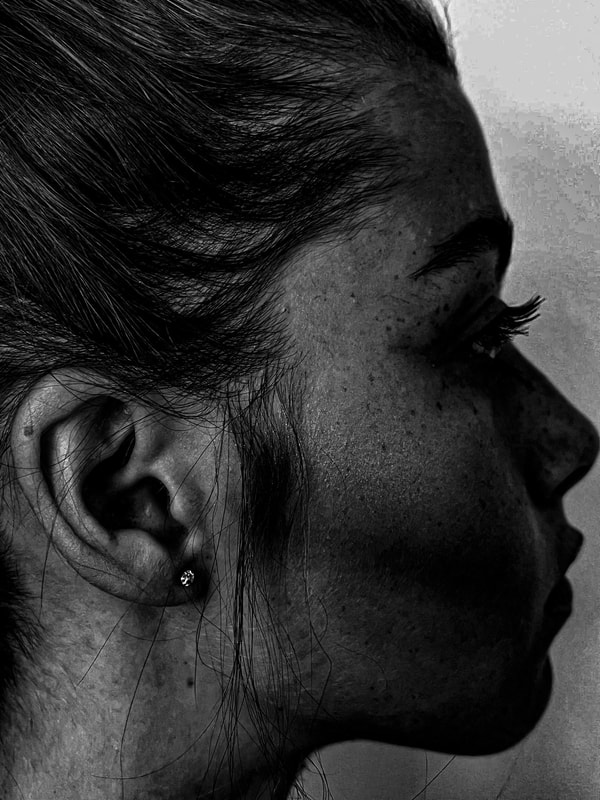
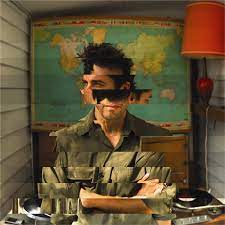
Myra Greene is a photographer that is well known and has focused on quite a few different projects. However the one I will be doing my artist investigation on in a project called character recognition; the date of this series is (2006-2007), she employed a historic photographic process linked to the times of ethnographic classification to create unique ambrotypes . Greene is from New York. The series character recognition I believe is about showing differences in body and facial appearances and how everyone is different. Myra even stated 'throughout my artistic practice, I have returned to the body to explore issues of difference, beauty, physical and emotional as they play out on the surface of the skin.'
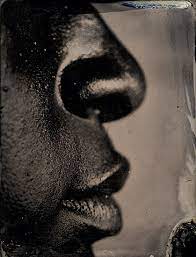
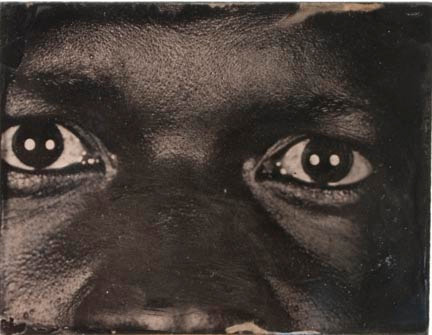
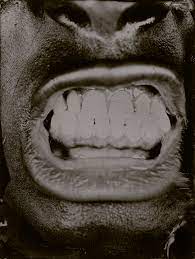
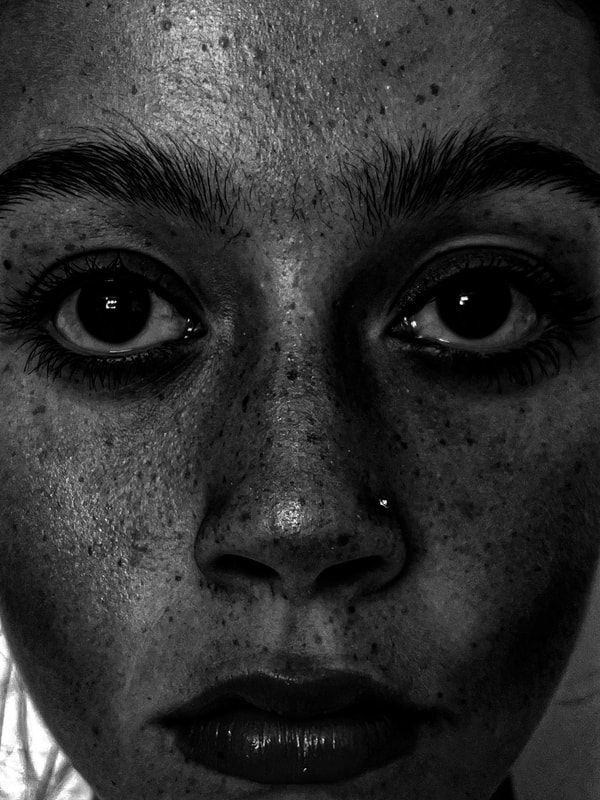
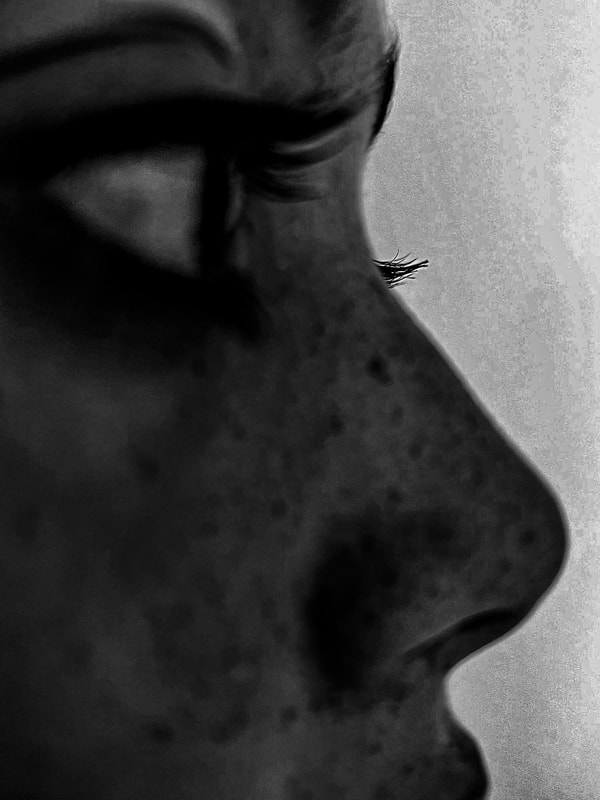
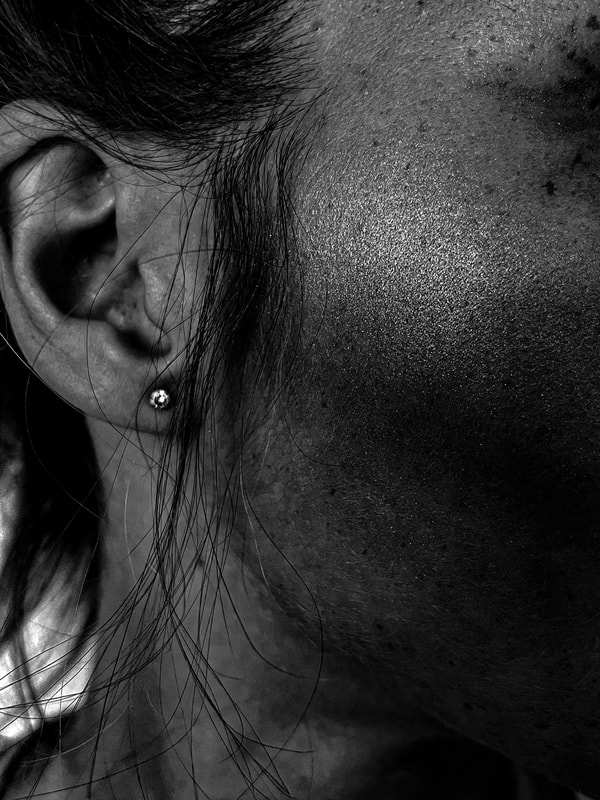
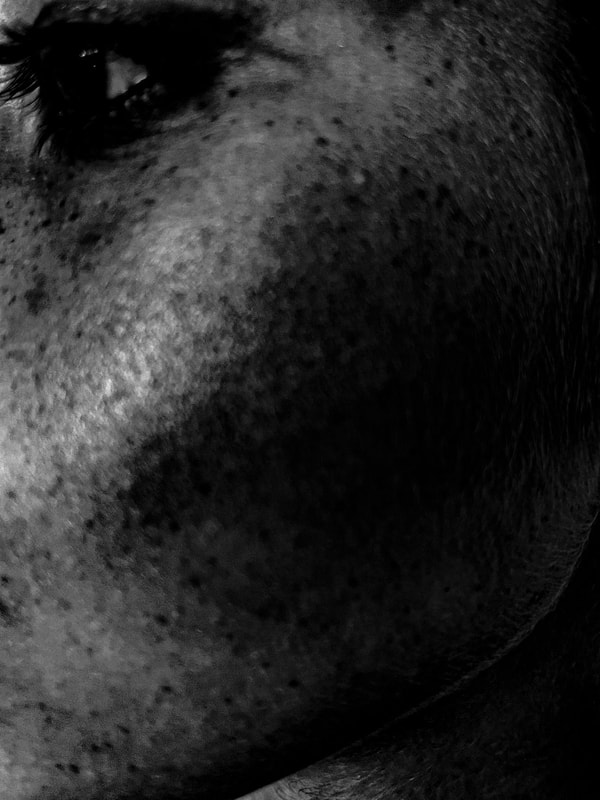
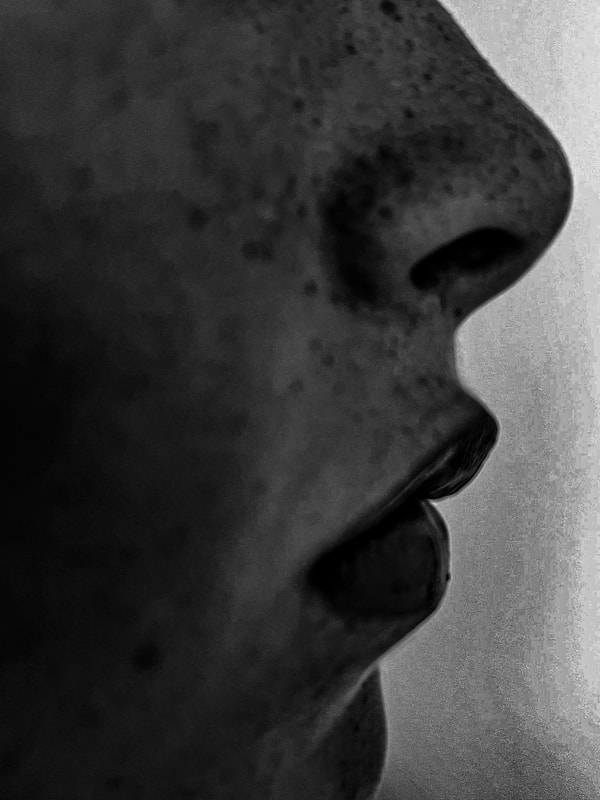
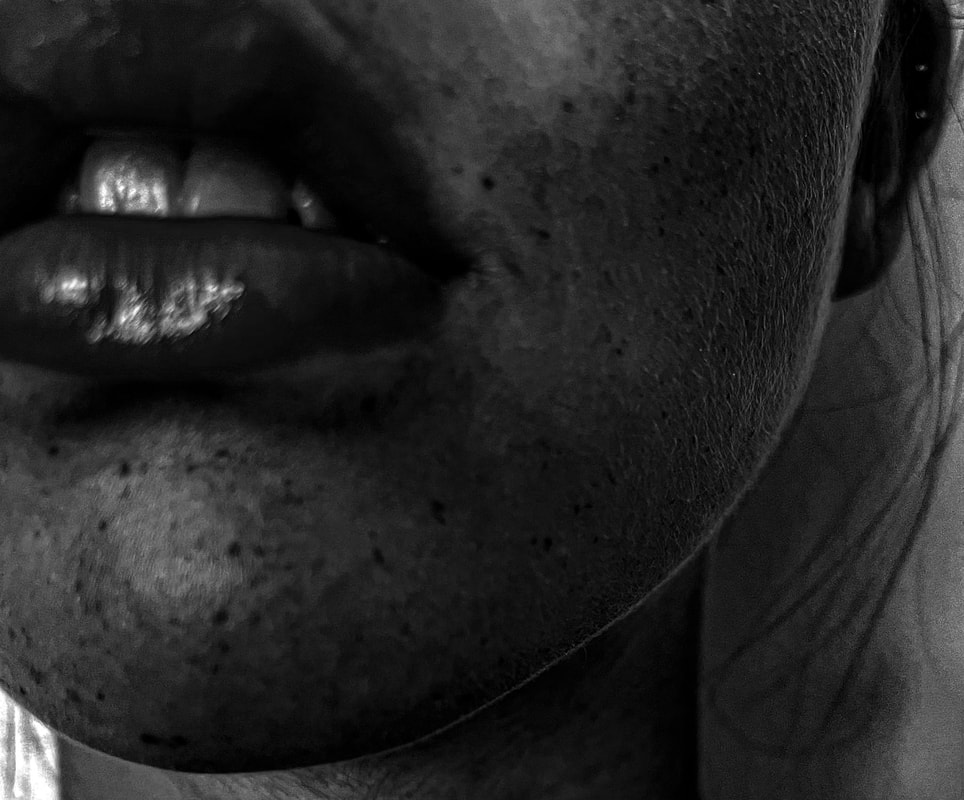
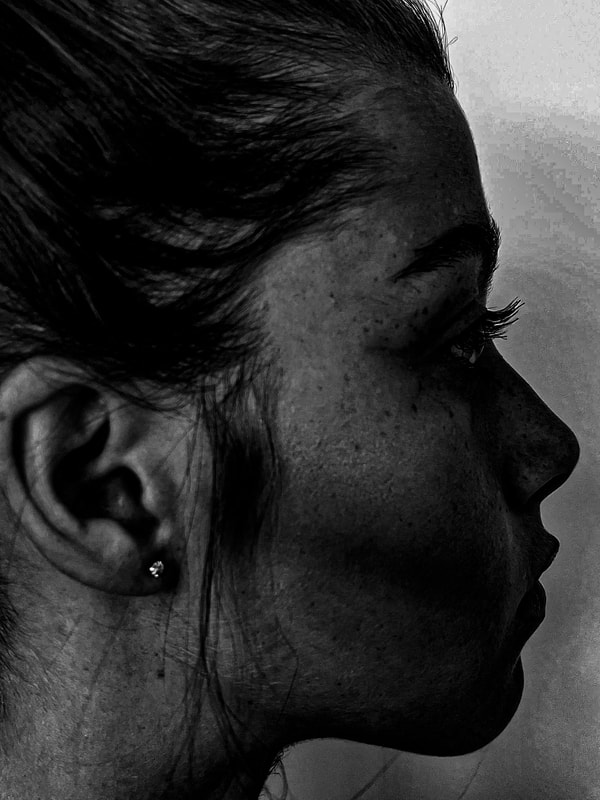
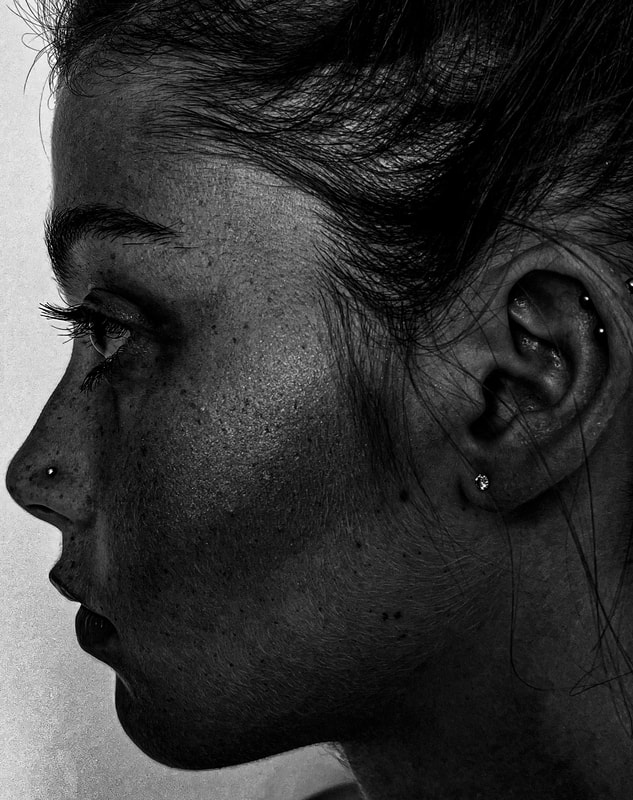
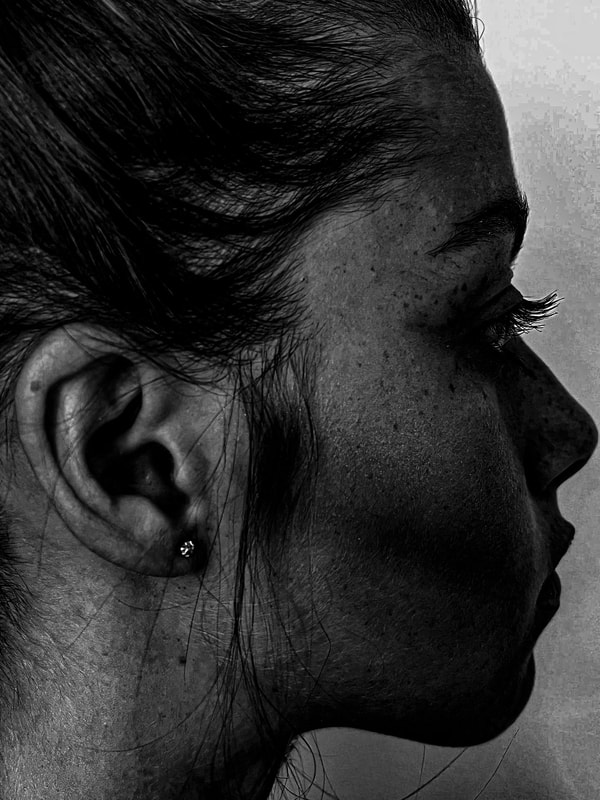
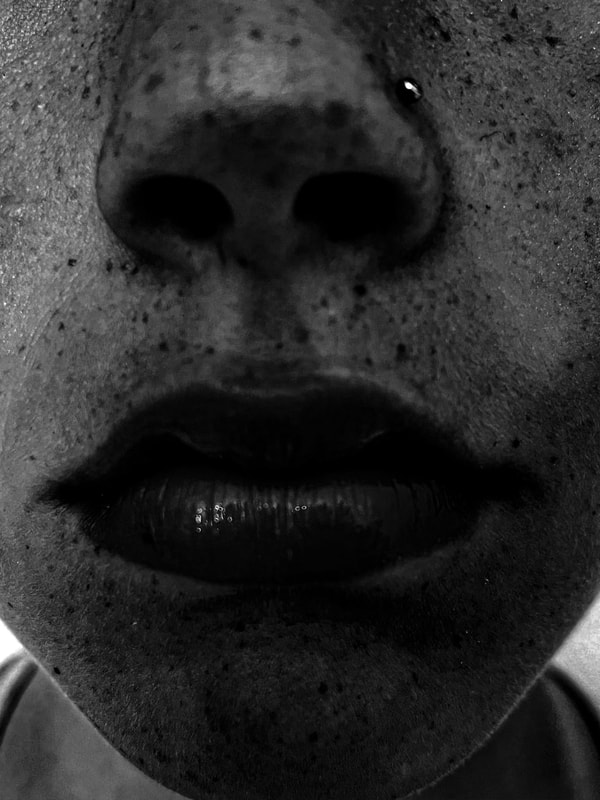
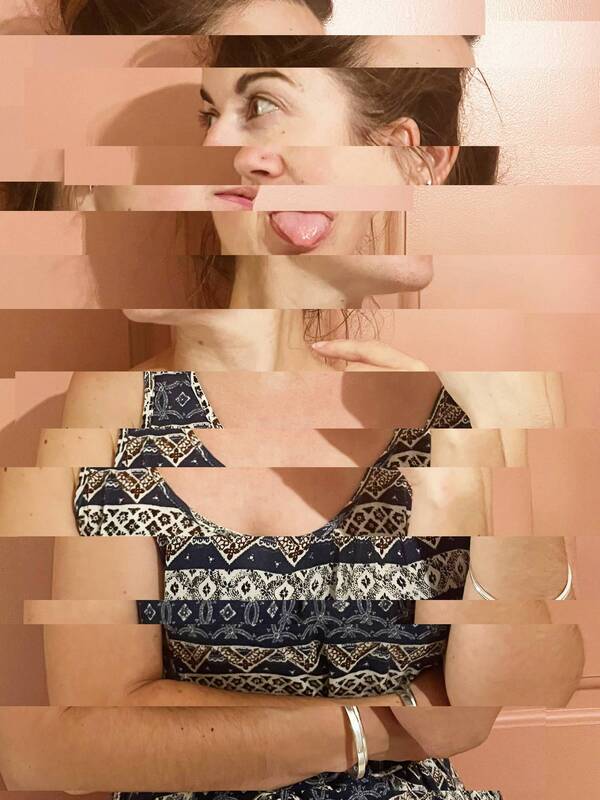
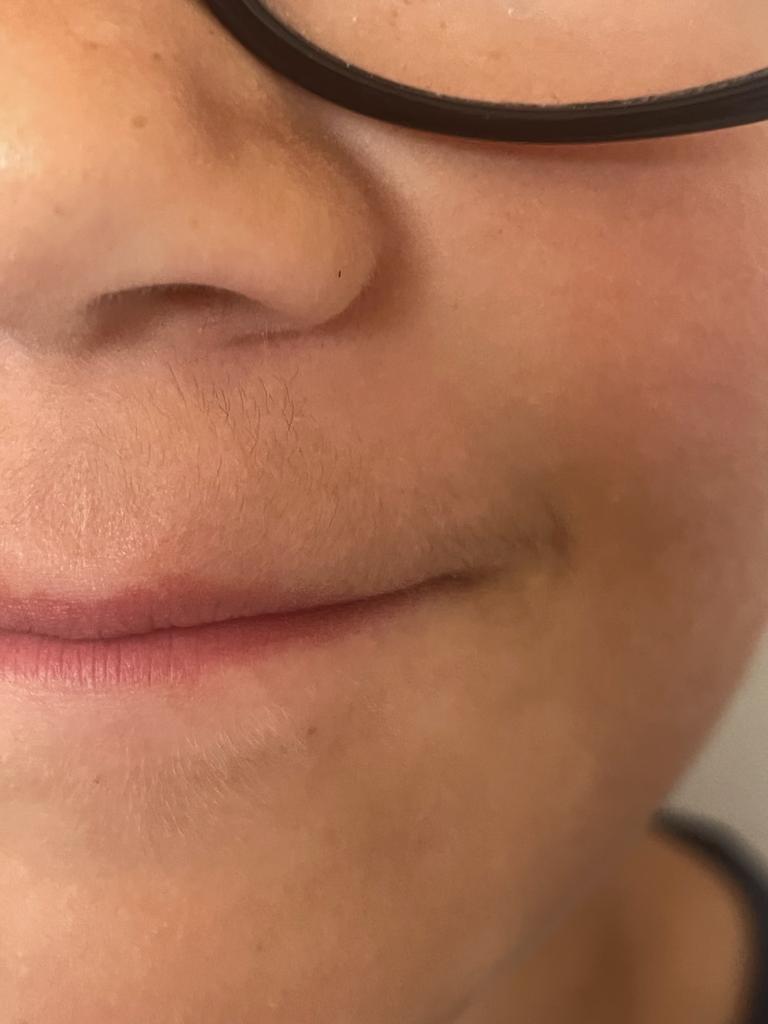
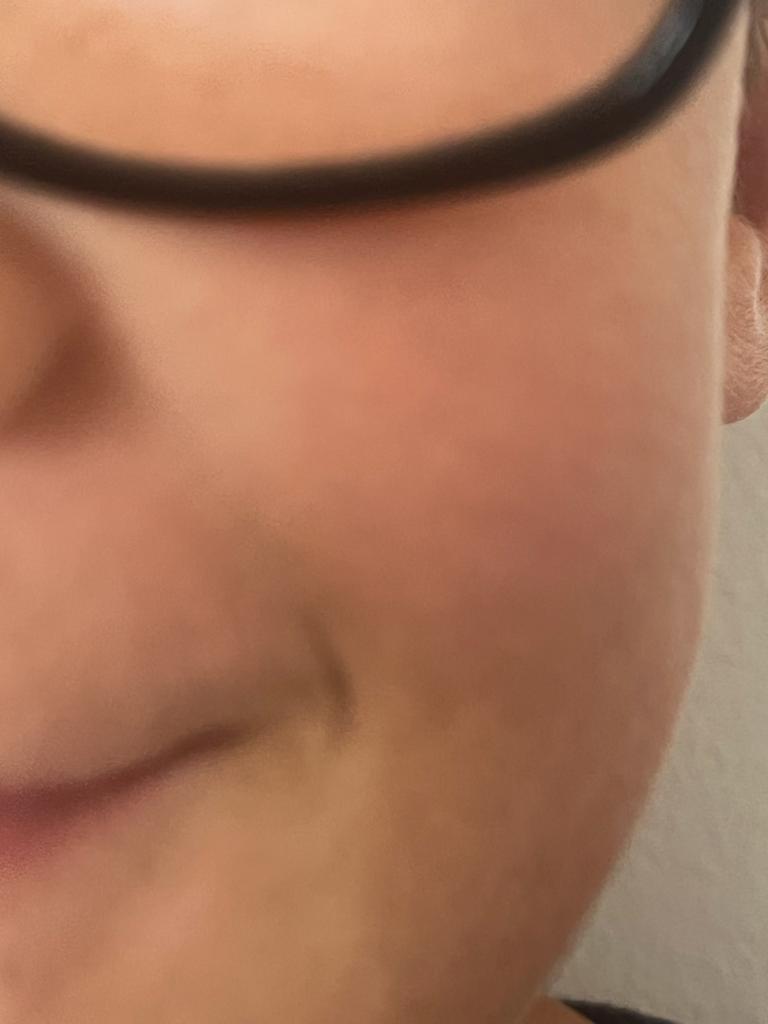
However the image I will be focusing on to analyse is the one on the right. Throughout this project Myra used herself to amplify the fact she used a technique from 19th century photographic method called wet plate collodion. - Which was implicated throughout the history of slavery and of colonialism. In the photo I've chosen the main focus is her mouth - lips and teeth. All her images from this series where she stands behind the lens and controls the camera are mimalistic and I believe this just adds power to the point Greene is trying to make. What makes Greene and this series stand out even more is that if ethnographic photography throughout different times of history aimed at creating a record of racial physiognomy. Greene furthers the power and message she is trying to interlink with showing difference. Additionally by standing in the lens of the camera herself furthers what she describes 'features of race' by taking images of her eyes, nose, lips. I think that the main focus of this image is the facial expression which has been captured - telling a mini story itself, each image containing a different story to create a powerful series with using the wet plate collodion method. I like that nothing distracts from the image - it's raw and captures what Greene is trying to show throughout the series character recognition. This image in theory breaks some composition rules, as the main focus is centre frame and is varying with focus, however I think this image becomes more attaching to look at. I believe the lighting has altered the outcome of this image. In my opinion I believe that the use of using herself as the model for this series is more emotionally moving, alongside with the expressions captured in every shot is just small
snippets of a bigger picture Myra is trying to create. Furthermore I feel that the texture of her facial features she has captured alongside her form of facial features add to the effect of the image ( not only the right image but through her whole series) Myra has focused the camera in the centre to encapsulate the main focus of the image.
snippets of a bigger picture Myra is trying to create. Furthermore I feel that the texture of her facial features she has captured alongside her form of facial features add to the effect of the image ( not only the right image but through her whole series) Myra has focused the camera in the centre to encapsulate the main focus of the image.
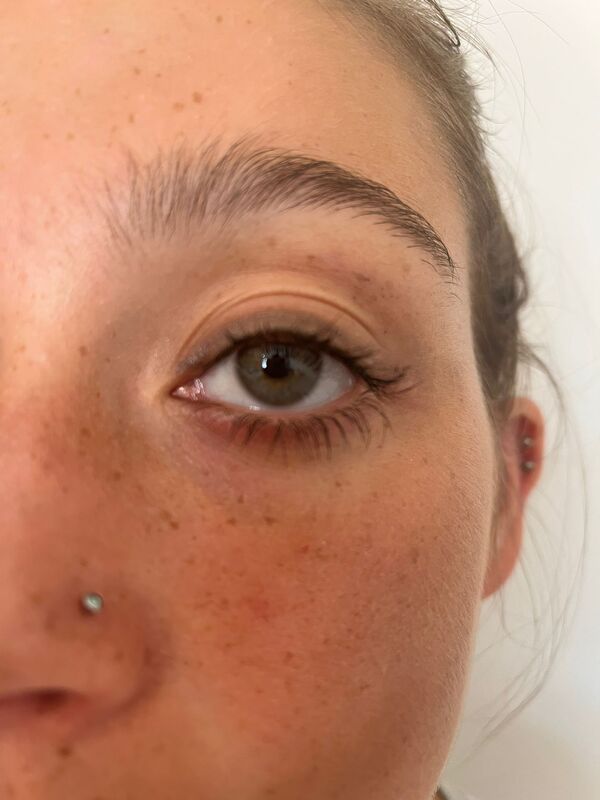
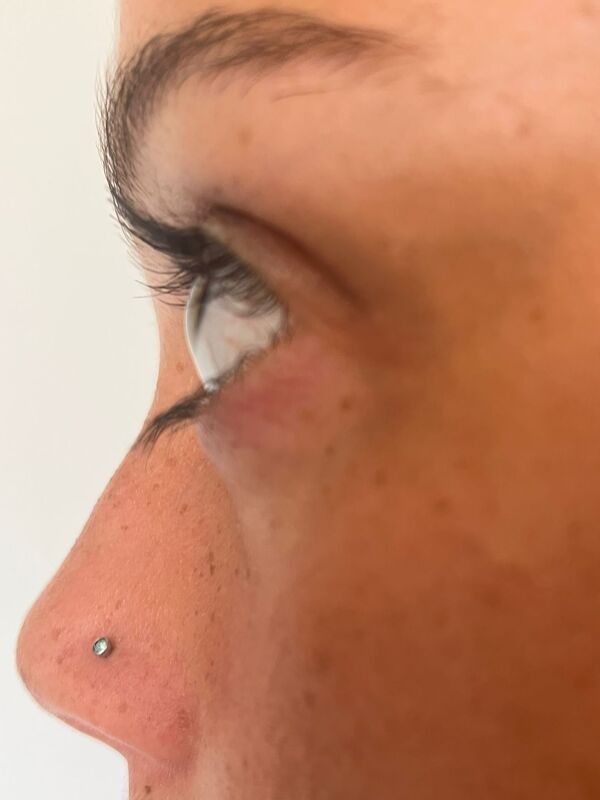
Plan for photoshoot:
UNEDITED IMAGES


EDITED FINAL EDITS
STEP BY STEP
Step one: Open up the image you want to start to edit to use for your final piece. For example mine is shown above.
Step two: At the very top of this example image you can see the tab labeled 'edit' click onto it and then click on the tab 'camera raw filter.' Once clicked the bar that has appeared on your right is what you use to use and edit things like the tint, exposure and contrast ext..
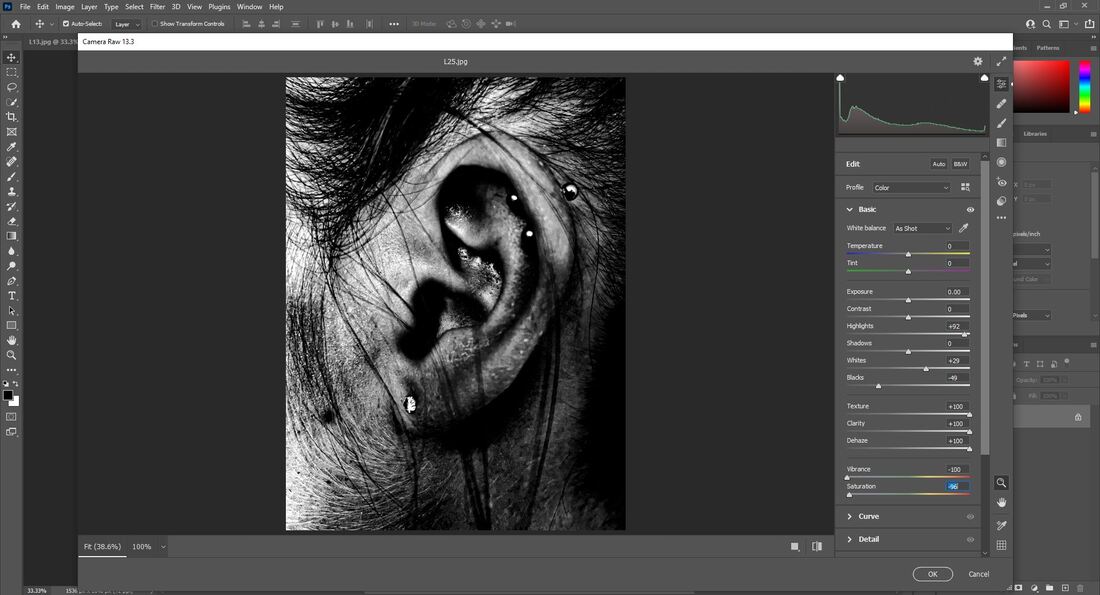
Step three: Play around with the camera raw filter sliders changing things like exposure, contrast, highlights, shadows, whites, blacks, texture, clarity, dehaze, vibrancy and saturation to your liking. Once happy press okay then go to file press save copy.
YOUR DONE!
YOUR DONE!
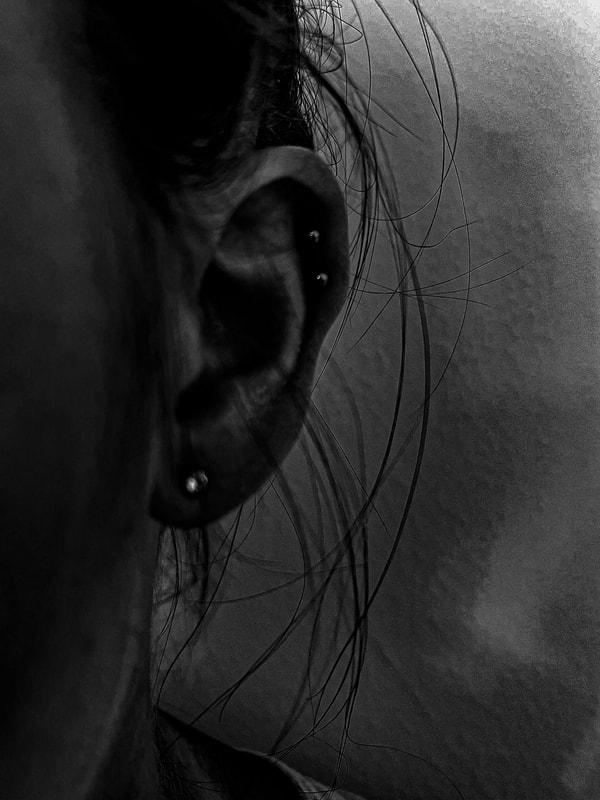
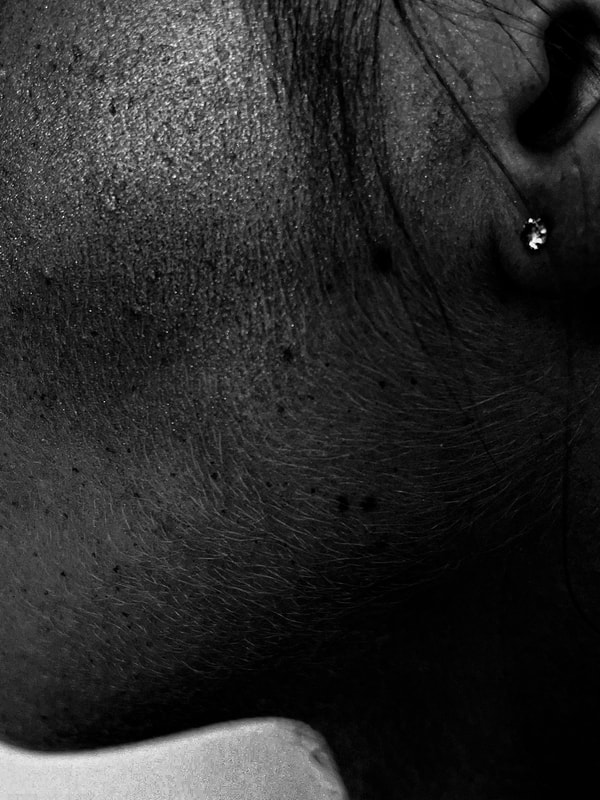
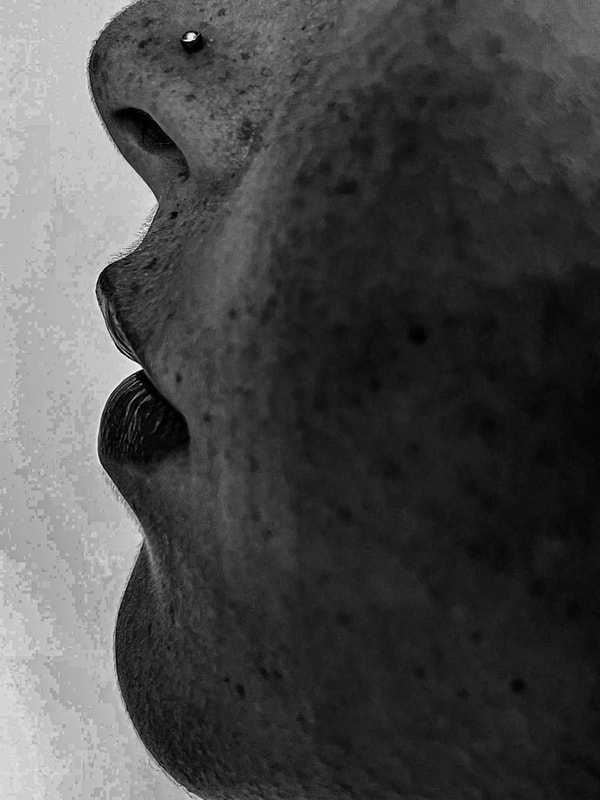
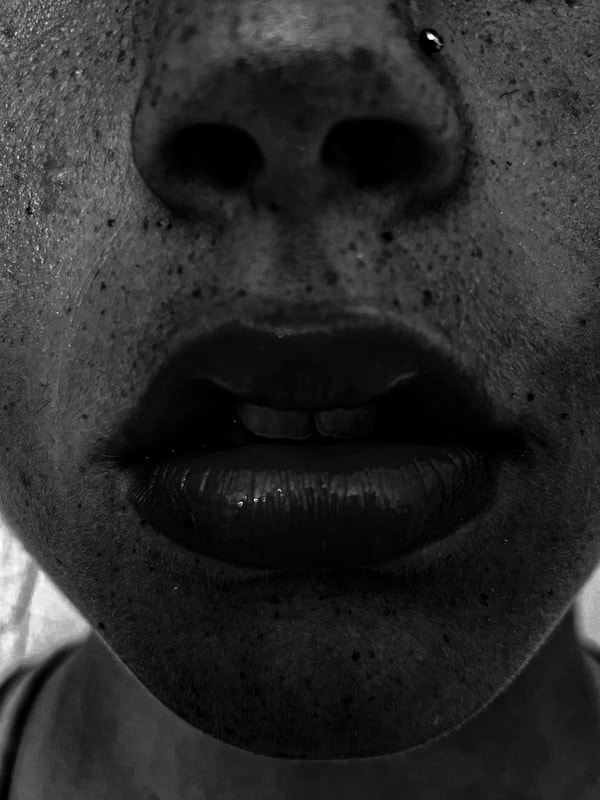
CONCLUSION: Writing about this shoot i did in the style of Myra Green is possibly the shoot i am most proud of, i captured the textures of the skin, used a macro perspective and varied the facial expressions and images i took. Moreover, i used makeup to highlight and make the definition more dense so when i went through editing the images look more harsh and powerful.
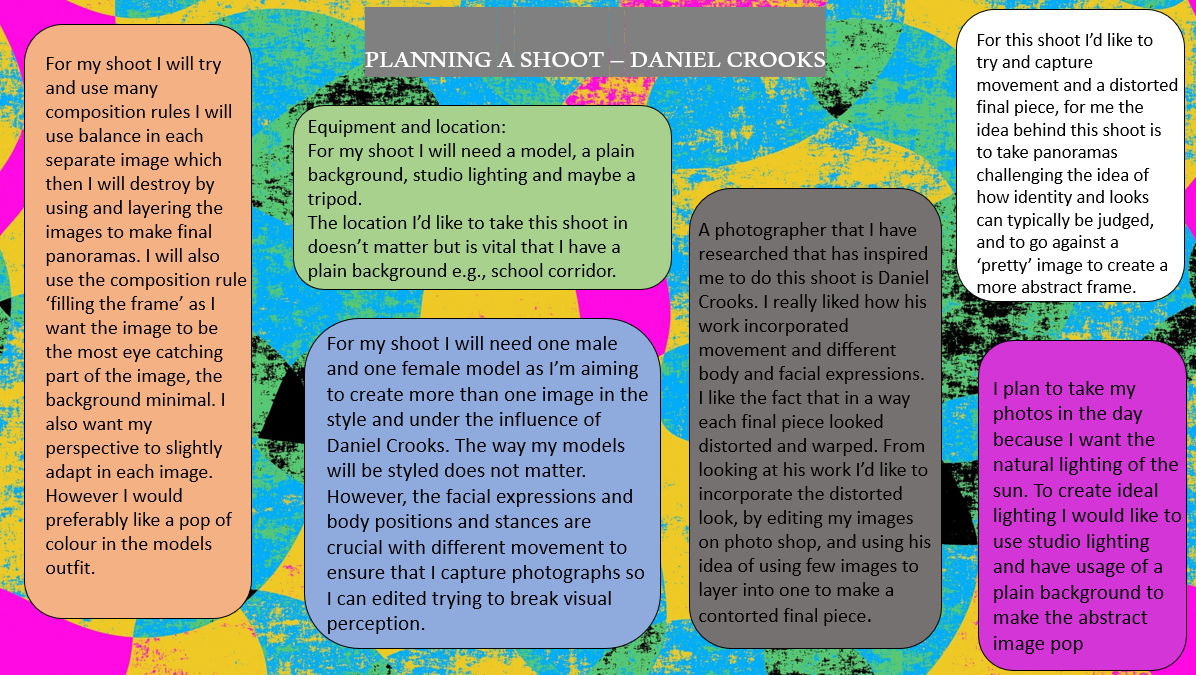
Daniel Crooks
Artist investigation
Daniel Crooks:
Daniel Crooks is a sculptor, photographer a time based artist. He creates photos of slippages between visual perception and temporal experience. Within the movement he captures in each different frames to create outstanding panoramas. The series of photos is in a project called : Portraits
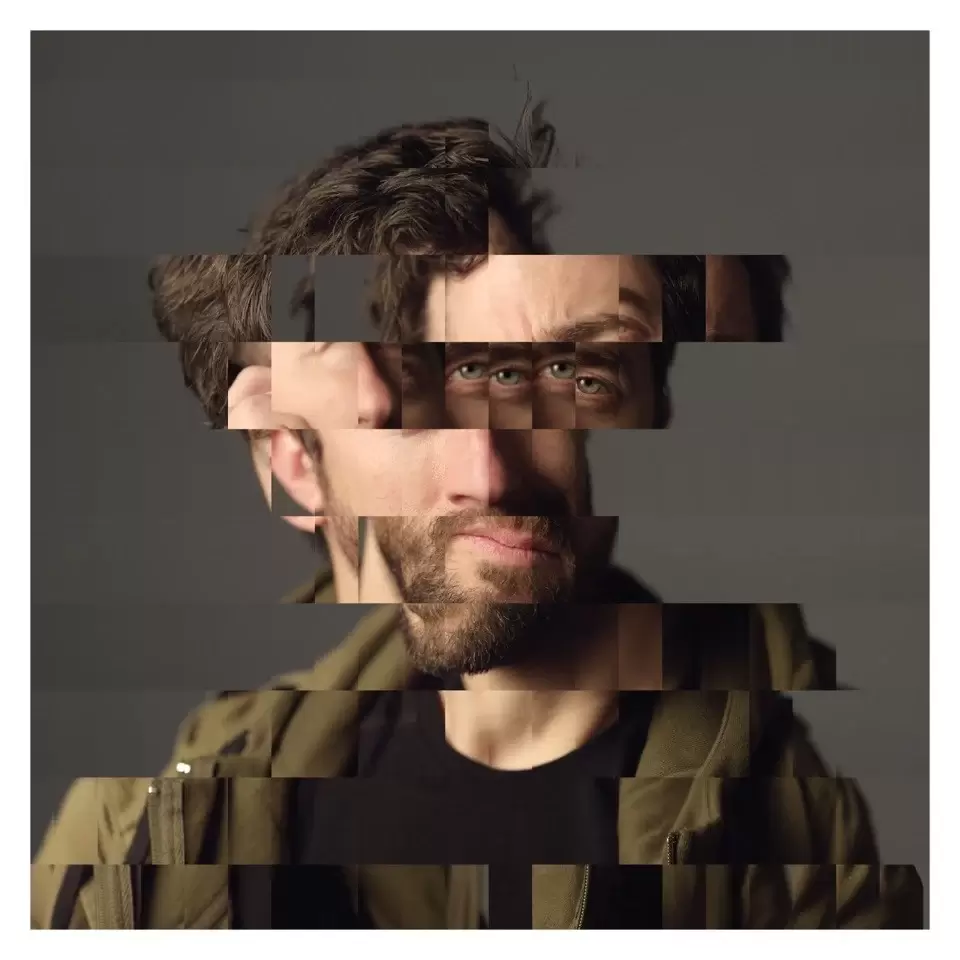
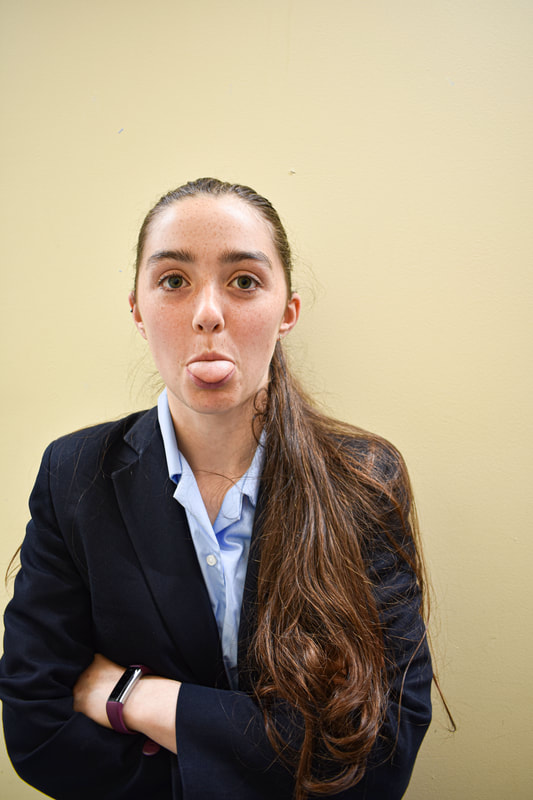
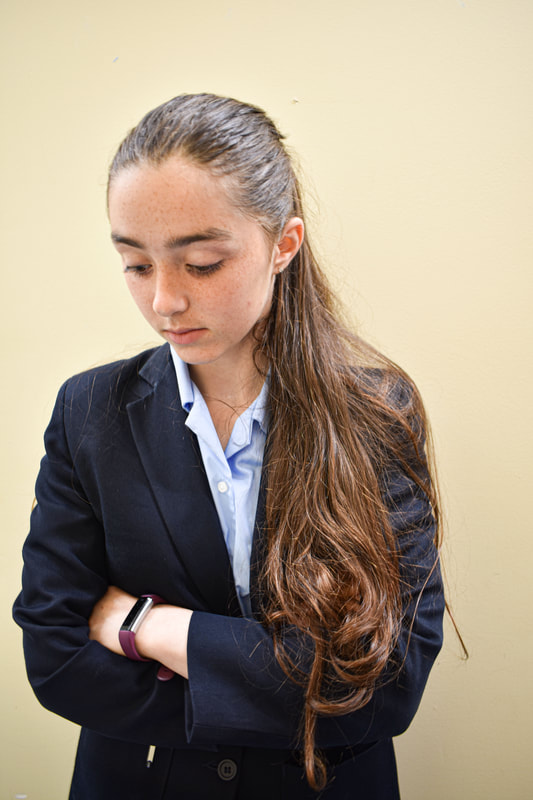
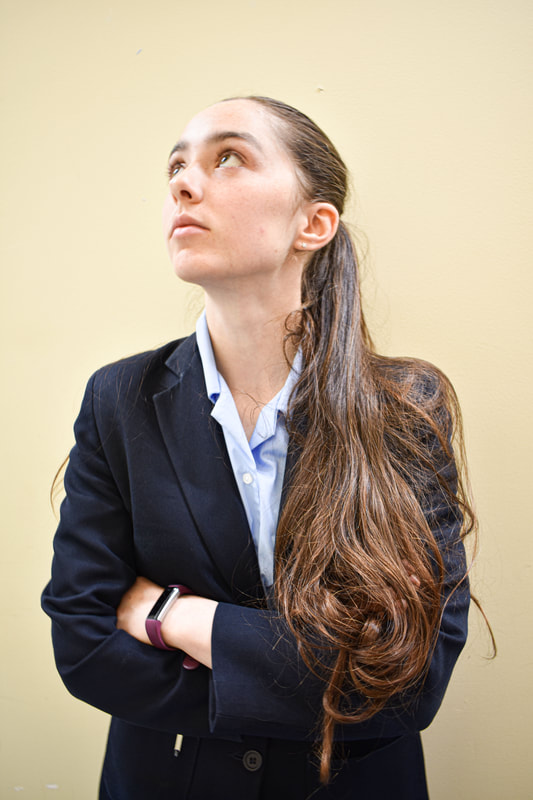
However the image I will be analyzing the second image on the left. Crooks uses minimal photos to create amazing finished pieces by editing. In his project portraits I believe he has used very few images to distort visual perception and temporal experience to create panoramas. In my opinion I think the meaning behind this project is that he tries to pose a question of metaphysics of the image and reality. However I think he is trying to change the perception of how people view themselves and others. The reason I like the image I have chosen to analyze is the fact the background is minimal, they use few photos and uses an editing system to create the final piece. Furthermore, I think my attention is drawn to each layer to collectively look at the image in a different light. The photograph shows a man moving slightly the camera catching different angles to each image then layer it into sections. My eye is especially drawn to the eyes in the higher middle of the photo. The thing I like most about the image is how it shows movement in the image and how it looks contorted and warped. I think Crooks could have used natural and studio lighting in this image. Additionally I find the fact you can see facial features, expressions and body expressions enticing to look at the image. Plus I like the different dimensions, shape, form and texture.


|


|
Step by step on how to edit your own images in the style of Daniel Crooks:
Though not ideal I did not have time to do this step by step in class - so at home I edited this throughout photopea but the exact same method applies when using photoshop.

Step 1. Open up three images as any more just gets a little complicated.

Step 2. As shown here chose one photo to be your base. For me I chose 'mum three.' To be my base guide. I did it a bit differently to how shown in the tutorial as I liked my final outcomes better the way I did it (it's only slightly altered)

|

|
Step 3. Find the rectangular select tool highlighted with a blue dash next to it. Click onto it, and with the image drag it from one side of the image to the other, only doing a small section. Once done you can see the dotted line within the image where I have selected my first slice. To copy press 'Ctrl C' to copy and 'Ctrl V' to paste. However, once you have copied your slice go back to your base image.

Step 4. Now once you go back to your base image and have copied a slice by pressing 'Crtl C.' Go back to your chosen base image and press 'Crtl V' To paste it. Now as shown if you look to the right; you can see it's created a layer 'layer one.' After pasted, just above the rectangular selection tool there is a mouse sort of looking button, once clicked you can drag and place the slice anywhere in the image you want.
HINT: REMEMBER NOT TO ALIGN THE IMAGE PERFECTLY.
HINT: REMEMBER NOT TO ALIGN THE IMAGE PERFECTLY.

|

|
Step 5. Here is one of my final and favourite outcomes, to make a final piece like this just repeat steps three and four. Just to be mindful of every time you want to slightly change where the slice is placed make sure your clicked onto the right layer. Every time you copy and paste a new slice it makes a new layer, so if you want to move a slice by careful on what layer your on e.g., Layer 2 shown in the image.
Now your done :)
Now your done :)
CONCLUSION: I found this mini project with Daniel Crooks extremely fun, i love how abstract the final images are, and the hard process i went through to edit these images. I also edited the lighting so it looked more bold, and had my model change positions and facial expressions slightly so i could capture more of a bold difference within my images.
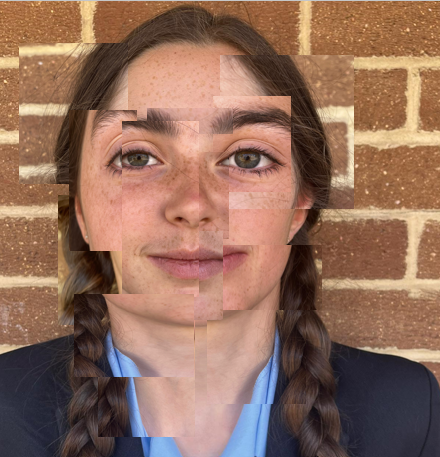
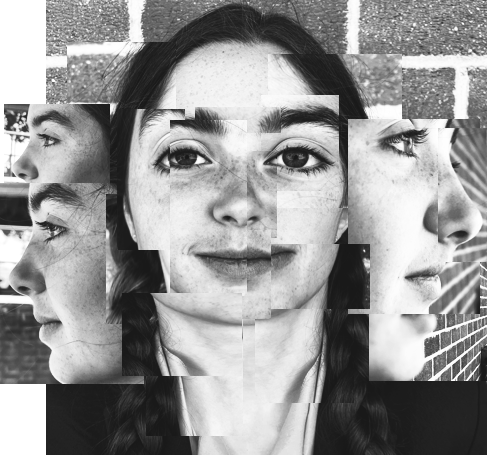
David Hockney

|
|
Step by step on how to edit your photos in the style of David Hockney:
1. Upload three photos minimum, to power point.
2. Choose one photo to be the base guide (for me it was the passport looking photo - face forward portrait.)
3. Though not efficient, I used the crop tool on PowerPoint to chop bits of photos I wanted to layer on the top of my base frame. However, doing it this way does mean you have to keep uploading one photo if you want multiple sections from that image.
4. Three photos not enough? (The first two images shown of Ayla is used by overlaying three images over the one I chose for the base.)
- Not to your liking try adding some side views to the image (shown on the bottom two frames of Ayla) Just add on to the final project you had before.
5. Repeat until happy with final result. :)

|

|
CONCLUSION: I think this was quite a hard project, due to the editing process and how it is unusual. However, i used David Hockney as inspiration well, and i used different facial expressions, angles and perspectives to create a big difference within my shoots. However i like all these images and i think they all work consistently.
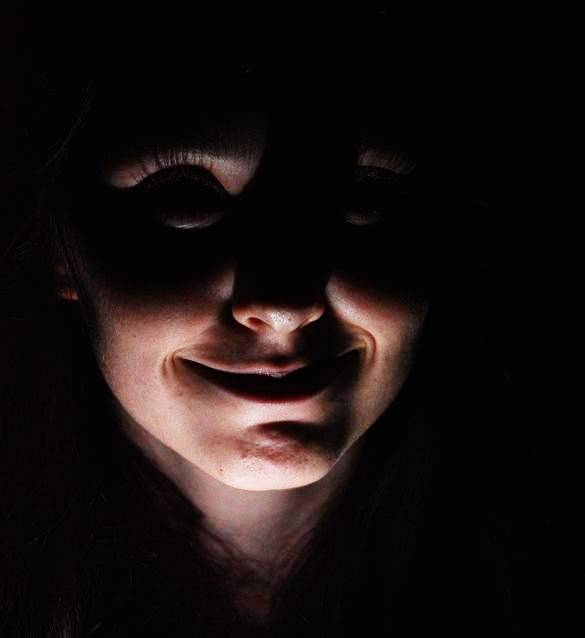
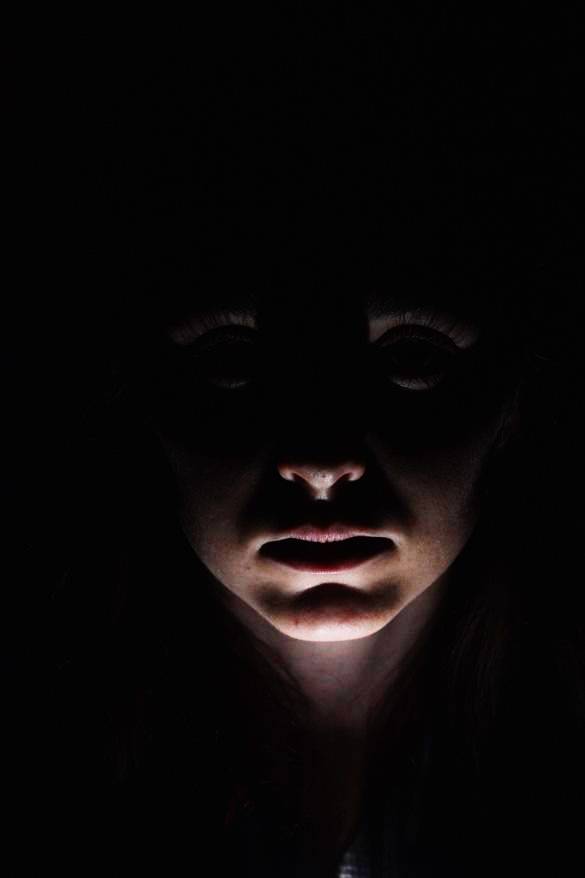
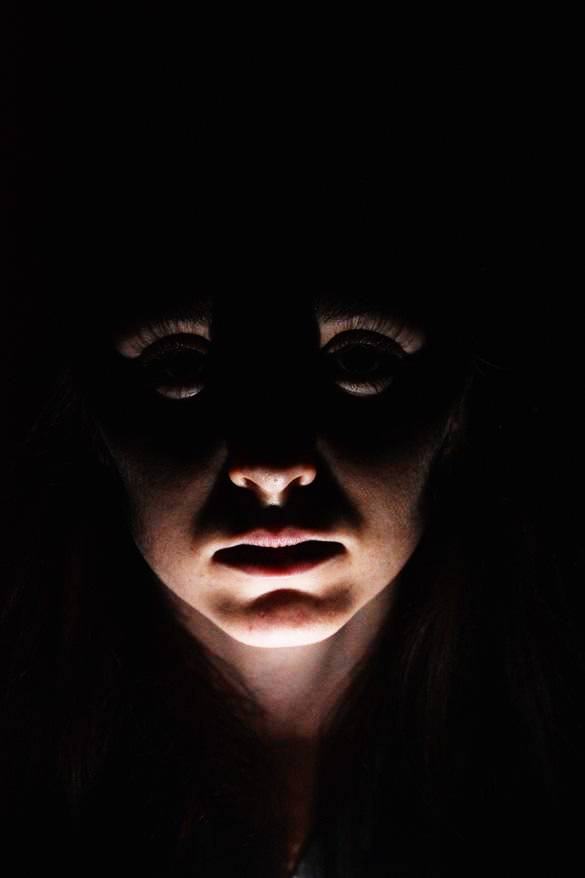
Lighting
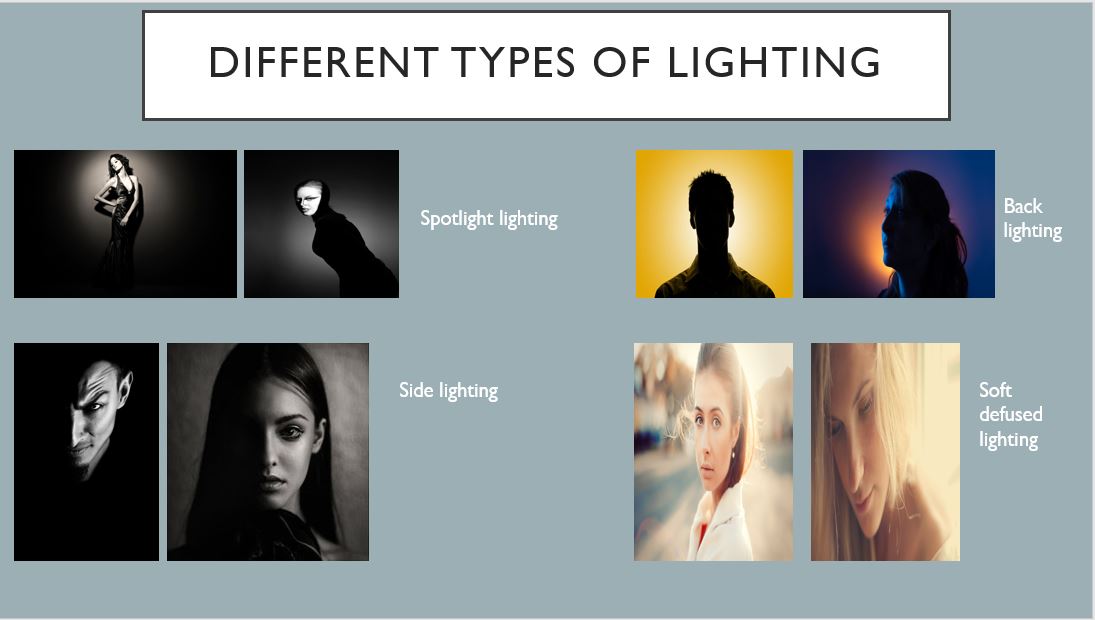
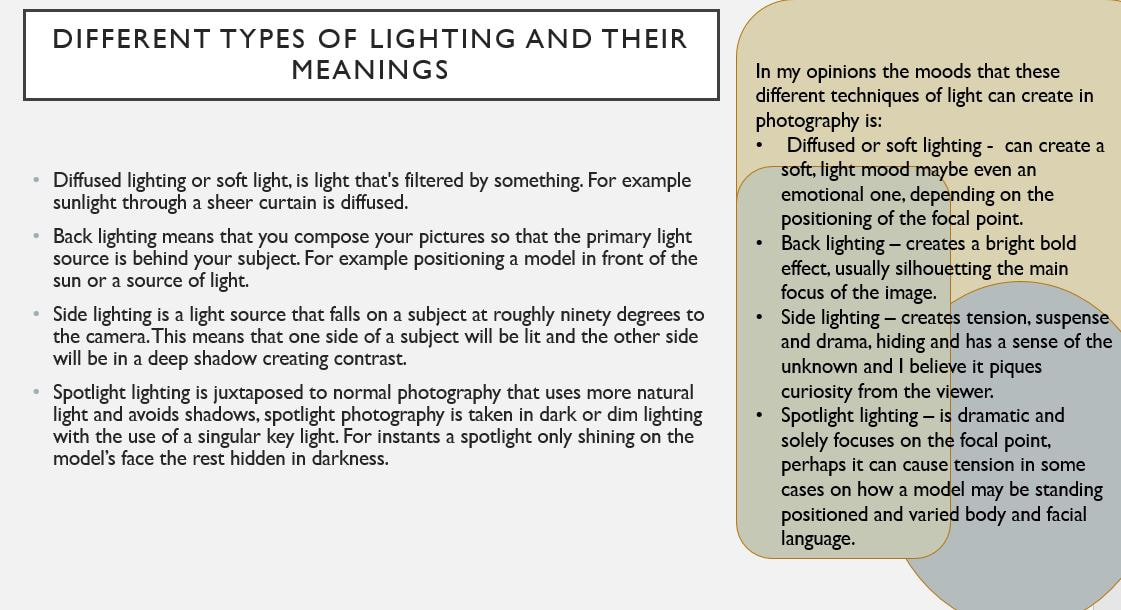
My lighting shoot
|

|
My four favourite images edited using camera raw filter on photoshop.
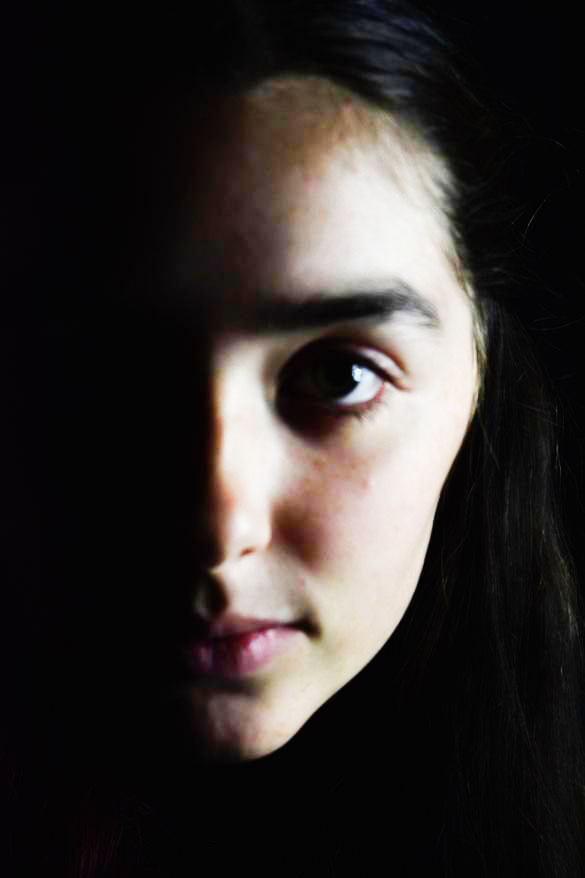
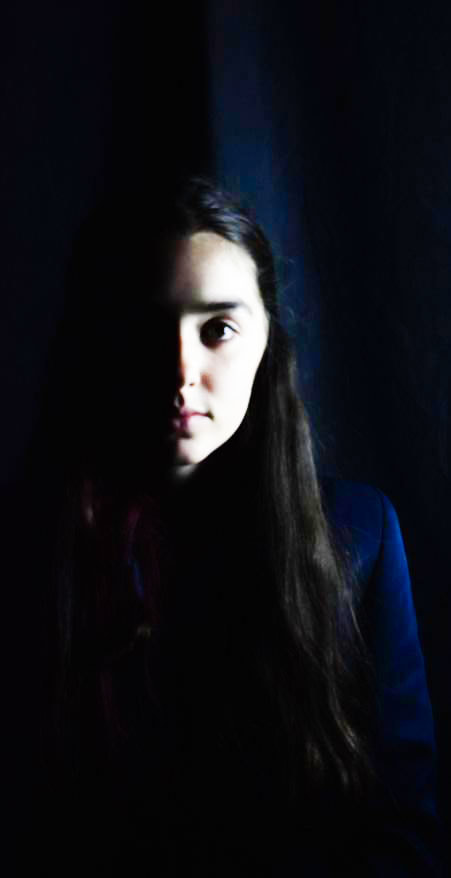
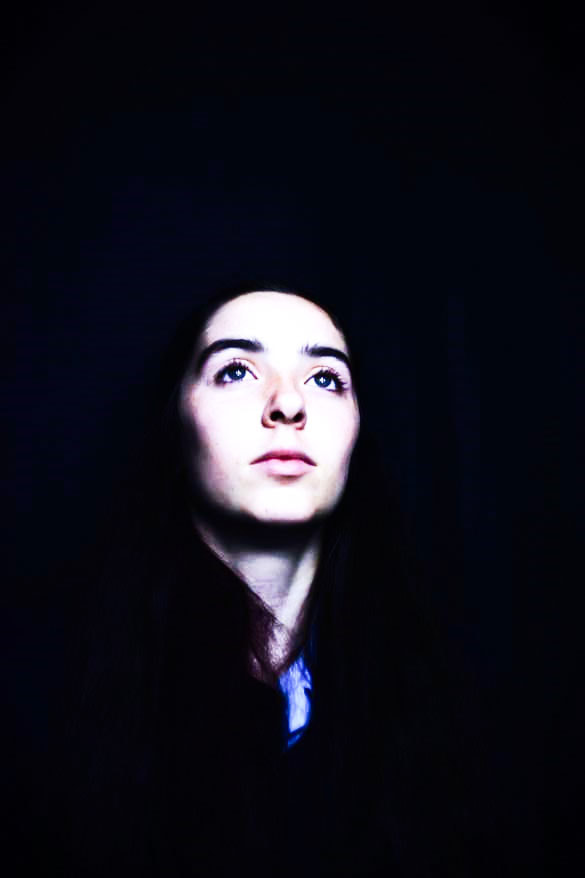
To conclude: I think i used the use of different lighting such as side lighting and spotlighting, extremely well, i love the way i have edited these images as it could give the audience an errie feeling and atmosphere. If i were to do this again i would try and use more angles and perspectives.
GORDON MAGNIN
Artist analysis
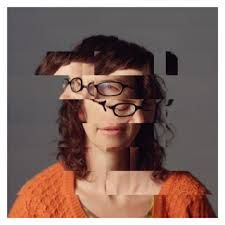
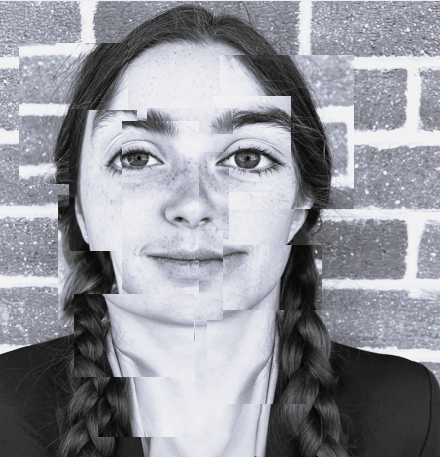
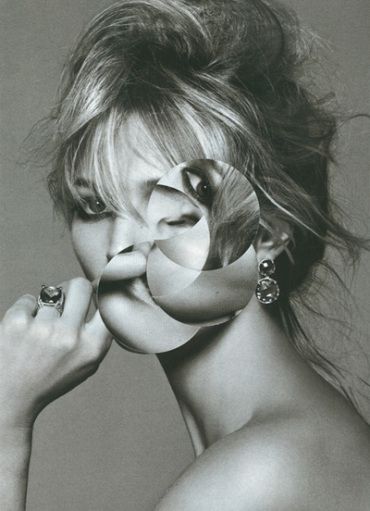
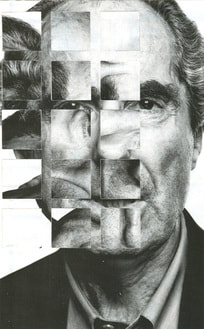
This photographer I will am analyzing is Gordon Magnin. Gordon Magnin was born in Reno, Nevada, USA and lives and works in Southern California. The image I'm going to analyze will be the second left image. I think this final piece shows a break in barriers of what society deems as correct, as this image causes the model to be extremely distorted. Creating a concealed effect.
This photograph shows a model who is distorted and many different jigsaw pieces at different orientations, to create a more complex edited image. My eye is instantly drawn to the facial features that are cut into thirds i.e., the right eye, right section of his nose and lips. The thing I find that is the most eye capturing is the difference in contrast due to many reasons as it's first of all a greyscale image (black and white) with the jigsaw blocks furthering the uniqueness and contrast creating a further distorted look.
The model is filling the frame; in balance, with a full front portrait with a simple angle and perspective. The image without the edited jigsaw would come across very minimalistic, however due to the heavy editing I believe it creates a final maximalist and busy image including a plain background creating the contrast to pop further. I think Gordon Magnin has taken this image with a primary light source e.g., studio lighting to create a bold look of high bright light on the right side of his face.
I infer that the model's facial expression is blank, maybe even a bit lost, within public and himself. Several formal elements have been used in this final piece including, shape, texture, deep coloured contrast, a complex pattern with a three dimensional tone.
In my opinion He imposes geometric systems (normally triangles or squares) on the modle's faces, either by cutting them out of the images and replacing them on a new angle, or simply by removing the shapes completely.
They have focused the camera central to the model and therefor without the editing would be simple and minimalistic. Finally, I believe Magnin could have used either a shallow or long depth of field due to the simple background.
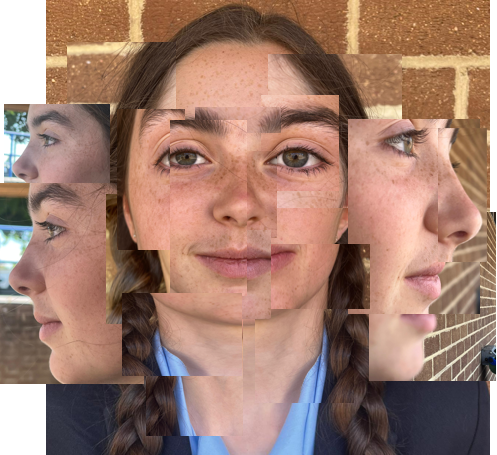
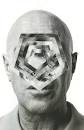
I will use this artist Gordon Magnin to inspire my own work to take a shoot in inspirtation of him and edit it on Photoshop in a geometrical shaped way, altering the them onto a new angle.
My images are down below.
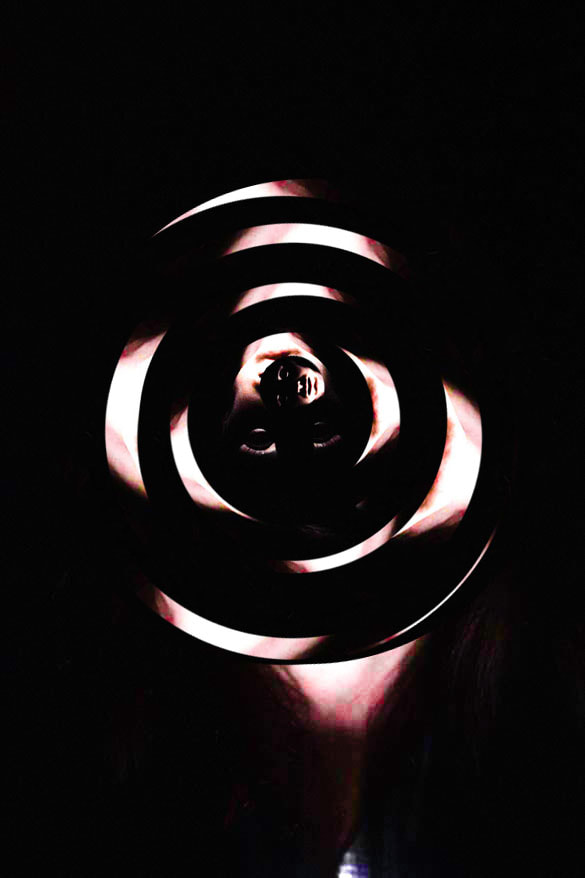
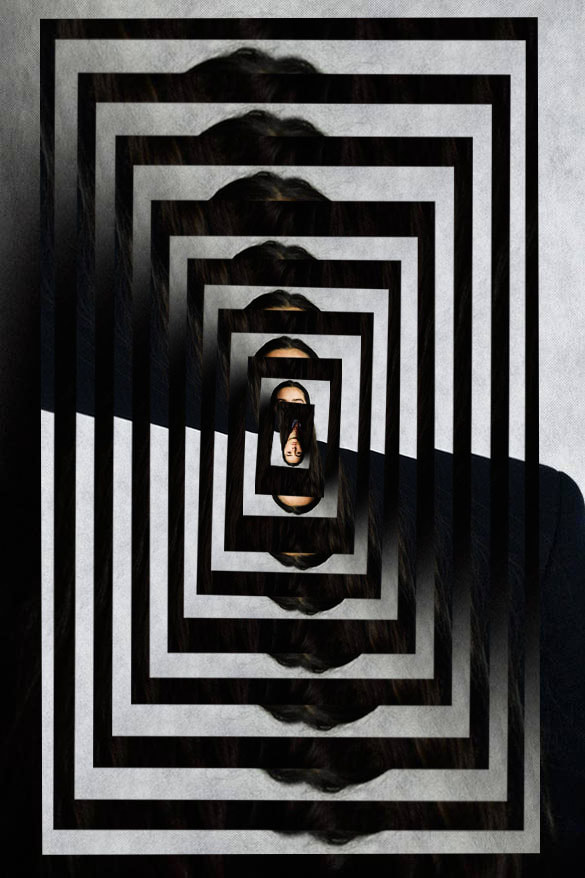
WWW - I liked that this image has a good contrast and has an equal amount of space between each circle.
EBI - Next time I would try and change the shape to a more complex one and make the circles fill the whole frame (also if I could re edit I'd like to correct the last circle)
EBI - Next time I would try and change the shape to a more complex one and make the circles fill the whole frame (also if I could re edit I'd like to correct the last circle)
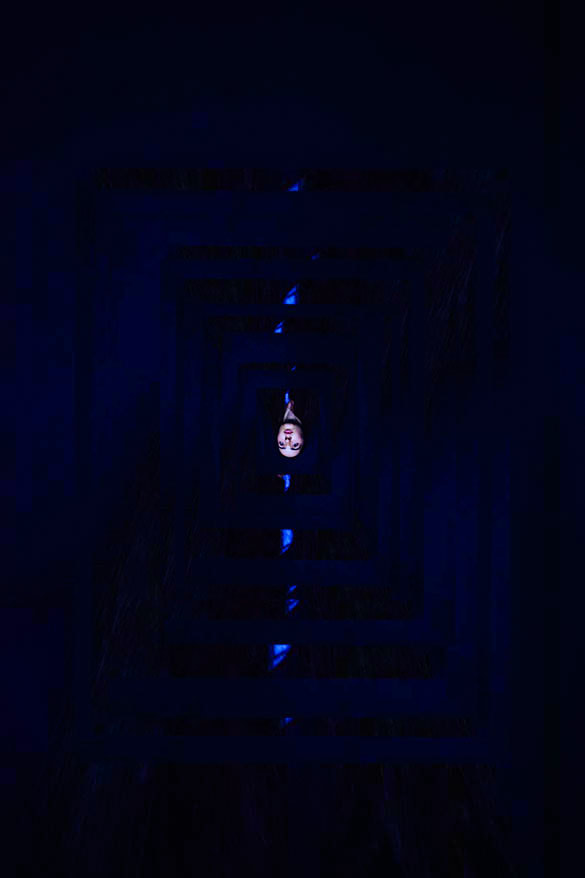
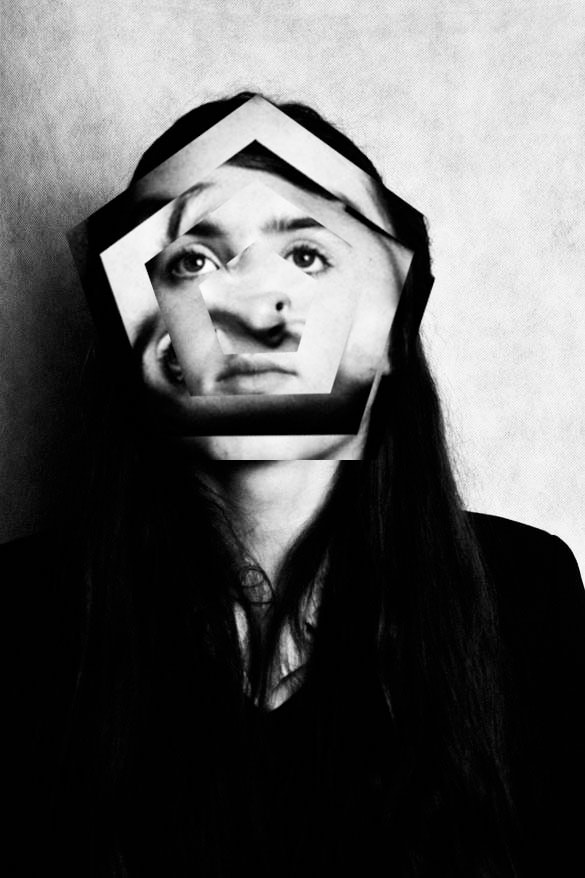
WWW - more complex shape that fills the whole frame when looked at closely.
EBI - next time im going to try and correct the contrast and the colour so the whole geometric edit will be visible.
EBI - next time im going to try and correct the contrast and the colour so the whole geometric edit will be visible.
WWW - bold contrast, with filling the frame clear difference between each rectangle with equivalent gaps between each shape.
EBI - edit with a more complex shape.
EBI - edit with a more complex shape.
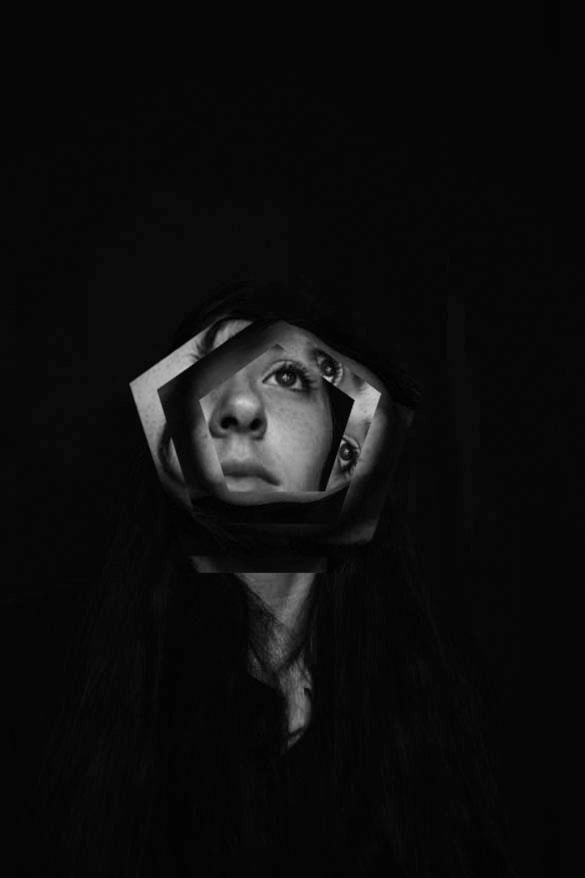
WWW - using a complex shape to make a okay geometric edit.
EBI - next time I could add more pentagons to great a deeper depth in this geometric edit.
EBI - next time I could add more pentagons to great a deeper depth in this geometric edit.
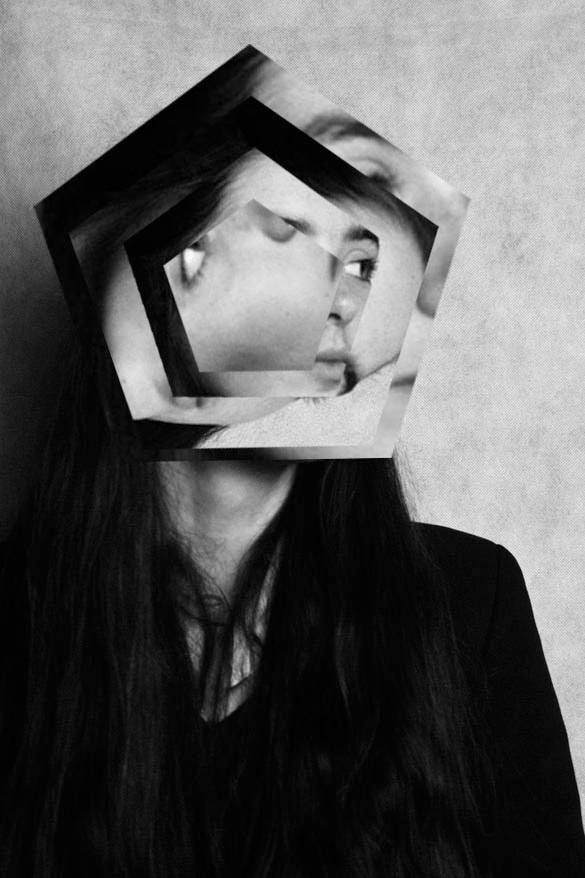
WWW - good contrast and use of a hard shape - i struggled lining the points up together.
EBI - I use the shape to fill the frame more creating a more complex final piece.
EBI - I use the shape to fill the frame more creating a more complex final piece.
WWW - good contrast, and focus is clear in each layer.
EBI - I add more layers as I only had a few and doesnt look extremely effective.
EBI - I add more layers as I only had a few and doesnt look extremely effective.
WWW - this GIF is smooth with a good contrast also all layers are in focus.
EBI - I create more layers to make a longer GIF
EBI - I create more layers to make a longer GIF
WWW - I believe this is my best GIF out of all of them.
EBI - I use a more complex shape.
EBI - I use a more complex shape.
Step by step of a geometric edit on photoshop:

Step one: Open up your image go to the tab 'mode' and change the image to greyscale.
Step four: Click paths and right click on polygon shape one.
Step seven: This is what your layers, channels and paths box should look like (once followed step six correctly) |

Step two: find the polygonal tool (if you dont want this specific tool right click fore more options.)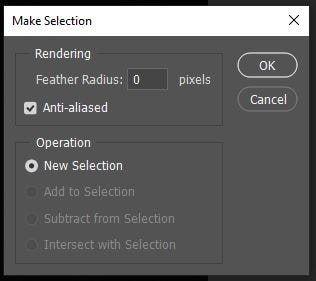
Step five: Once clicked (followed step four) this box comes up click 'ok' to create a selection.
Step seven: Then use the move tool to change the sizing of the shapes and their angles. Additionally, to create more layers follow steps two to six. |

Step three: Hold shift whilst you drag your mouse to create a pentagon shape. Use the move tool to move the shape to the middle of your model.
Step six: Once a live selection has been made go t background and use the keys 'Ctrl C' and 'Ctrl V' to copy and paste the shape.
Step eight: The edit is done! |
Here is a geometric GIF i have made within photoshop:

